Popular Woodworking 2006-04 № 154, страница 61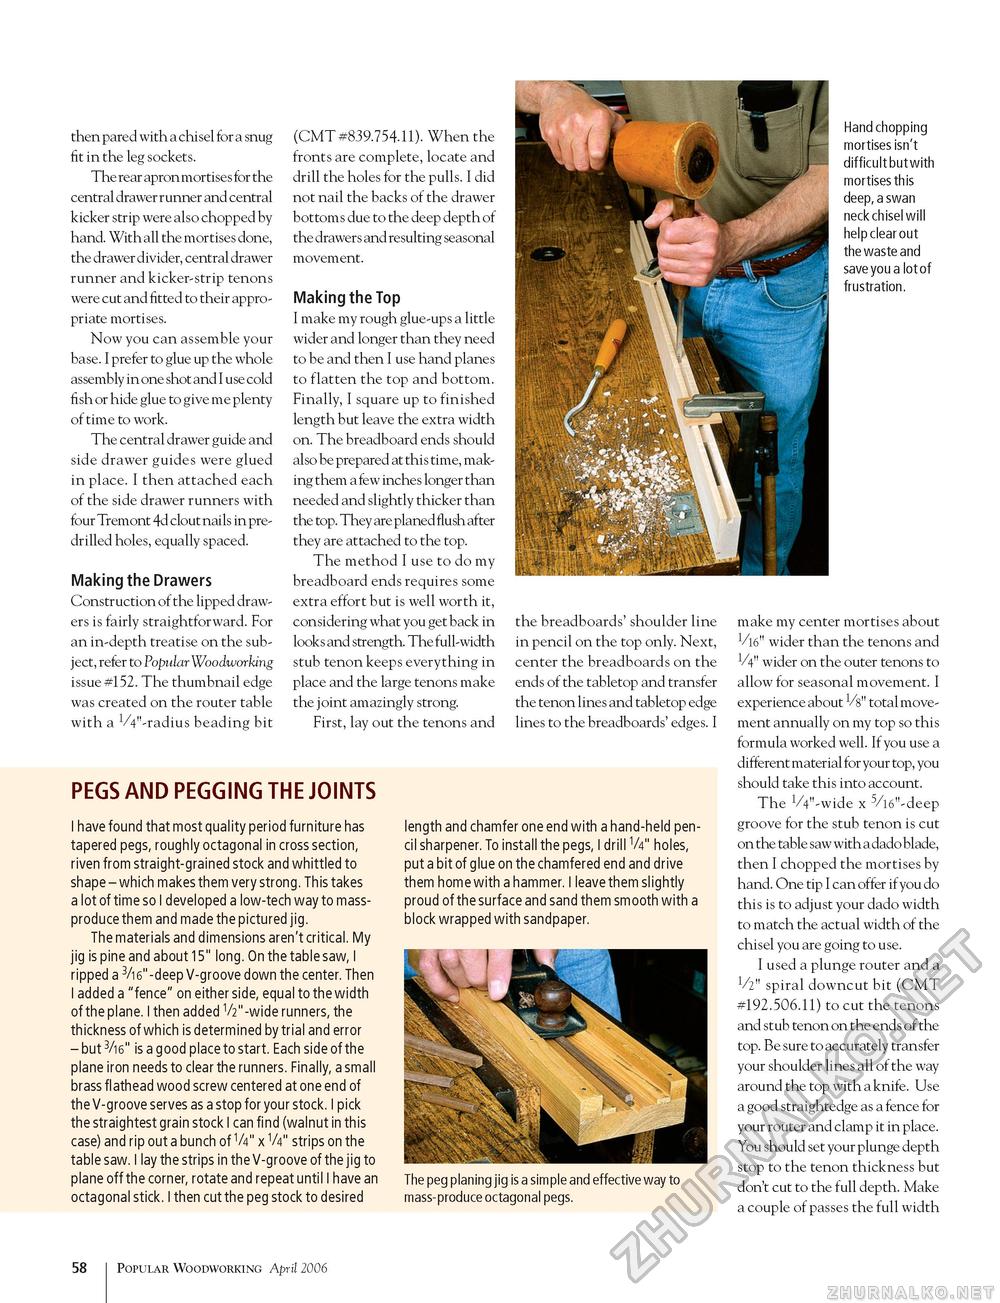
then pared with a chisel for a snug fit in the leg sockets. The rear apron mortises for the central drawer runner and central kicker strip were also chopped by hand. With all the mortises done, the drawer divider, central drawer runner and kicker-strip tenons were cut and fitted to their appropriate mortises. Now you can assemble your base. I prefer to glue up the whole assembly in one shot and I use cold fish or hide glue to give me plenty of time to work. The central drawer guide and side drawer guides were glued in place. I then attached each of the side drawer runners with four Tremont 4d clout nails in pre-drilled holes, equally spaced. Making the Drawers Construction of the lipped drawers is fairly straightforward. For an in-depth treatise on the subject, refer to Popular Woodworking issue #152. The thumbnail edge was created on the router table with a VV-radius beading bit (CMT #839.754.11). When the fronts are complete, locate and drill the holes for the pulls. I did not nail the backs of the drawer bottoms due to the deep depth of the drawers and resulting seasonal movement. Making the Top I make my rough glue-ups a little wider and longer than they need to be and then I use hand planes to flatten the top and bottom. Finally, I square up to finished length but leave the extra width on. The breadboard ends should also be prepared at this time, making them a few inches longer than needed and slightly thicker than the top. They are planed flush after they are attached to the top. The method I use to do my breadboard ends requires some extra effort but is well worth it, considering what you get back in looks and strength. The full-width stub tenon keeps everything in place and the large tenons make the joint amazingly strong. First, lay out the tenons and Hand chopping mortises isn't difficult but with mortises this deep, a swan neck chisel will help clear out the waste and save you a lot of frustration. the breadboards' shoulder line in pencil on the top only. Next, center the breadboards on the ends of the tabletop and transfer the tenon lines and tabletop edge lines to the breadboards' edges. I PEGS AND PEGGING THE JOINTS I have found that most quality period furniture has tapered pegs, roughly octagonal in cross section, riven from straight-grained stock and whittled to shape - which makes them very strong. This takes a lot of time so I developed a low-tech way to mass-produce them and made the pictured jig. The materials and dimensions aren't critical. My jig is pine and about 15" long. On the table saw, I ripped a 3/i6"-deep V-groove down the center. Then I added a "fence" on either side, equal to the width of the plane. I then added V2"-wide runners, the thickness of which is determined by trial and error - but 3/i6" is a good place to start. Each side of the plane iron needs to clear the runners. Finally, a small brass flathead wood screw centered at one end of the V-groove serves as a stop for your stock. I pick the straightest grain stock I can find (walnut in this case) and rip out a bunch of V4" x V4" strips on the table saw. I lay the strips in the V-groove of the jig to plane off the corner, rotate and repeat until I have an octagonal stick. I then cut the peg stock to desired length and chamfer one end with a hand-held pencil sharpener. To install the pegs, I drill V4" holes, put a bit of glue on the chamfered end and drive them home with a hammer. I leave them slightly proud of the surface and sand them smooth with a block wrapped with sandpaper. The peg planing jig is a simple and effective way to mass-produce octagonal pegs. make my center mortises about V16" wider than the tenons and V4" wider on the outer tenons to allow for seasonal movement. I experience about Vs" total movement annually on my top so this formula worked well. If you use a different material for your top, you should take this into account. The VV-wide x 5/16"-deep groove for the stub tenon is cut on the table saw with a dado blade, then I chopped the mortises by hand. One tip I can offer if you do this is to adjust your dado width to match the actual width of the chisel you are going to use. I used a plunge router and a Vz" spiral downcut bit (CMT #192.506.11) to cut the tenons and stub tenon on the ends of the top. Be sure to accurately transfer your shoulder lines all of the way around the top with a knife. Use a good straightedge as a fence for your router and clamp it in place. You should set your plunge depth stop to the tenon thickness but don't cut to the full depth. Make a couple of passes the full width 58 Popular Woodworking April 2006 |


