Popular Woodworking 2006-06 № 155, страница 60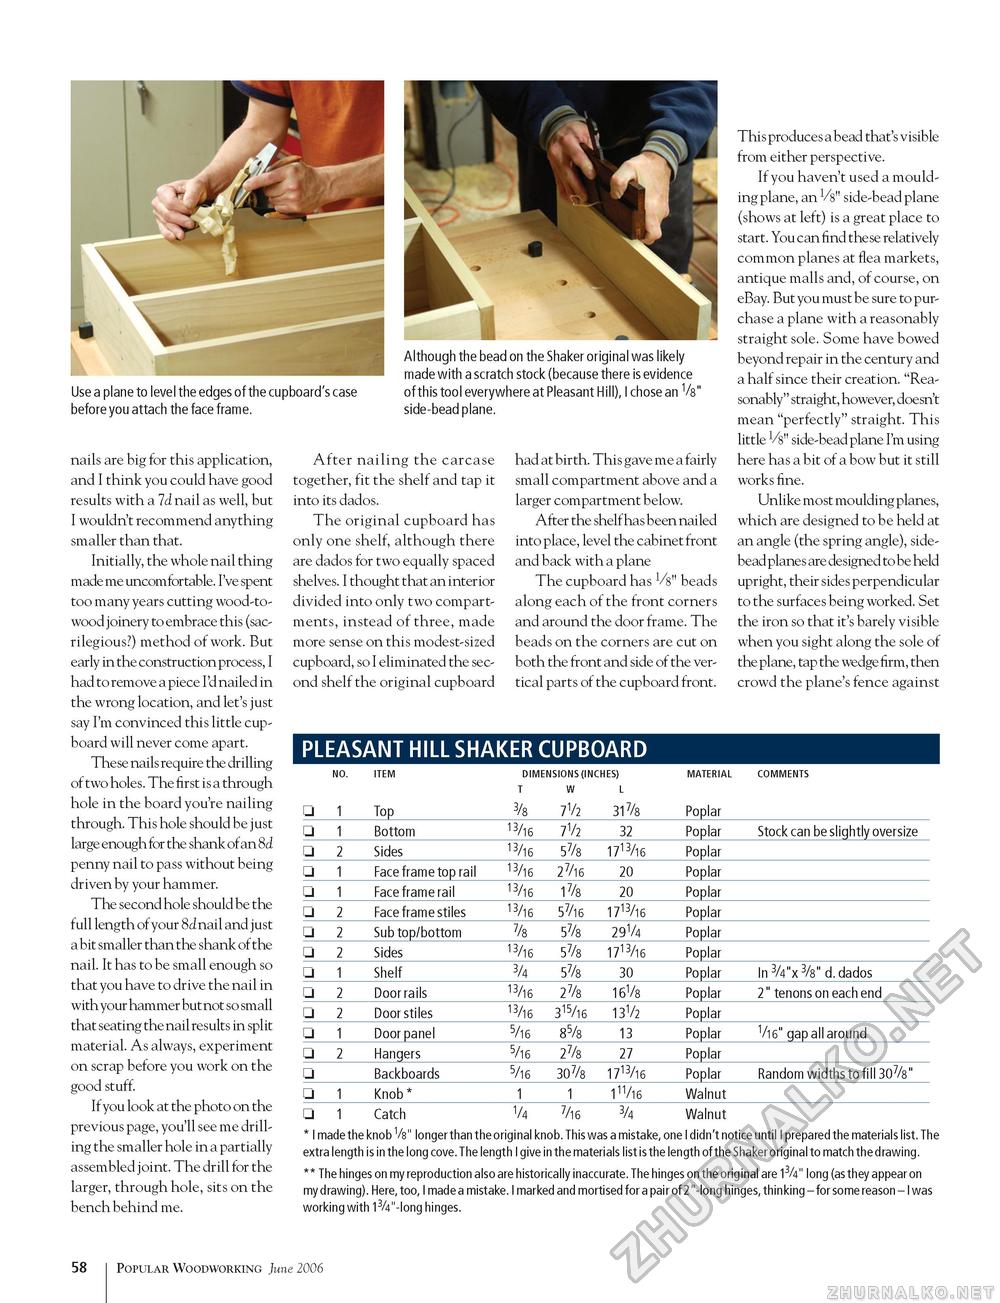
Use a plane to level the edges of the cupboard's case before you attach the face frame. Although the bead on the Shaker original was likely made with a scratch stock (because there is evidence of this tool everywhere at Pleasant Hill), I chose an Vs" side-bead plane. nails are big for this application, and I think you could have good results with a 7d nail as well, but I wouldn't recommend anything smaller than that. Initially, the whole nail thing made me uncomfortable. I've spent too many years cutting wood-to-wood joinery to embrace this (sacrilegious?) method of work. But early in the construction process, I had to remove a piece I'd nailed in the wrong location, and let's just say I'm convinced this little cupboard will never come apart. These nails require the drilling of two holes. The first is a through hole in the board you're nailing through. This hole should be just large enough for the shank of an 8d penny nail to pass without being driven by your hammer. The second hole should be the full length of your 8d nail and just a bit smaller than the shank of the nail. It has to be small enough so that you have to drive the nail in with your hammer but not so small that seating the nail results in split material. As always, experiment on scrap before you work on the good stuff. If you look at the photo on the previous page, you'll see me drilling the smaller hole in a partially assembled joint. The drill for the larger, through hole, sits on the bench behind me. After nailing the carcase together, fit the shelf and tap it into its dados. The original cupboard has only one shelf, although there are dados for two equally spaced shelves. I thought that an interior divided into only two compartments, instead of three, made more sense on this modest-sized cupboard, so I eliminated the second shelf the original cupboard had at birth. This gave me a fairly small compartment above and a larger compartment below. After the shelfhas been nailed into place, level the cabinet front and back with a plane The cupboard has V8" beads along each of the front corners and around the door frame. The beads on the corners are cut on both the front and side of the vertical parts of the cupboard front. This produces a bead that's visible from either perspective. If you haven't used a moulding plane, an V8" side-bead plane (shows at left) is a great place to start. You can find the se relatively common planes at flea markets, antique malls and, of course, on eBay. But you must be sure to purchase a plane with a reasonably straight sole. Some have bowed beyond repair in the century and a half since their creation. "Reasonably" straight, however, doesn't mean "perfectly" straight. This little V8" side-bead plane I'm using here has a bit of a bow but it still works fine. Unlike most moulding planes, which are designed to be held at an angle (the spring angle), side-bead planes are designed to be held upright, their sides perpendicular to the surfaces being worked. Set the iron so that it's barely visible when you sight along the sole of the plane, tap the wedge firm, then crowd the plane's fence against PLEASANT HILL SHAKER CUPBOARD
* I made the knob Vs" longer than the original knob. This was a mistake, one I didn't notice until I prepared the materials list. The extra length is in the long cove. The length I give in the materials list is the length of the Shaker original to match the drawing. * I made the knob Vs" longer than the original knob. This was a mistake, one I didn't notice until I prepared the materials list. The extra length is in the long cove. The length I give in the materials list is the length of the Shaker original to match the drawing. ** The hinges on my reproduction also are historically inaccurate. The hinges on the original are 13/4" long (as they appear on my drawing). Here, too, I made a mistake. I marked and mortised for a pair of 2"-long hinges, thinking - for some reason - I was working with 13/4"-long hinges. 58 Popular Woodworking June 2006 |
||||||||||||||||||||||||||||||||||||||||||||||||||||||||||||||||||||||||||||||||||||||||||||||||||||||||||||||||||||||||||||||||||||||||


