Popular Woodworking 2006-08 № 156, страница 35
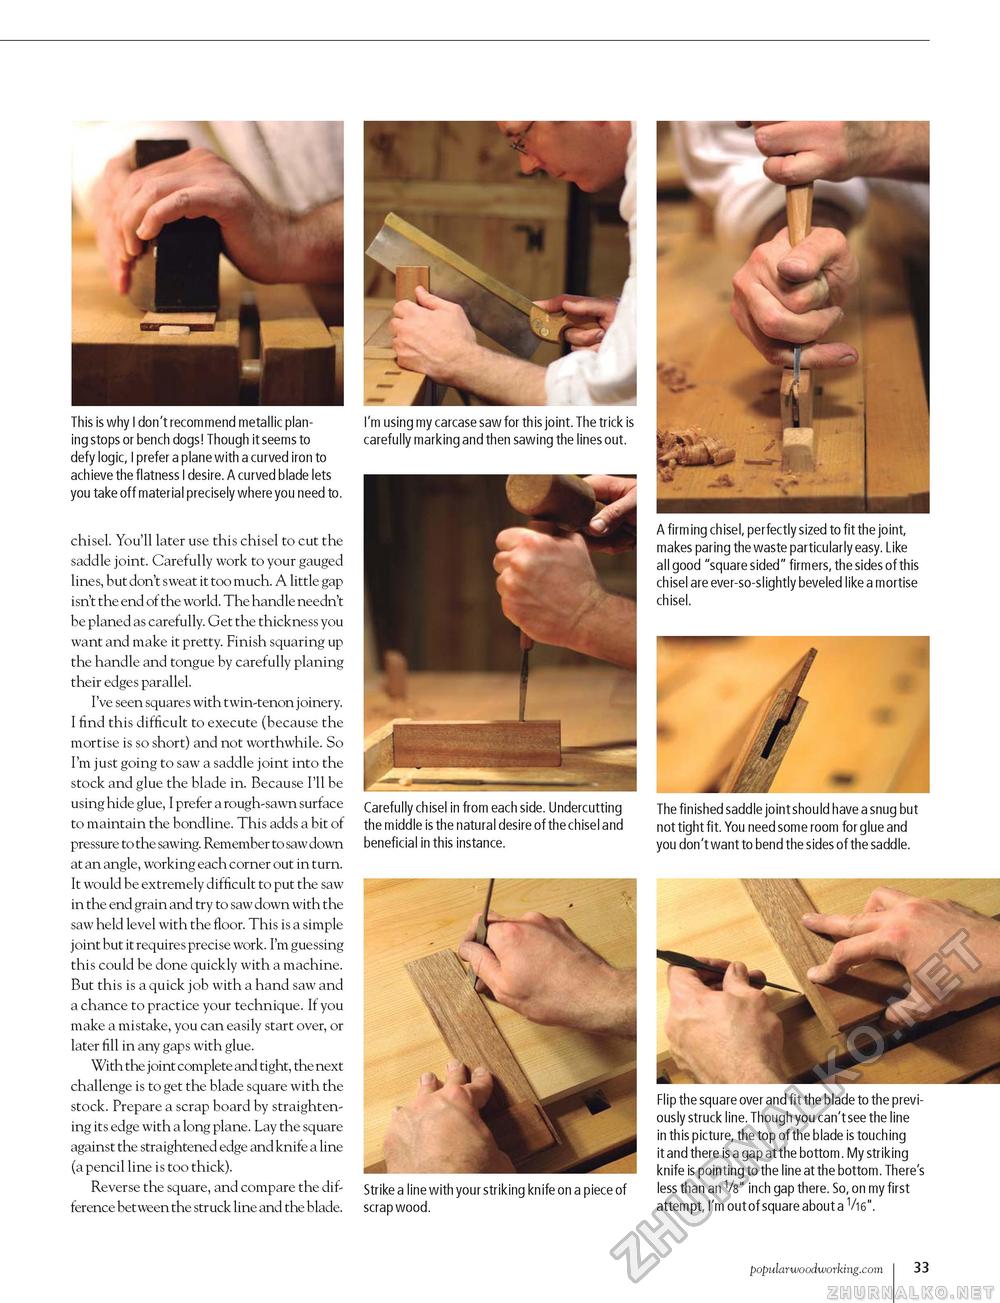
This is why I don't recommend metallic planing stops or bench dogs! Though it seems to defy logic, I prefer a plane with a curved iron to achieve the flatness I desire. A curved blade lets you take off material precisely where you need to. chisel. You'll later use this chisel to cut the saddle joint. Carefully work to your gauged lines, but don't sweat it too much. A little gap isn't the end of the world. The handle needn't be planed as carefully. Get the thickness you want and make it pretty. Finish squaring up the handle and tongue by carefully planing their edges parallel. I've seen squares with twin-tenon joinery. I find this difficult to execute (because the mortise is so short) and not worthwhile. So I'm just going to saw a saddle joint into the stock and glue the blade in. Because I'll be using hide glue, I prefer a rough-sawn surface to maintain the bondline. This adds a bit of pressure to the sawing. Remember to saw down at an angle, working each corner out in turn. It would be extremely difficult to put the saw in the end grain and try to saw down with the saw held level with the floor. This is a simple joint but it requires precise work. I'm guessing this could be done quickly with a machine. But this is a quick job with a hand saw and a chance to practice your technique. If you make a mistake, you can easily start over, or later fill in any gaps with glue. With the joint complete and tight, the next challenge is to get the blade square with the stock. Prepare a scrap board by straightening its edge with a long plane. Lay the square against the straightened edge and knife a line (a pencil line is too thick). Reverse the square, and compare the difference between the struck line and the blade. Carefully chisel in from each side. Undercutting the middle is the natural desire of the chisel and beneficial in this instance. The finished saddle joint should have a snug but not tight fit. You need some room for glue and you don't want to bend the sides of the saddle. Strike a line with your striking knife on a piece of scrap wood. Flip the square over and fit the blade to the previously struck line. Though you can't see the line in this picture, the top of the blade is touching it and there is a gap at the bottom. My striking knife is pointing to the line at the bottom. There's less than an 1/8" inch gap there. So, on my first attempt, I'm out of square about a V16". popularwoodworking.com I 33 |


