Popular Woodworking 2006-08 № 156, страница 84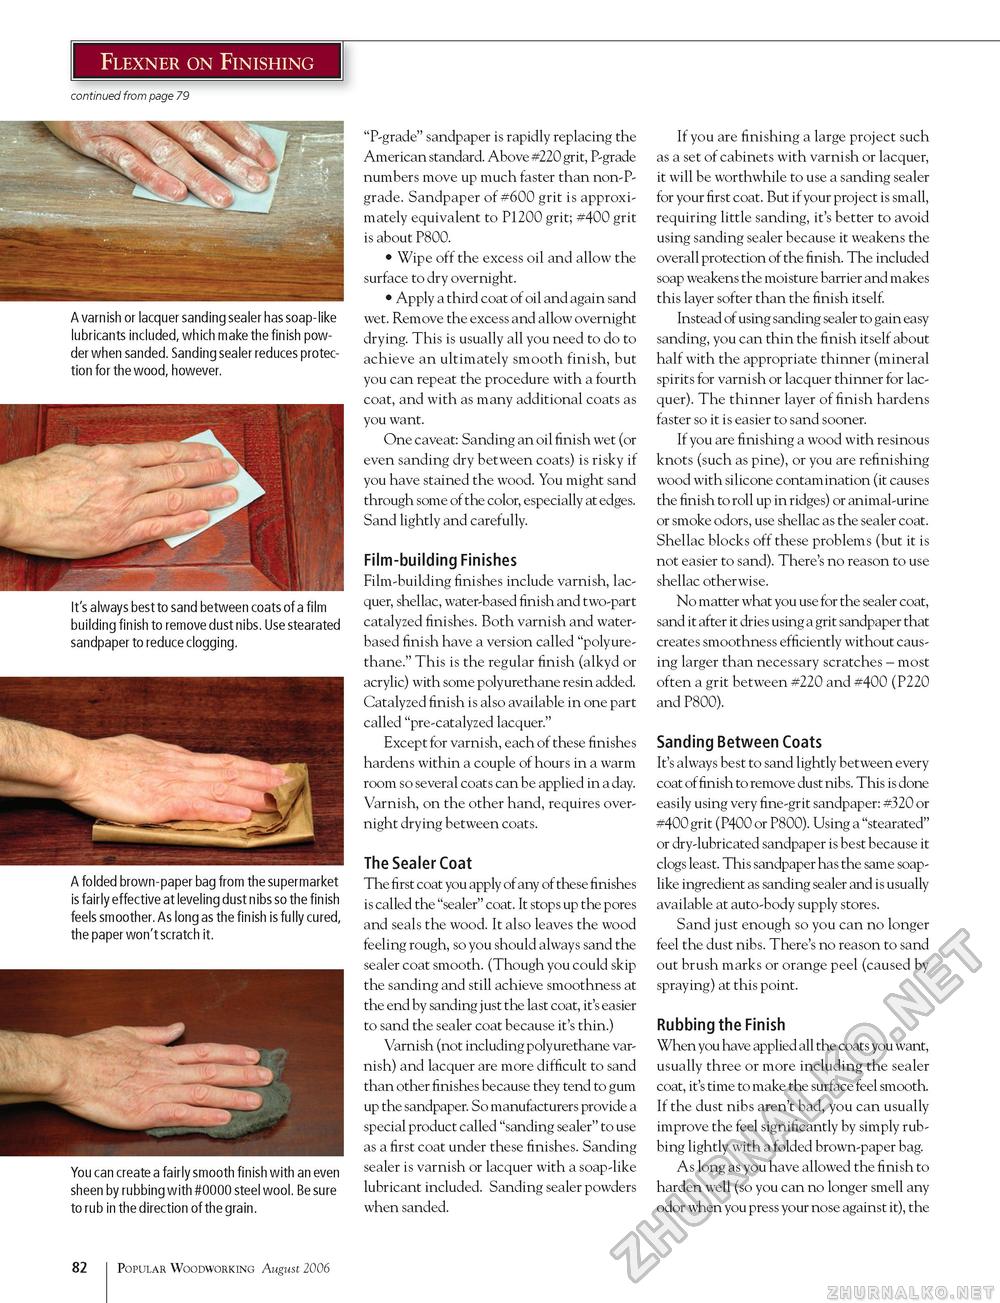
Flexner on Finishing continued from page 79 A varnish or lacquer sanding sealer has soap-like lubricants included, which make the finish powder when sanded. Sanding sealer reduces protection for the wood, however. It's always best to sand between coats of a film building finish to remove dust nibs. Use stearated sandpaper to reduce clogging. A folded brown-paper bag from the supermarket is fairly effective at leveling dust nibs so the finish feels smoother. As long as the finish is fully cured, the paper won't scratch it. You can create a fairly smooth finish with an even sheen by rubbing with #0000 steel wool. Be sure to rub in the direction of the grain. "P-grade" sandpaper is rapidly replacing the American standard. Above #220 grit, P-grade numbers move up much faster than non-P-grade. Sandpaper of #600 grit is approximately equivalent to P1200 grit; #400 grit is about P800. • Wipe off the excess oil and allow the surface to dry overnight. • Apply a third coat of oil and again sand wet. Remove the excess and allow overnight drying. This is usually all you need to do to achieve an ultimately smooth finish, but you can repeat the procedure with a fourth coat, and with as many additional coats as you want. One caveat: Sanding an oil finish wet (or even sanding dry between coats) is risky if you have stained the wood. You might sand through some of the color, especially at edges. Sand lightly and carefully. Film-building Finishes Film-building finishes include varnish, lacquer, shellac, water-based finish and two-part catalyzed finishes. Both varnish and water-based finish have a version called "polyure-thane." This is the regular finish (alkyd or acrylic) with some polyurethane resin added. Catalyzed finish is also available in one part called "pre-catalyzed lacquer." Except for varnish, each of these finishes hardens within a couple of hours in a warm room so several coats can be applied in a day. Varnish, on the other hand, requires overnight drying between coats. The Sealer Coat The first coat you apply of any of these finishes is called the "sealer" coat. It stops up the pores and seals the wood. It also leaves the wood feeling rough, so you should always sand the sealer coat smooth. (Though you could skip the sanding and still achieve smoothness at the end by sanding just the last coat, it's easier to sand the sealer coat because it's thin.) Varnish (not including polyurethane varnish) and lacquer are more difficult to sand than other finishes because they tend to gum up the sandpaper. So manufacturers provide a special product called "sanding sealer" to use as a first coat under these finishes. Sanding sealer is varnish or lacquer with a soap-like lubricant included. Sanding sealer powders when sanded. If you are finishing a large project such as a set of cabinets with varnish or lacquer, it will be worthwhile to use a sanding sealer for your first coat. But if your proj ect is small, requiring little sanding, it's better to avoid using sanding sealer because it weakens the overall protection of the finish. The included soap weakens the moisture barrier and makes this layer softer than the finish itself. Instead of using sanding sealer to gain easy sanding, you can thin the finish itself about half with the appropriate thinner (mineral spirits for varnish or lacquer thinner for lacquer). The thinner layer of finish hardens faster so it is easier to sand sooner. If you are finishing a wood with resinous knots (such as pine), or you are refinishing wood with silicone contamination (it causes the finish to roll up in ridges) or animal-urine or smoke odors, use shellac as the sealer coat. Shellac blocks off these problems (but it is not easier to sand). There's no reason to use shellac otherwise. No matter what you use for the sealer coat, sand it after it dries using a grit sandpaper that creates smoothness efficiently without causing larger than necessary scratches - most often a grit between #220 and #400 (P220 and P800). Sanding Between Coats It's always best to sand lightly between every coat of finish to remove dust nibs. This is done easily using very fine-grit sandpaper: #320 or #400 grit (P400 or P800). Using a "stearated" or dry-lubricated sandpaper is best because it clogs least. This sandpaper has the same soaplike ingredient as sanding sealer and is usually available at auto-body supply stores. Sand just enough so you can no longer feel the dust nibs. There's no reason to sand out brush marks or orange peel (caused by spraying) at this point. Rubbing the Finish When you have applied all the coats you want, usually three or more including the sealer coat, it's time to make the surface feel smooth. If the dust nibs aren't bad, you can usually improve the feel significantly by simply rubbing lightly with a folded brown-paper bag. As long as you have allowed the finish to harden well (so you can no longer smell any odor when you press your nose against it), the 82 Popular Woodworking August 2006 |


