Popular Woodworking 2006-10 № 157, страница 51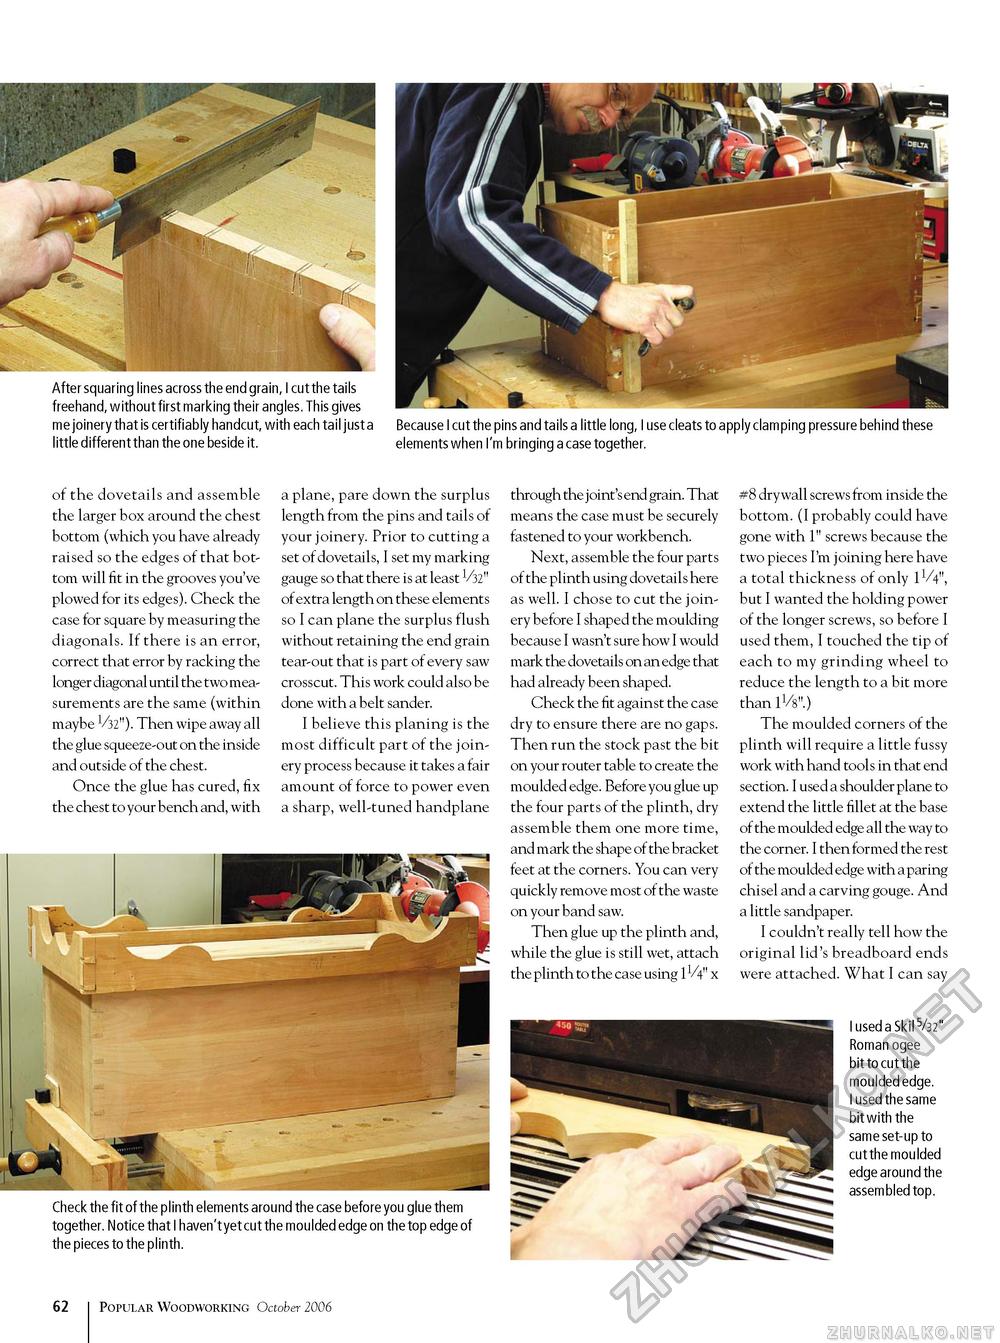
After squaring lines across the end grain, I cut the tails freehand, without first marking their angles. This gives me joinery that is certifiably handcut, with each tail just a little different than the one beside it. Because I cut the pins and tails a little long, I use cleats to apply clamping pressure behind these elements when I'm bringing a case together. of the dovetails and assemble the larger box around the chest bottom (which you have already raised so the edges of that bottom will fit in the grooves you've plowed for its edges). Check the case for square by measuring the diagonals. If there is an error, correct that error by racking the longer diagonal until the two measurements are the same (within maybe 1/32"). Then wipe away all the glue squeeze-out on the inside and outside of the chest. Once the glue has cured, fix the chest to your bench and, with a plane, pare down the surplus length from the pins and tails of your joinery. Prior to cutting a set of dovetails, I set my marking gauge so that there is at least 1/32" of extra length on these elements so I can plane the surplus flush without retaining the end grain tear-out that is part of every saw crosscut. This work could also be done with a belt sander. I believe this planing is the most difficult part of the joinery process because it takes a fair amount of force to power even a sharp, well-tuned handplane through the joint's end grain. That means the case must be securely fastened to your workbench. Next, assemble the four parts of the plinth using dovetails here as well. I chose to cut the joinery before I shaped the moulding because I wasn't sure how I would mark the dovetails on an edge that had already been shaped. Check the fit against the case dry to ensure there are no gaps. Then run the stock past the bit on your router table to create the moulded edge. Before you glue up the four parts of the plinth, dry assemble them one more time, and mark the shape of the bracket feet at the corners. You can very quickly remove most of the waste on your band saw. Then glue up the plinth and, while the glue is still wet, attach the plinth to the case using 1V4" x Check the fit of the plinth elements around the case before you glue them together. Notice that I haven't yet cut the moulded edge on the top edge of the pieces to the plinth. #8 drywall screws from inside the bottom. (I probably could have gone with 1" screws because the two pieces I'm joining here have a total thickness of only 1V4", but I wanted the holding power of the longer screws, so before I used them, I touched the tip of each to my grinding wheel to reduce the length to a bit more than 11/8".) The moulded corners of the plinth will require a little fussy work with hand tools in that end section. I used a shoulder plane to extend the little fillet at the base of the moulded edge all the way to the corner. I then formed the rest of the moulded edge with a paring chisel and a carving gouge. And a little sandpaper. I couldn't really tell how the original lid's breadboard ends were attached. What I can say I used a Skil V32" Roman ogee bit to cut the moulded edge. I used the same bit with the same set-up to cut the moulded edge around the assembled top. 62 Popular Woodworking October 2006 |


