Popular Woodworking 2006-10 № 157, страница 52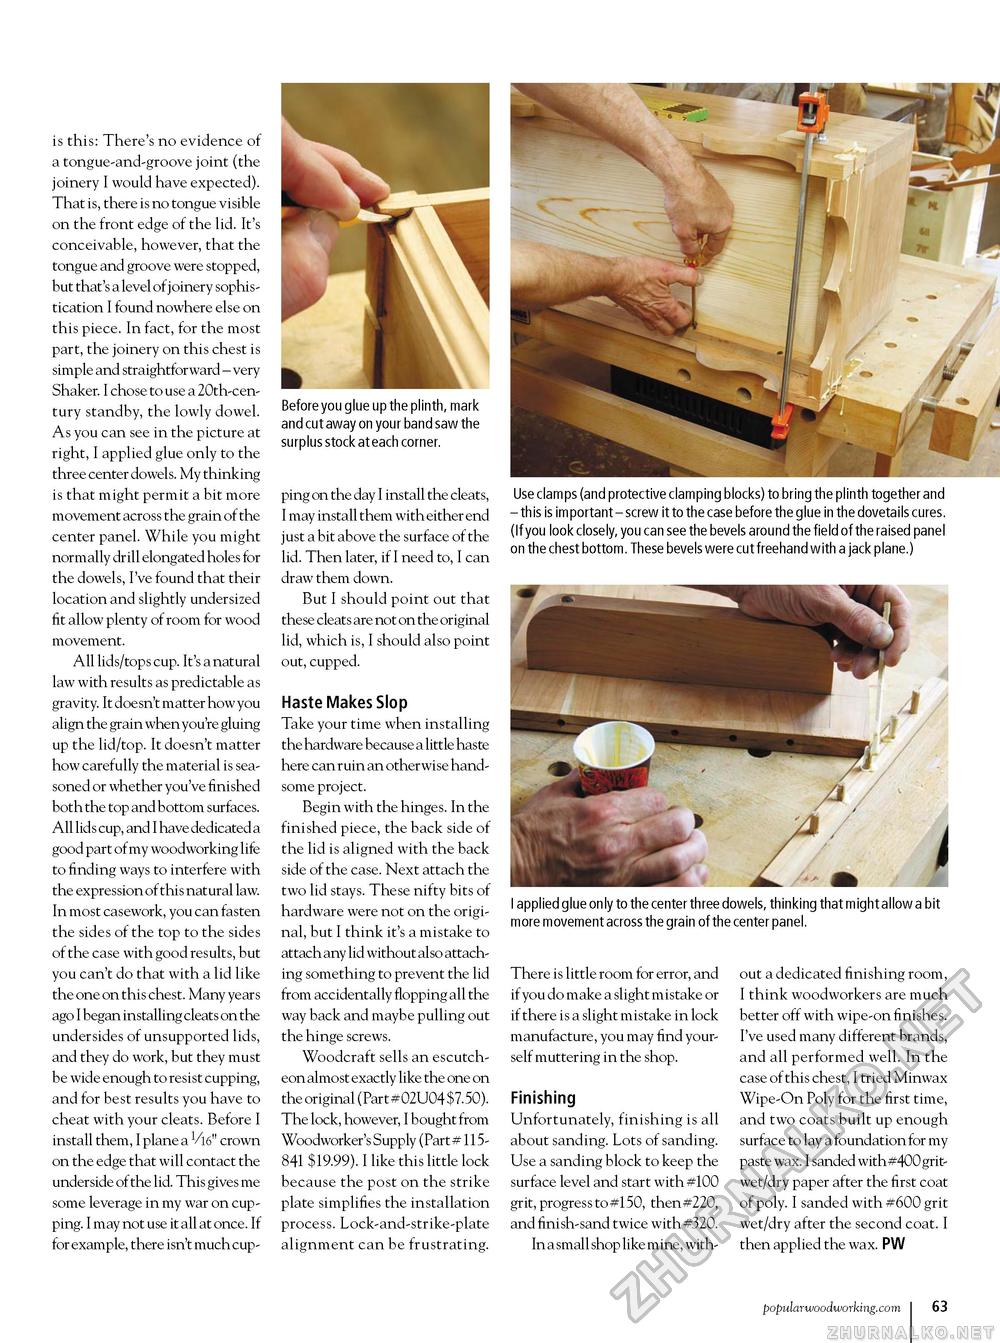
is this: There's no evidence of a tongue-and-groove joint (the joinery I would have expected). That is, there is no tongue visible on the front edge of the lid. It's conceivable, however, that the tongue and groove were stopped, but that's a level of joinery sophistication I found nowhere else on this piece. In fact, for the most part, the joinery on this chest is simple and straightforward - very Shaker. I chose to use a 20th-century standby, the lowly dowel. As you can see in the picture at right, I applied glue only to the three center dowels. My thinking is that might permit a bit more movement across the grain of the center panel. While you might normally drill elongated holes for the dowels, I've found that their location and slightly undersized fit allow plenty of room for wood movement. All lids/tops cup. It's a natural law with results as predictable as gravity. It doesn't matter how you align the grain when you're gluing up the lid/top. It doesn't matter how carefully the material is seasoned or whether you've finished both the top and bottom surfaces. All lids cup, and I have dedicated a good part of my woodworking life to finding ways to interfere with the expression of this natural law. In most casework, you can fasten the sides of the top to the sides of the case with good results, but you can't do that with a lid like the one on this chest. Many years ago I began installing cleats on the undersides of unsupported lids, and they do work, but they must be wide enough to resist cupping, and for best results you have to cheat with your cleats. Before I install them, I plane a crown on the edge that will contact the underside of the lid. This gives me some leverage in my war on cupping. I may not use it all at once. If for example, there isn't much cup- Before you glue up the plinth, mark and cut away on your band saw the surplus stock at each corner. ping on the day I install the cleats, I may install them with either end just a bit above the surface of the lid. Then later, if I need to, I can draw them down. But I should point out that these cleats are not on the original lid, which is, I should also point out, cupped. Haste Makes Slop Take your time when installing the hardware because a little haste here can ruin an otherwise handsome project. Begin with the hinges. In the finished piece, the back side of the lid is aligned with the back side of the case. Next attach the two lid stays. These nifty bits of hardware were not on the original, but I think it's a mistake to attach any lid without also attaching something to prevent the lid from accidentally flopping all the way back and maybe pulling out the hinge screws. Woodcraft sells an escutcheon almost exactly like the one on the original (Part # 02U04 $7.50). The lock, however, I bought from Woodworker's Supply (Part # i 15-84i $19.99). I like this little lock because the post on the strike plate simplifies the installation process. Lock-and-strike-plate alignment can be frustrating. Use clamps (and protective clamping blocks) to bring the plinth together and - this is important - screw it to the case before the glue in the dovetails cures. (If you look closely, you can see the bevels around the field of the raised panel on the chest bottom. These bevels were cut freehand with a jack plane.) I applied glue only to the center three dowels, thinking that might allow a bit more movement across the grain of the center panel. There is little room for error, and if you do make a slight mistake or if there is a slight mistake in lock manufacture, you may find yourself muttering in the shop. Finishing Unfortunately, finishing is all about sanding. Lots of sanding. Use a sanding block to keep the surface level and start with #100 grit, progress to #150, then #220, and finish-sand twice with #320. In a small shop like mine, with- out a dedicated finishing room, I think woodworkers are much better off with wipe-on finishes. I've used many different brands, and all performed well. In the case of this chest, I tried Minwax Wipe-On Poly for the first time, and two coats built up enough surface to lay a foundation for my paste wax. I sanded with #400grit-wet/dry paper after the first coat of poly. I sanded with #600 grit wet/dry after the second coat. I then applied the wax. PW popularwoodworking.com i 63 |


