Popular Woodworking 2006-10 № 157, страница 69
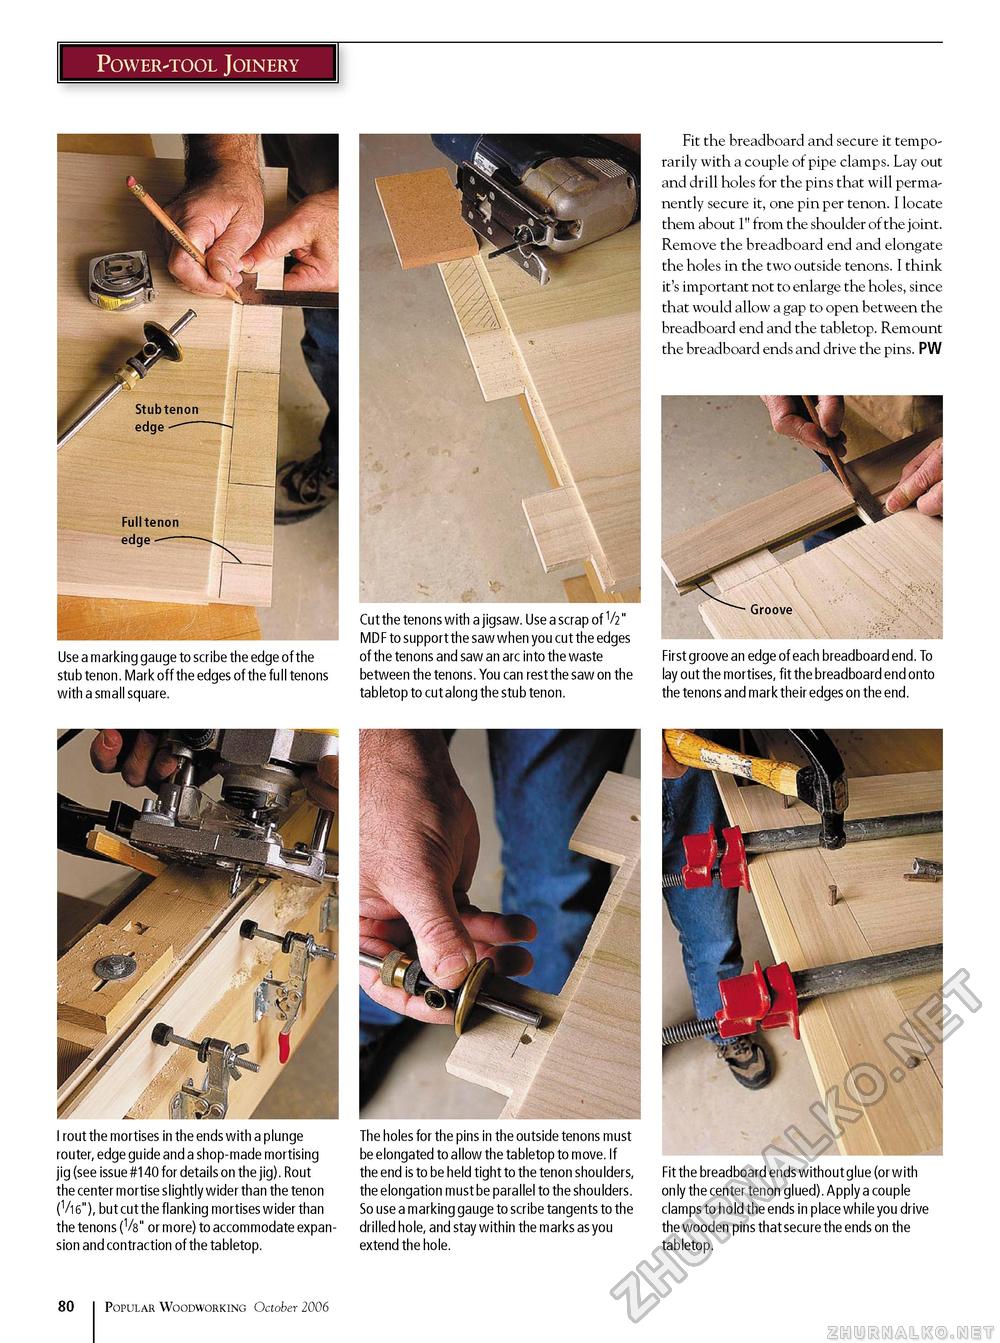
Power-tool Joinery Use a marking gauge to scribe the edge of the stub tenon. Mark off the edges of the full tenons with a small square. Cut the tenons with a jigsaw. Use a scrap of 1h" MDF to support the saw when you cut the edges of the tenons and saw an arc into the waste between the tenons. You can rest the saw on the tabletop to cut along the stub tenon. Fit the breadboard and secure it temporarily with a couple of pipe clamps. Lay out and drill holes for the pins that will permanently secure it, one pin per tenon. I locate them about 1" from the shoulder of the joint. Remove the breadboard end and elongate the holes in the two outside tenons. I think it's important not to enlarge the holes, since that would allow a gap to open between the breadboard end and the tabletop. Remount the breadboard ends and drive the pins. PW First groove an edge of each breadboard end. To lay out the mortises, fit the breadboard end onto the tenons and mark their edges on the end. I rout the mortises in the ends with a plunge router, edge guide and a shop-made mortising jig (see issue #140 for details on the jig). Rout the center mortise slightly wider than the tenon (V16"), but cut the flanking mortises wider than the tenons (V8" or more) to accommodate expansion and contraction of the tabletop. The holes for the pins in the outside tenons must be elongated to allow the tabletop to move. If the end is to be held tight to the tenon shoulders, the elongation must be parallel to the shoulders. So use a marking gauge to scribe tangents to the drilled hole, and stay within the marks as you extend the hole. Fit the breadboard ends without glue (or with only the center tenon glued). Apply a couple clamps to hold the ends in place while you drive the wooden pins that secure the ends on the tabletop. 80 Popular Woodworking October 2006 |


