Popular Woodworking 2006-12 № 159, страница 13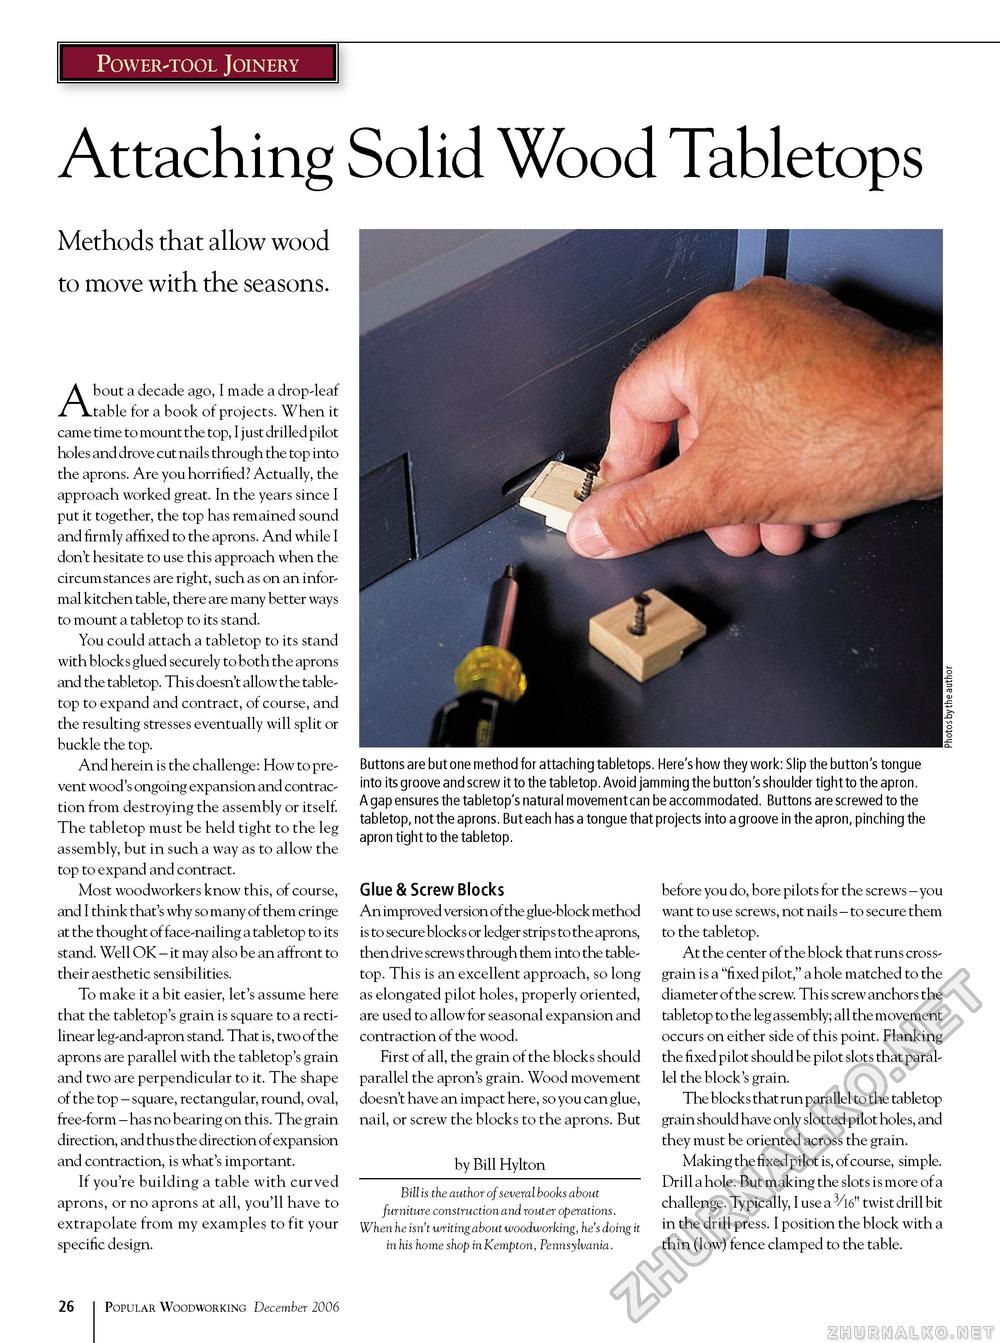
Power-tool Joinery Attaching Solid Wood Tabletops Methods that allow wood to move with the seasons. About a decade ago, I made a drop-leaf table for a book of projects. When it came time to mount the top, I just drilled pilot holes and drove cut nails through the top into the aprons. Are you horrified? Actually, the approach worked great. In the years since I put it together, the top has remained sound and firmly affixed to the aprons. And while I don't hesitate to use this approach when the circumstances are right, such as on an informal kitchen table, there are many better ways to mount a tabletop to its stand. You could attach a tabletop to its stand with blocks glued securely to both the aprons and the tabletop. This doesn't allow the table-top to expand and contract, of course, and the resulting stresses eventually will split or buckle the top. And herein is the challenge: How to prevent wood's ongoing expansion and contraction from destroying the assembly or itself. The tabletop must be held tight to the leg assembly, but in such a way as to allow the top to expand and contract. Most woodworkers know this, of course, and I think that's why so many of them cringe at the thought of face-nailing a tabletop to its stand. Well OK - it may also be an affront to their aesthetic sensibilities. To make it a bit easier, let's assume here that the tabletop's grain is square to a rectilinear leg-and-apron stand. That is, two of the aprons are parallel with the tabletop's grain and two are perpendicular to it. The shape of the top - square, rectangular, round, oval, free-form - has no bearing on this. The grain direction, and thus the direction of expansion and contraction, is what's important. If you're building a table with curved aprons, or no aprons at all, you'll have to extrapolate from my examples to fit your specific design. Buttons are but one method for attaching tabletops. Here's how they work: Slip the button's tongue into its groove and screw it to the tabletop. Avoid jamming the button's shoulder tight to the apron. A gap ensures the tabletop's natural movement can be accommodated. Buttons are screwed to the tabletop, not the aprons. But each has a tongue that projects into a groove in the apron, pinching the apron tight to the tabletop. Glue & Screw Blocks An improved version of the glue-block method is to secure blocks or ledger strip s to the aprons, then drive screws through them into the table-top. This is an excellent approach, so long as elongated pilot holes, properly oriented, are used to allow for seasonal expansion and contraction of the wood. First of all, the grain of the blocks should parallel the apron's grain. Wood movement doesn't have an impact here, so you can glue, nail, or screw the blocks to the aprons. But by Bill Hylton Bill is the author of several books about furniture construction and router operations. When he isn't writing about woodworking, he's doing it in his home shop in Kempton, Pennsylvania. before you do, bore pilots for the screws - you want to use screws, not nails - to secure them to the tabletop. At the center of the block that runs cross-grain is a "fixed pilot," a hole matched to the diameter of the screw. This screw anchors the tabletop to the leg assembly; all the movement occurs on either side of this point. Flanking the fixed pilot should be pilot slots that parallel the block's grain. The blocks that run parallel to the tabletop grain should have only slotted pilot holes, and they must be oriented across the grain. Making the fixed pilot is, of course, simple. Drill a hole. But making the slots is more of a challenge. Typically, I use a 3/l6" twist drill bit in the drill press. I position the block with a thin (low) fence clamped to the table. 26 Popular Woodworking December 2006 |


