Popular Woodworking 2007-02 № 160, страница 19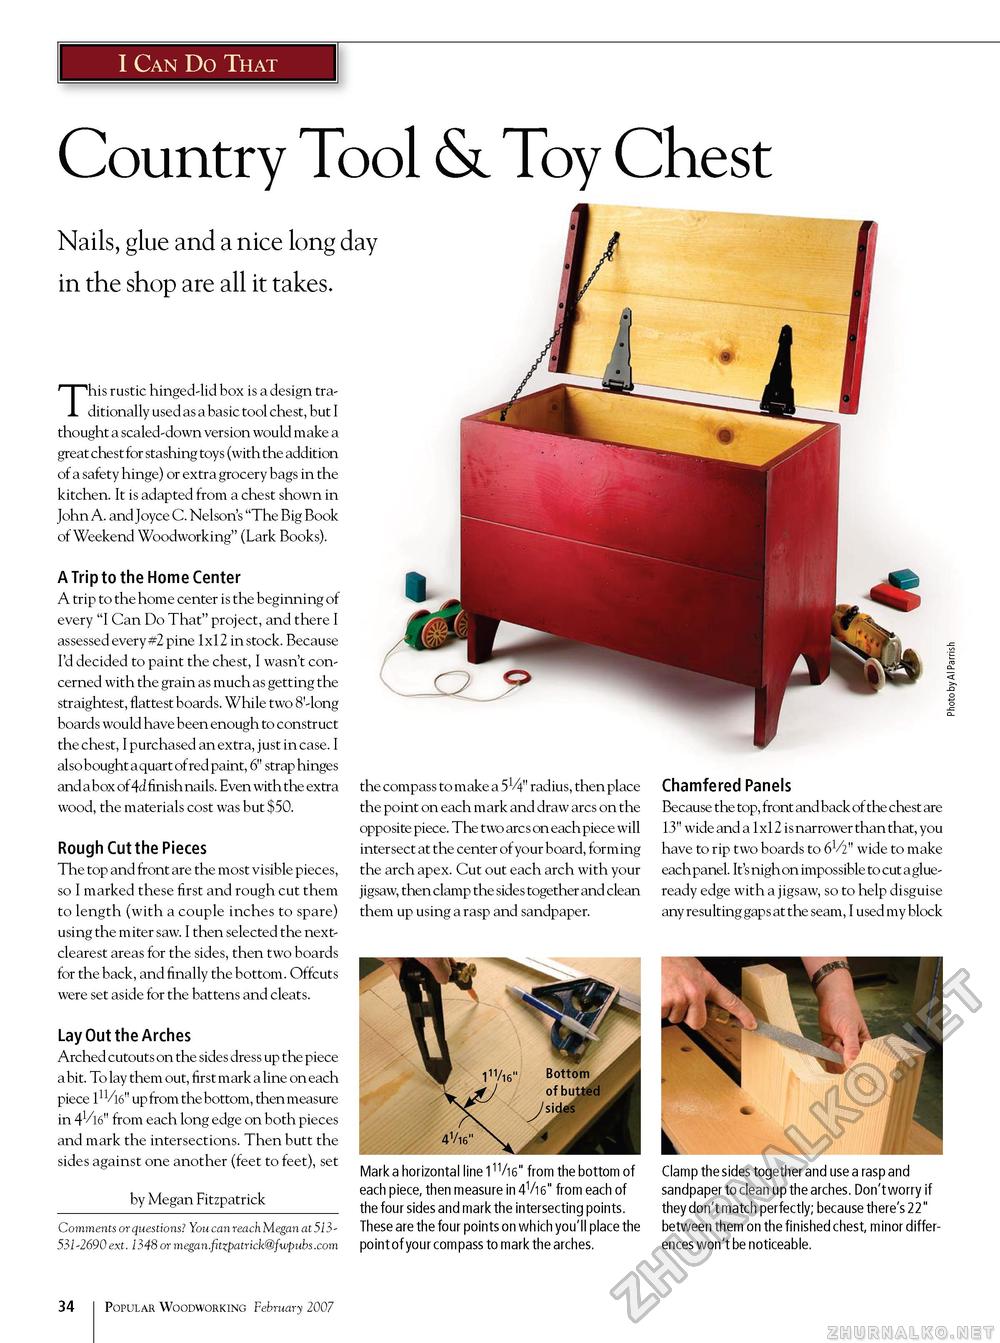
I Can Do That Country Tool & Toy Chest Nails, glue and a nice long day in the shop are all it takes. This rustic hinged-lid box is a design traditionally used as a basic tool chest, but I thought a scaled-down version would make a great chest for stashing toys (with the addition of a safety hinge) or extra grocery bags in the kitchen. It is adapted from a chest shown in John A. and Joyce C. Nelson's ""The Big Book of Weekend Woodworking" (Lark Books). A Trip to the Home Center A trip to the home center is the beginning of every "I Can Do That" project, and there I assessed every #2 pine 1x12 in stock. Because I'd decided to paint the chest, I wasn't concerned with the grain as much as getting the straightest, flattest boards. While two 8'-long boards would have been enough to construct the chest, I purchased an extra, just in case. I also bought a quart ofred paint, 6" strap hinges and a box of 4d finish nails. Even with the extra wood, the materials cost was but $50. Rough Cut the Pieces The top and front are the most visible pieces, so I marked these first and rough cut them to length (with a couple inches to spare) using the miter saw. I then selected the next-clearest areas for the sides, then two boards for the back, and finally the bottom. Offcuts were set aside for the battens and cleats. Lay Out the Arches Arched cutouts on the sides dress up the piece a bit. To lay them out, first mark a line on each piece up from the bottom, then measure in 41/16" from each long edge on both pieces and mark the intersections. Then butt the sides against one another (feet to feet), set by Megan Fitzpatrick Comments or questions? You can reach Megan at 513531 -2690 ext. 1348 or megan.fitzpatrick@fwpubs.com the compass to make a 51/4" radius, then place the point on each mark and draw arcs on the opposite piece. The two arcs on each piece will intersect at the center of your board, forming the arch apex. Cut out each arch with your jigsaw, then clamp the sides together and clean them up using a rasp and sandpaper. Chamfered Panels Because the top, front and back of the chest are 13" wide and a 1x12 is narrower than that, you have to rip two boards to 61/2" wide to make each panel. It's nigh on impossible to cut a glue-ready edge with a jigsaw, so to help disguise any resulting gaps at the seam, I used my block Mark a horizontal line l11/^" from the bottom of each piece, then measure in 4Vi6" from each of the four sides and mark the intersecting points. These are the four points on which you'll place the point of your compass to mark the arches. Clamp the sides together and use a rasp and sandpaper to clean up the arches. Don't worry if they don't match perfectly; because there's 22" between them on the finished chest, minor differences won't be noticeable. 34 Popular Woodworking February 2007 |


