Popular Woodworking 2007-08 № 163, страница 9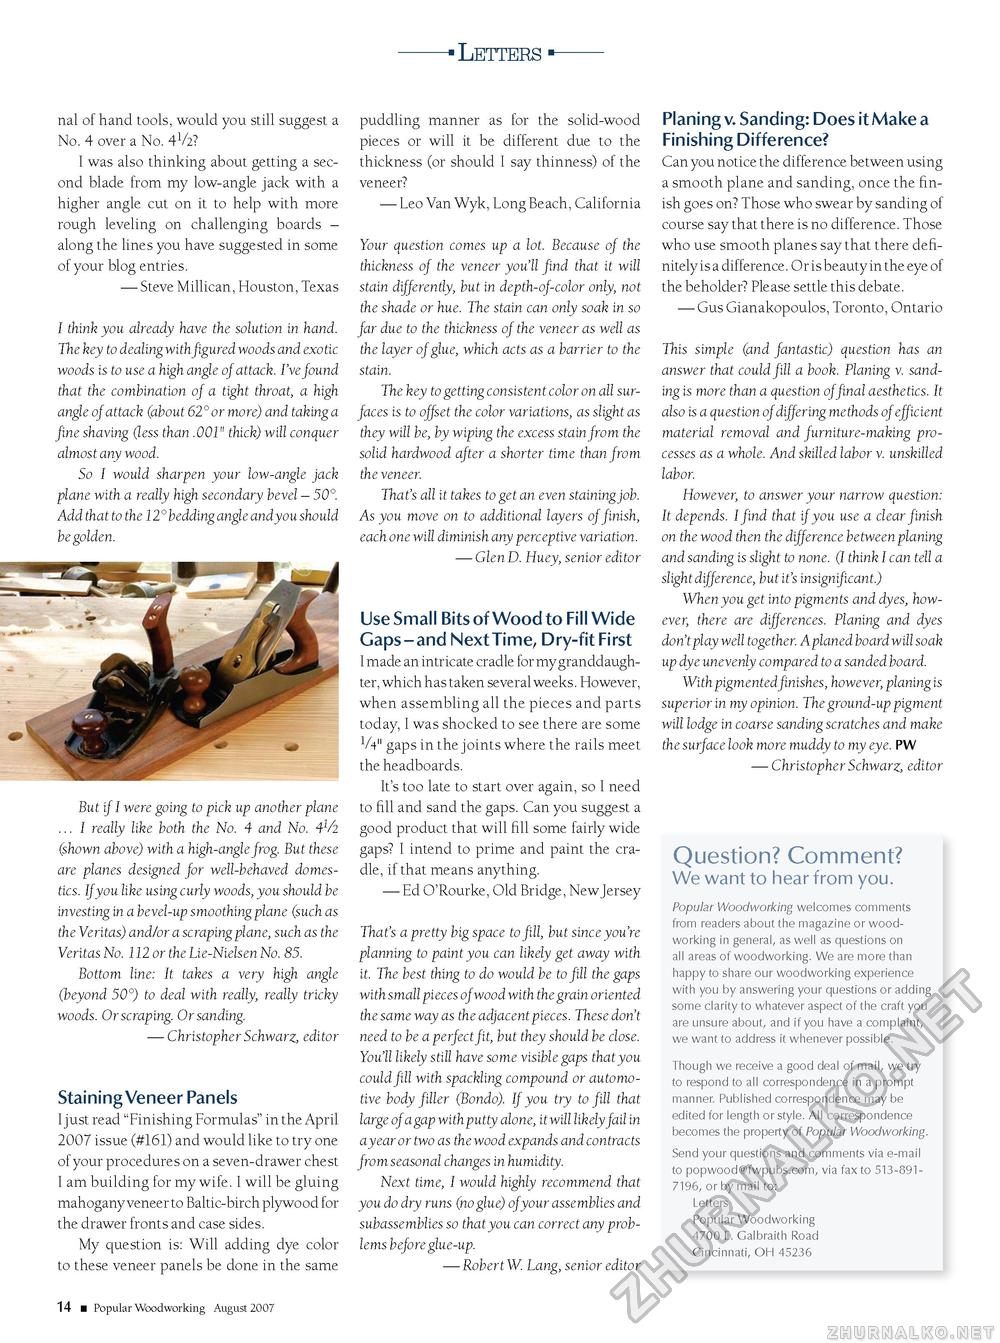
Letters nal of hand tools, would you still suggest a No. 4 over a No. 4V2? I was also thinking about getting a second blade from my low-angle jack with a higher angle cut on it to help with more rough leveling on challenging boards -along the lines you have suggested in some of your blog entries. — Steve Millican, Houston, Texas I think you already have the solution in hand. The key to dealingwithfigured woods and exotic woods is to use a high angle of attack. I've found that the combination of a tight throat, a high angle of attack (about 62° or more) and taking a fine shaving (less than .001" thick) will conquer almost any wood. So I would sharpen your low-angle jack plane with a really high secondary bevel — 50° Add that to the 12° bedding angle andyou should be golden. But if I were going to pick up another plane ... I really like both the No. 4 and No. 41/2 (shown above) with a high-angle frog. But these are planes designed for well-behaved domestics. Ifyou like using curly woods, you should be investing in a bevel-up smoothing plane (such as the Veritas) and/or a scraping plane, such as the Veritas No. 112 or the Lie-Nielsen No. 85. Bottom line: It takes a very high angle (beyond 50°) to deal with really, really tricky woods. Or scraping. Or sanding. — Christopher Schwarz, editor Staining Veneer Panels I just read "Finishing Formulas" in the April 2007 issue (#161) and would like to try one of your procedures on a seven-drawer chest I am building for my wife. I will be gluing mahogany veneer to Baltic-birch plywood for the drawer fronts and case sides. My question is: Will adding dye color to these veneer panels be done in the same puddling manner as for the solid-wood pieces or will it be different due to the thickness (or should I say thinness) of the veneer? — Leo Van Wyk, Long Beach, California Your question comes up a lot. Because of the thickness of the veneer you'll find that it will stain differently, but in depth-of-color only, not the shade or hue. The stain can only soak in so far due to the thickness of the veneer as well as the layer of glue, which acts as a barrier to the stain. The key to getting consistent color on all surfaces is to offset the color variations, as slight as they will be, by wiping the excess stain from the solid hardwood after a shorter time than from the veneer. That's all it takes to get an even staining job. As you move on to additional layers of finish, each one will diminish any perceptive variation. — Glen D. Huey, senior editor Use Small Bits of Wood to Fill Wide Gaps - and Next Time, Dry-fit First I made an intricate cradle for my granddaughter, which has taken several weeks. However, when assembling all the pieces and parts today, I was shocked to see there are some V4" gaps in the joints where the rails meet the headboards. It's too late to start over again, so I need to fill and sand the gaps. Can you suggest a good product that will fill some fairly wide gaps? I intend to prime and paint the cradle, if that means anything. — Ed O'Rourke, Old Bridge, New Jersey That's a pretty big space to fill, but since you're planning to paint you can likely get away with it. The best thing to do would be to fill the gaps with small pieces of wood with the grain oriented the same way as the adjacent pieces. These don't need to be a perfect fit, but they should be close. You'll likely still have some visible gaps that you could fill with spackling compound or automotive body filler (Bondo). If you try to fill that large of a gap with putty alone, it will likely fail in ayear or two as the wood expands and contracts from seasonal changes in humidity. Next time, I would highly recommend that you do dry runs (no glue) of your assemblies and subassemblies so that you can correct any problems before glue-up. — Robert W. Lang, senior editor Planing v. Sanding: Does it Make a Finishing Difference? Can you notice the difference between using a smooth plane and sanding, once the finish goes on? Those who swear by sanding of course say that there is no difference. Those who use smooth planes say that there definitely is a difference. Or is beauty in the eye of the beholder? Please settle this debate. — Gus Gianakopoulos, Toronto, Ontario This simple (and fantastic) question has an answer that could fill a book. Planing v. sanding is more than a question of final aesthetics. It also is a question of differing methods of efficient material removal and furniture-making processes as a whole. And skilled labor v. unskilled labor. However, to answer your narrow question: It depends. I find that if you use a clear finish on the wood then the difference between planing and sanding is slight to none. (I think I can tell a slight difference, but it's insignificant.) When you get into pigments and dyes, however, there are differences. Planing and dyes don't play well together. A planed board will soak up dye unevenly compared to a sanded board. With pigmented finishes, however, planing is superior in my opinion. The ground-up pigment will lodge in coarse sanding scratches and make the surface look more muddy to my eye. PW — Christopher Schwarz, editor Question? Comment? We want to hear from you. Popular Woodworking welcomes comments from readers about the magazine or woodworking in general, as well as questions on all areas of woodworking. We are more than happy to share our woodworking experience with you by answering your questions or adding some clarity to whatever aspect of the craft you are unsure about, and if you have a complaint, we want to address it whenever possible. though we receive a good deal of mail, we try to respond to all correspondence in a prompt manner. Published correspondence may be edited for length or style. all correspondence becomes the property of Popular Woodworking. send your questions and comments via e-mail to popwood@fwpubs.com, via fax to 513-8917196, or by mail to: letters Popular Woodworking 4700 E. Galbraith road Cincinnati, oh 45236 14 ■ Popular Woodworking August 2007 |


