Popular Woodworking 2007-10 № 164, страница 39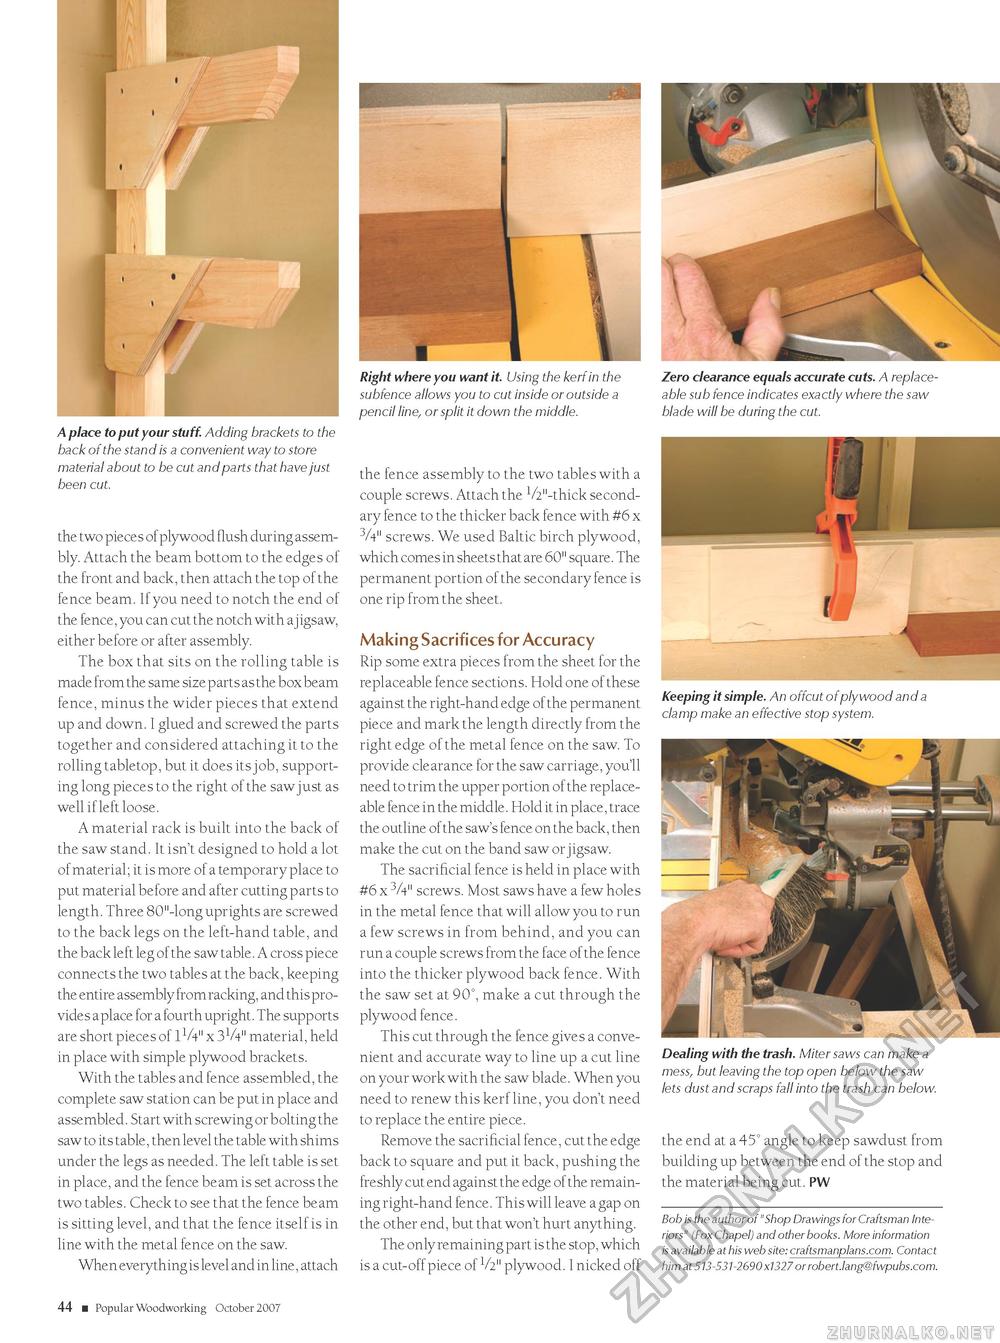
A place to put your stuff. Adding brackets to the back of the stand is a convenient way to store material about to be cut and parts that have just been cut. the two pieces of plywood flush during assembly. Attach the beam bottom to the edges of the front and back, then attach the top of the fence beam. If you need to notch the end of the fence, you can cut the notch with a j igsaw, either before or after assembly. The box that sits on the rolling table is made from the same size parts as the box beam fence, minus the wider pieces that extend up and down. I glued and screwed the parts together and considered attaching it to the rolling tabletop, but it does its job, supporting long pieces to the right of the saw just as well if left loose. A material rack is built into the back of the saw stand. It isn't designed to hold a lot of material; it is more of a temporary place to put material before and after cutting parts to length. Three 80"-long uprights are screwed to the back legs on the left-hand table, and the back left leg of the saw table. A cross piece connects the two tables at the back, keeping the entire assembly from racking, and this provides a place for a fourth upright. The supports are short pieces of 11/4" x 3V4" material, held in place with simple plywood brackets. With the tables and fence assembled, the complete saw station can be put in place and assembled. Start with screwing or bolting the saw to its table, then level the table with shims under the legs as needed. The left table is set in place, and the fence beam is set across the two tables. Check to see that the fence beam is sitting level, and that the fence itself is in line with the metal fence on the saw. When everything is level and in line, attach Right where you want it. Using the kerf in the subfence allows you to cut inside or outside a pencil line, or split it down the middle. the fence assembly to the two tables with a couple screws. Attach the 1/2"-thick secondary fence to the thicker back fence with #6 x 3A" screws. We used Baltic birch plywood, which comes in sheets that are 60" square. The permanent portion of the secondary fence is one rip from the sheet. Making Sacrifices for Accuracy Rip some extra pieces from the sheet for the replaceable fence sections. Hold one of these against the right-hand edge of the permanent piece and mark the length directly from the right edge of the metal fence on the saw. To provide clearance for the saw carriage, you'll need to trim the upper portion of the replaceable fence in the middle. Hold it in place, trace the outline of the saw's fence on the back, then make the cut on the band saw or jigsaw. The sacrificial fence is held in place with #6 x 3A" screws. Most saws have a few holes in the metal fence that will allow you to run a few screws in from behind, and you can run a couple screws from the face of the fence into the thicker plywood back fence. With the saw set at 90°, make a cut through the plywood fence. This cut through the fence gives a convenient and accurate way to line up a cut line on your work with the saw blade. When you need to renew this kerf line, you don't need to replace the entire piece. Remove the sacrificial fence, cut the edge back to square and put it back, pushing the freshly cut end against the edge of the remaining right-hand fence. This will leave a gap on the other end, but that won't hurt anything. The only remaining part is the stop, which is a cut-off piece of V2" plywood. I nicked off Zero clearance equals accurate cuts. A replaceable sub fence indicates exactly where the saw blade will be during the cut. Keeping it simple. An offcut of plywood and a clamp make an effective stop system. Dealing with the trash. Miter saws can make a mess, but leaving the top open below the saw lets dust and scraps fall into the trash can below. the end at a 45° angle to keep sawdust from building up between the end of the stop and the material being cut. PW Bob is the author of "Shop Drawings for Craftsman Interiors" (Fox Chapel) and other books. More information is available at his web site: craftsmanplans.com. Contact him at 513-531-2690 x1327 or robert.lang@fwpubs.com. 44 ■ Popular Woodworking October 2007 |


