Popular Woodworking 2007-11 № 165, страница 65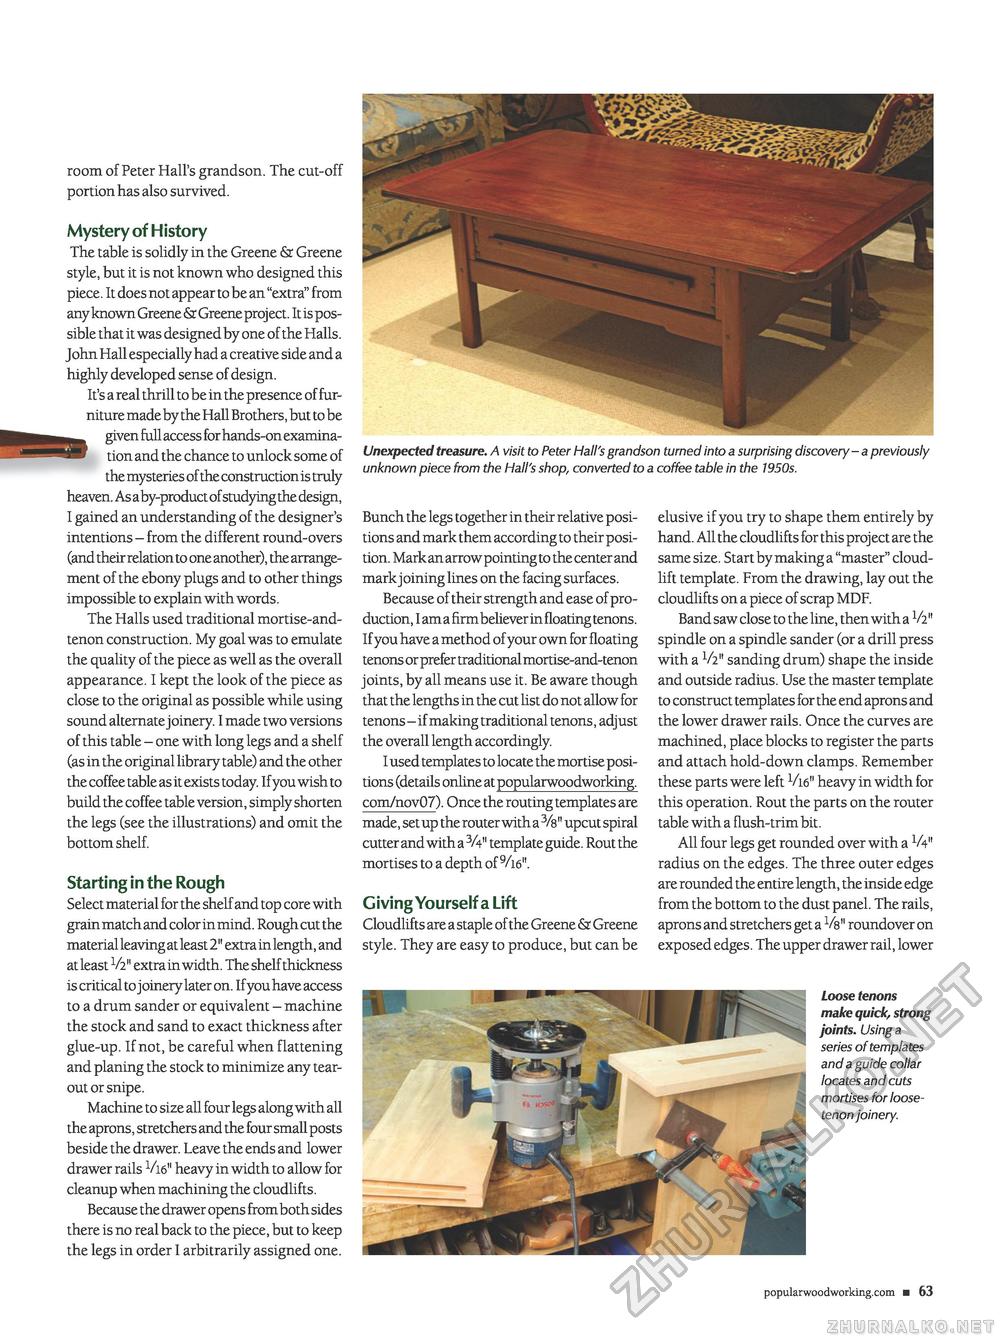
room of Peter Hall's grandson. The cut-off portion has also survived. Mystery of History The table is solidly in the Greene & Greene style, but it is not known who designed this piece. It does not appear to be an "extra" from any known Greene & Greene project. It is possible that it was designed by one of the Halls. John Hall especially had a creative side and a highly developed sense of design. It's a real thrill to be in the presence of furniture made by the Hall Brothers, but to be given full access for hands-on examination and the chance to unlock some of the mysteries of the construction is truly heaven. As aby-product of studying the design, I gained an understanding of the designer's intentions - from the different round-overs (and their relation to one another), the arrangement of the ebony plugs and to other things impossible to explain with words. The Halls used traditional mortise-and-tenon construction. My goal was to emulate the quality of the piece as well as the overall appearance. I kept the look of the piece as close to the original as possible while using sound alternate joinery. I made two versions of this table - one with long legs and a shelf (as in the original library table) and the other the coffee table as it exists today. If you wish to build the coffee table version, simply shorten the legs (see the illustrations) and omit the bottom shelf. Starting in the Rough Select material for the shelf and top core with grain match and color in mind. Rough cut the material leaving at least2" extra in length, and at least 1/2" extra in width. The shelf thickness is critical to joinery later on. If you have access to a drum sander or equivalent - machine the stock and sand to exact thickness after glue-up. If not, be careful when flattening and planing the stock to minimize any tear-out or snipe. Machine to size all four legs along with all the aprons, stretchers and the four small posts beside the drawer. Leave the ends and lower drawer rails Vi6" heavy in width to allow for cleanup when machining the cloudlifts. Because the drawer opens from both sides there is no real back to the piece, but to keep the legs in order I arbitrarily assigned one. Unexpected treasure. A visit to Peter Hall's grandson turned into a surprising discovery - a previously unknown piece from the Hall's shop, converted to a coffee table in the 1950s. Bunch the legs together in their relative positions and mark them according to their position. Mark an arrow pointing to the center and mark joining lines on the facing surfaces. Because of their strength and ease of production, I am a firm believer in floating tenons. If you have a method of your own for floating tenons orprefertraditionalmortise-and-tenon joints, by all means use it. Be aware though that the lengths in the cut list do not allow for tenons - if making traditional tenons, adjust the overall length accordingly. I used templates to locate the mortise positions (details online at popularwoodworking. com/nov07). Once the routing templates are made, setup the router witha3/8"upcutspiral cutter and with a 3A" template guide. Rout the mortises to a depth of 9/i6". Giving Yourself a Lift Cloudlifts are a staple of the Greene & Greene style. They are easy to produce, but can be elusive if you try to shape them entirely by hand. All the cloudlifts for this project are the same size. Start by making a "master" cloud-lift template. From the drawing, lay out the cloudlifts on a piece of scrap MDF. Band saw close to the line, then with a V2" spindle on a spindle sander (or a drill press with a V2" sanding drum) shape the inside and outside radius. Use the master template to construct templates for the end aprons and the lower drawer rails. Once the curves are machined, place blocks to register the parts and attach hold-down clamps. Remember these parts were left VL6" heavy in width for this operation. Rout the parts on the router table with a flush-trim bit. All four legs get rounded over with a V4" radius on the edges. The three outer edges are rounded the entire length, the inside edge from the bottom to the dust panel. The rails, aprons and stretchers get a Vs" roundover on exposed edges. The upper drawer rail, lower Loose tenons make quick, strong joints. Using a series of templates and a guide collar locates and cuts mortises for loose-tenon joinery. popularwoodworking.com ■ 63 |


