Popular Woodworking 2008-04 № 168, страница 52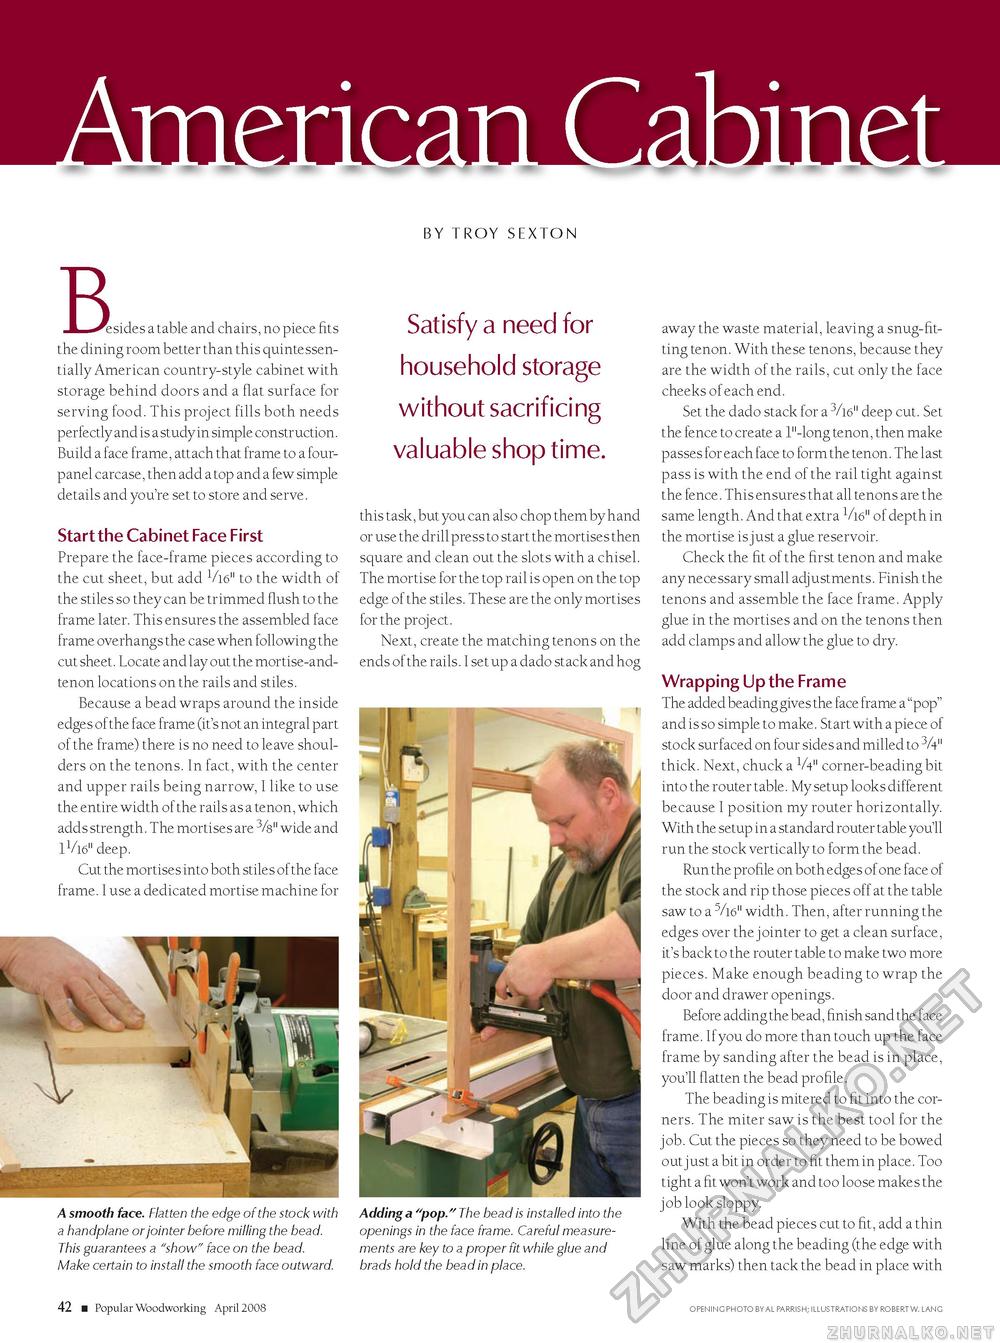
BY TROY SEXTON Bes 'esides a table and chairs, no piece fits the dining room better than this quintessen-tially American country-style cabinet with storage behind doors and a flat surface for serving food. This project fills both needs perfectly and is a study in simple construction. Build a face frame, attach that frame to a four-panel carcase, then add a top and a few simple details and you're set to store and serve. Start the Cabinet Face First Prepare the face-frame pieces according to the cut sheet, but add 1/l6" to the width of the stiles so they can be trimmed flush to the frame later. This ensures the assembled face frame overhangs the case when following the cut sheet. Locate and lay out the mortise-and-tenon locations on the rails and stiles. Because a bead wraps around the inside edges of the face frame (it's not an integral part of the frame) there is no need to leave shoulders on the tenons. In fact, with the center and upper rails being narrow, I like to use the entire width of the rails as a tenon, which adds strength. The mortises are 3/8" wide and lVl6" deep. Cut the mortises into both stiles of the face frame. I use a dedicated mortise machine for Satisfy a need for household storage without sacrificing valuable shop time. this task, but you can also chop them by hand or use the drill press to start the mortises then square and clean out the slots with a chisel. The mortise for the top rail is open on the top edge of the stiles. These are the only mortises for the project. Next, create the matching tenons on the ends of the rails. I set up a dado stack and hog A smooth face. Flatten the edge of the stock with a handplane or jointer before milling the bead. This guarantees a "show" face on the bead. Make certain to install the smooth face outward. Adding a "pop." The bead is installed into the openings in the face frame. Careful measurements are key to a proper fit while glue and brads hold the bead in place. away the waste material, leaving a snug-fitting tenon. With these tenons, because they are the width of the rails, cut only the face cheeks of each end. Set the dado stack for a 3/16" deep cut. Set the fence to create a 1"-long tenon, then make passes for each face to form the tenon. The last pass is with the end of the rail tight against the fence. This ensures that all tenons are the same length. And that extra 1/l6" of depth in the mortise is just a glue reservoir. Check the fit of the first tenon and make any necessary small adjustments. Finish the tenons and assemble the face frame. Apply glue in the mortises and on the tenons then add clamps and allow the glue to dry. Wrapping Up the Frame The added beading gives the face frame a "pop" and is so simple to make. Start with a piece of stock surfaced on four sides and milled to 3/V' thick. Next, chuck a V4" corner-beading bit into the router table. My setup looks different because I position my router horizontally. With the setup in a standard router table you'll run the stock vertically to form the bead. Run the profile on both edges of one face of the stock and rip those pieces off at the table saw to a 5/l6" width. Then, after running the edges over the jointer to get a clean surface, it's back to the router table to make two more pieces. Make enough beading to wrap the door and drawer openings. Before adding the bead, finish sand the face frame. If you do more than touch up the face frame by sanding after the bead is in place, you'll flatten the bead profile. The beading is mitered to fit into the corners. The miter saw is the best tool for the job. Cut the pieces so they need to be bowed out just a bit in order to fit them in place. Too tight a fit won't work and too loose makes the job look sloppy. With the bead pieces cut to fit, add a thin line of glue along the beading (the edge with saw marks) then tack the bead in place with 42 ■ Popular Woodworking April 2008 opening photo by al parrish; illustrations by robert w. lanc |


