Popular Woodworking 2008-06 № 169, страница 43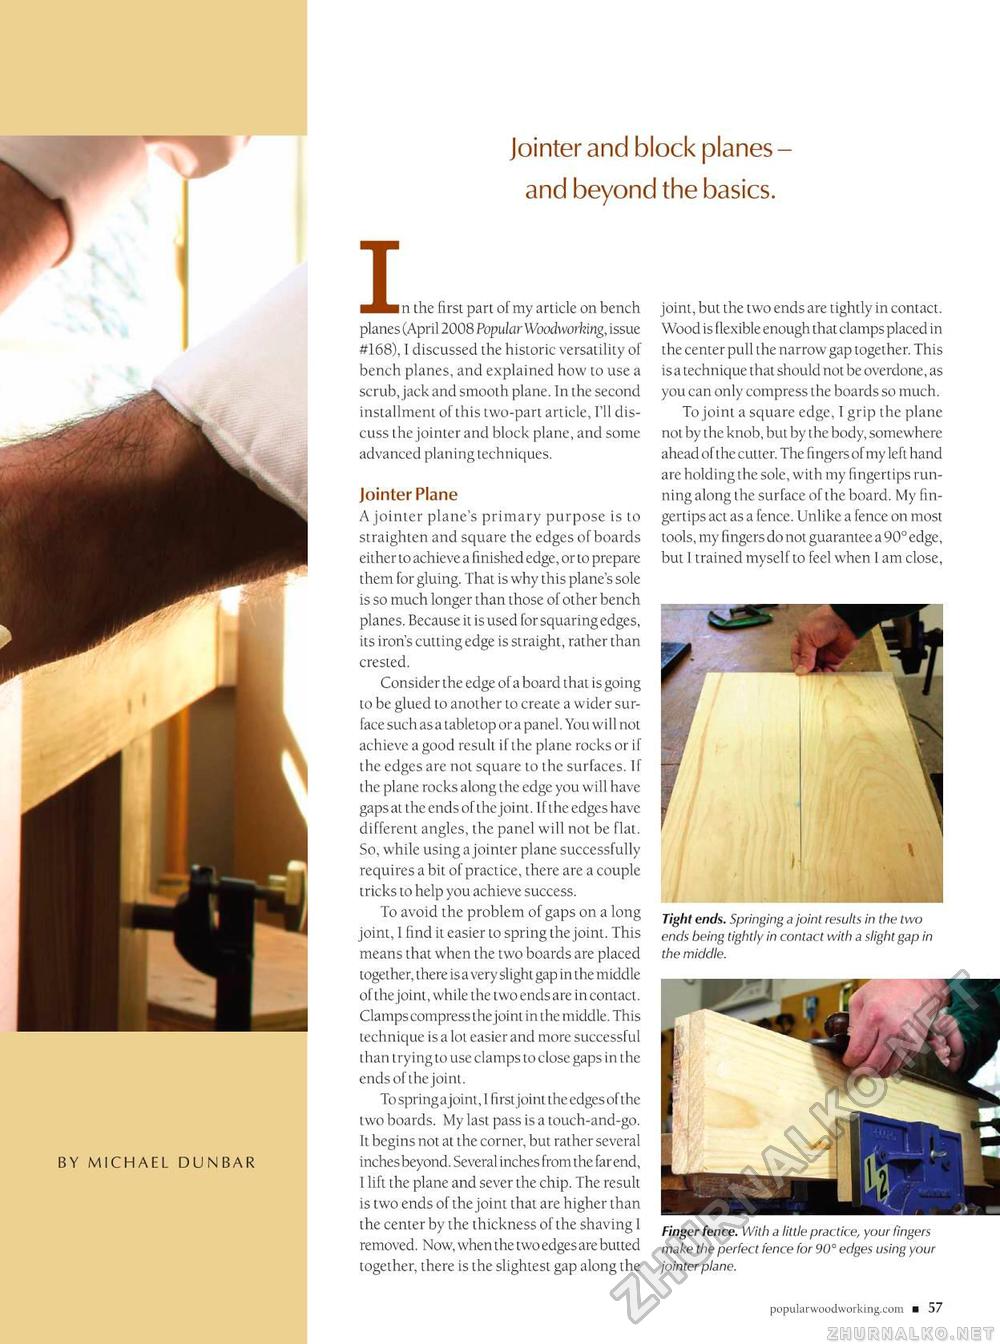
Jointer and block planes -and beyond the basics. MMn the first part of my article on bench planes (April 2008 Popular Woodworking, issue #168), I discussed the historic versatility of bench planes, and explained how to use a scrub, jack and smooth plane. In the second installment of this two-part article, I'll discuss the jointer and block plane, and some advanced planing techniques. Jointer Plane A jointer plane's primary purpose is to straighten and square the edges of boards either to achieve a finished edge, or to prepare them for gluing. That is why this plane's sole is so much longer than those of other bench planes. Because it is used for squaring edges, its iron's cutting edge is straight, rather than crested. Consider the edge of a board that is going to be glued to another to create a wider surface such as a tabletop or a panel. You will not achieve a good result if the plane rocks or if the edges are not square to the surfaces. If the plane rocks along the edge you will have gapsat the ends of the joint. If the edges have different angles, the panel will not be flat. So, while using a jointer plane successfully requires a bit of practice, there are a couple tricks to help you achieve success. To avoid the problem of gaps on a long joint, 1 find it easier to spring the joint. This means that when the two boards are placed together, there is a very slight gap in the middle of the joint, while the two ends are in contact. Clamps compress thejoint in the middle. This technique is a lot easier and more successful than trying to use clamps to close gaps in the ends of the joint. To spring a joint, I first joint the edges ofthe two boards. My last pass is a touch-and-go. It begins not at the corner, but rather several inches beyond. Several inches from the far end, I lift the plane and sever the chip. The result is two ends of the joint that are higher than the center by the thickness of the shaving 1 removed. Now, when the two edges are butted together, there is the slightest gap along the joint, but the two ends are tightly in contact. Wood is flexible enough that clamps placed in the center pull the narrow gap together. This is a technique that should not be overdone, as you can only compress the boards so much. To joint a square edge, I grip the plane not by the knob, but by the body, somewhere ahead ofthe culler. The fingers of my left hand are holding the sole, with my fingertips running along the surface ofthe board. My fingertips act as a fence. Unlike a fence on most tools, my fingers do not guarantee a 90° edge, but I trained myself to feel when I am close, Tight ends. Springing a joint results in the two ends being tightly in contact with a slight gap in the middle. Finger fence. With a little practice, your fingers make the perfect fence for 90" edges using your jointer plane. |


