Popular Woodworking 2009-04 № 175, страница 39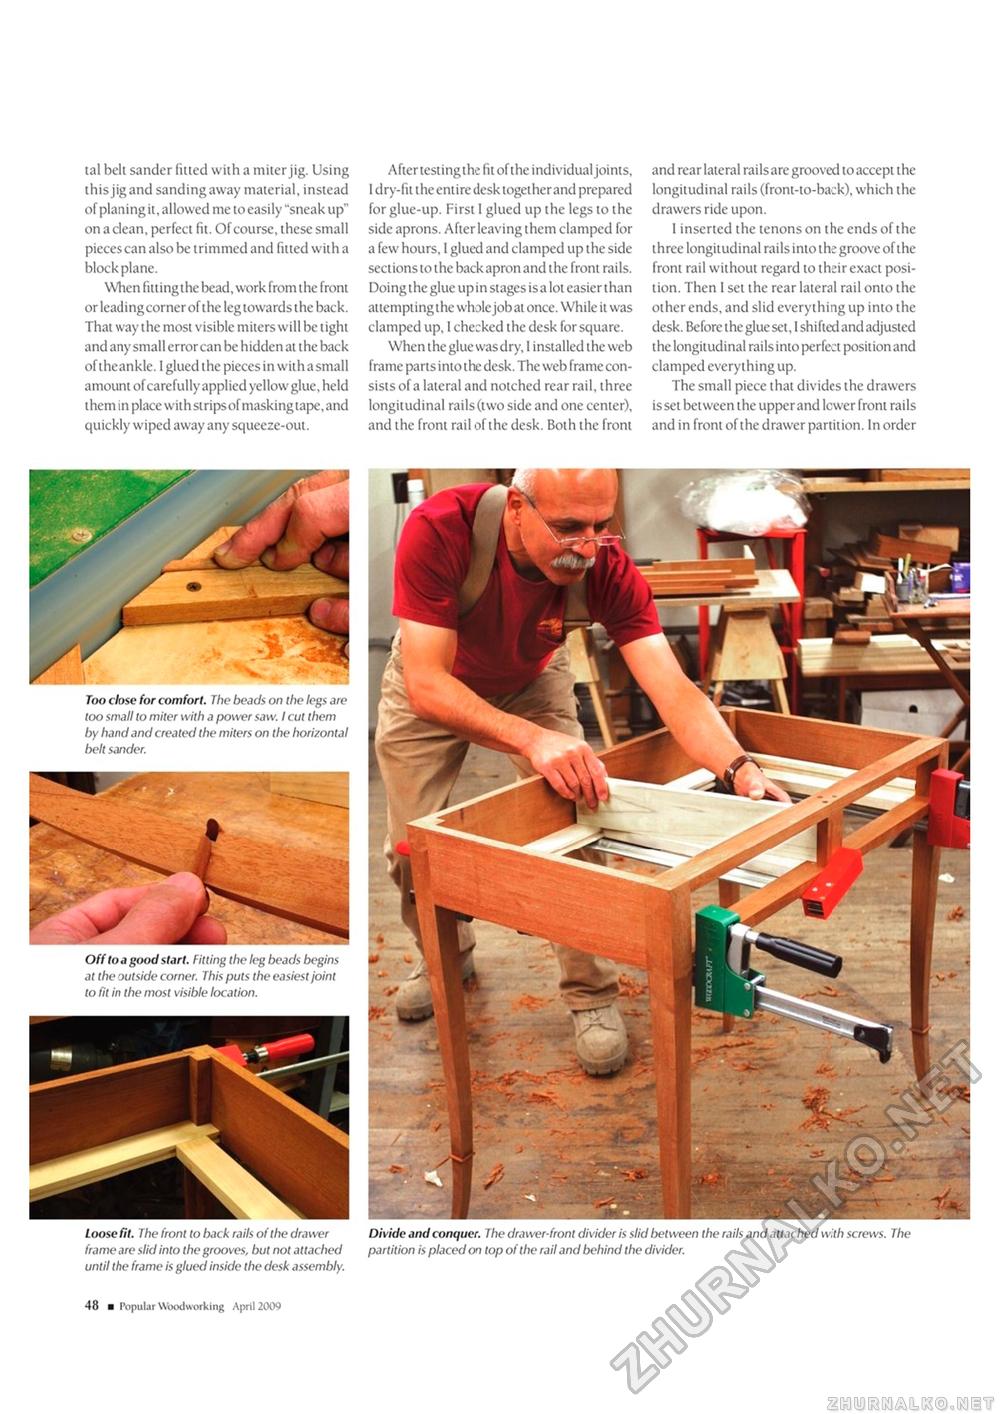
tal belt sander fitted with a miter jig. Using this jig and sanding away material, instead of planing it, allowed me to easily "sneak up" on a clean, perfect fit. Of course, these small pieces can also be trimmed and fitted with a block plane. When fit ting the bead, work from the front or leading corner ofthe leg towards the back. That way the most visible miters will be tight and any small error can be hidden at the back of the ankle. I glued the pieces in with a small amount of carefully applied yellow glue, held them in place with stripsof masking tape, and quickly wiped away any squeeze-out. After testingthe fit of the individual joints, I dry-fit the entire desk together and prepared for glue-up. First I glued up the legs to the side aprons. After leaving them clamped for a few hours, I glued and clamped up the side sections to the back apron and the front rails. Doing the glue up in stages is a lot easier than attemptingthe whole job at once. While it was clamped up, I checked the desk for square. When the glue was dry, I installed the web frame parts into the desk. The web frame consists of a lateral and notched rear rail, three longitudinal rails (two side and one center), and the front rail ofthe desk. Both the front and rear lateral rails are grooved to accept the longitudinal rails (front-to-back), which the drawers ride upon. 1 inserted the tenons on the ends of the three longitudinal rails into the groove ofthe front rail without regard to their exact position. Then 1 set the rear lateral rail onto the other ends, and slid everything up into the desk. Before the glue set, I shifted and adjusted the longitudinal rails into perfect position and clamped everything up. The small piece that divides the drawers is set between the upper and lcwer front rails and in front ofthe drawer partition. In order Too close for comfort. The beads on the legs are too small to miter with a power saw. I cut them by hand and created the miters on the horizontal belt sander. Off to a good start. Fitting the leg beads begins at the outside corner. This puts the easiest joint to fit in the most visible location. Loose fit. The front to back rails of the drawer Divide and conquer. The drawer-front divider is slid between the rails and attached with screws. The frame are slid into the grooves, but not attached partition is placed on top of the rail and behind the divider, until the frame is glued inside the desk assembly. 10 ■ Popular Woodworking April 2009 |


