Popular Woodworking 2009-10 № 178, страница 15
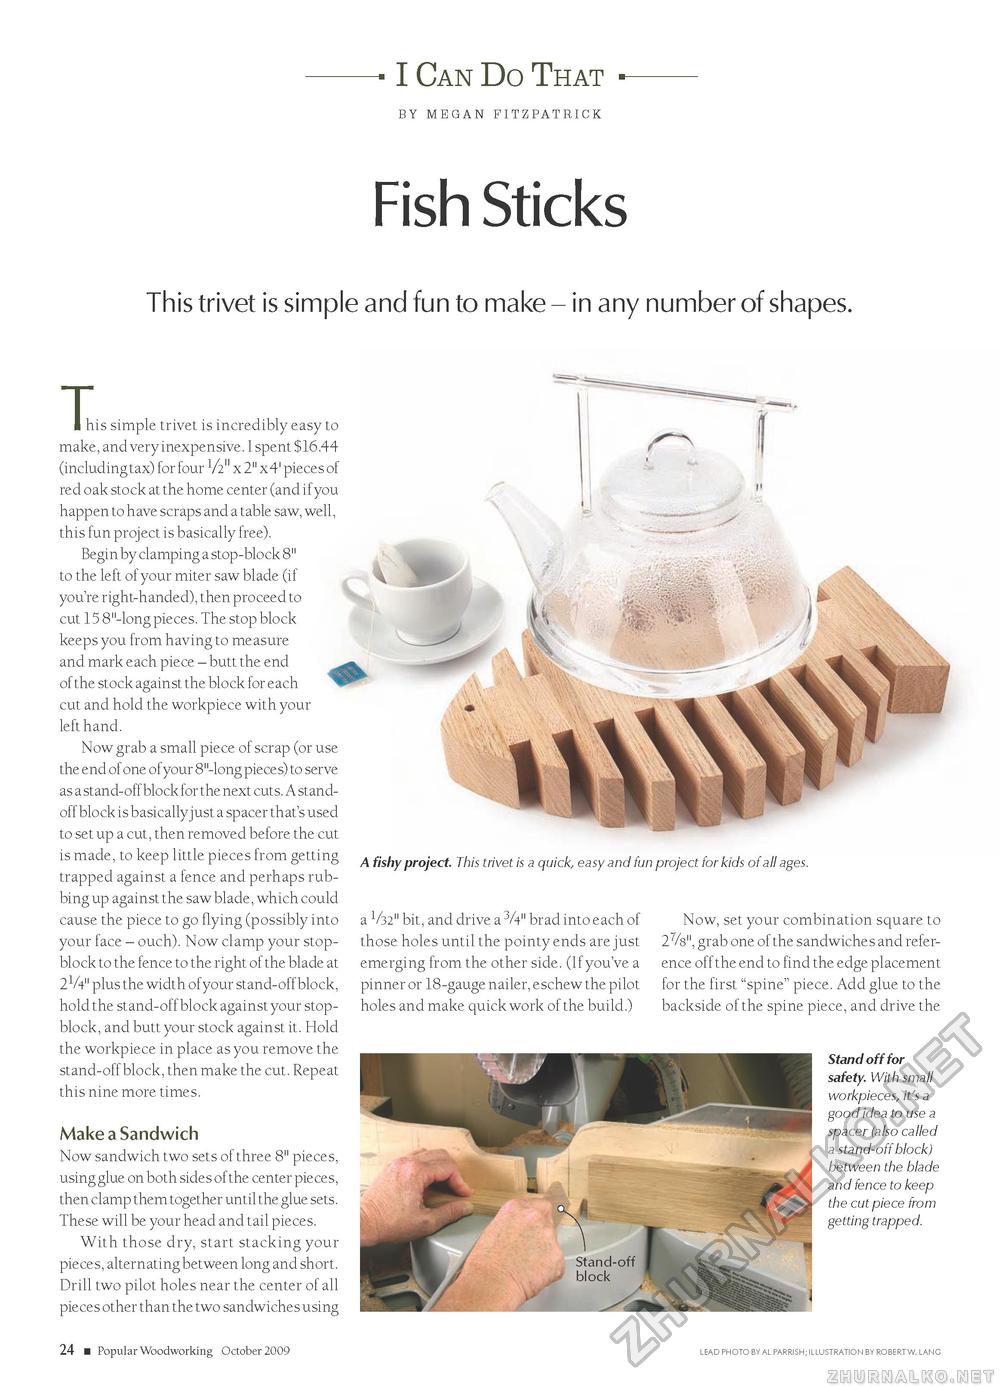
I Can Do That BY MEGAN FITZPATRICK Fish SticksThis trivet is simple and fun to make - in any number of shapes. I, I his simple trivet is incredibly easy to make, and very inexpensive. I spent $ 16.44 (including tax) for four V2" x 2" x 4' pieces of red oak stock at the home center (and if you happen to have scraps and a table saw, well, this fun project is basically free). Begin by clamping a stop-block 8" to the left of your miter saw blade (if you're right-handed), then proceed to cut 15 8"-long pieces. The stop block keeps you from having to measure and mark each piece - butt the end j of the stock against the block for each cut and hold the workpiece with your left hand. Now grab a small piece of scrap (or use the end of one ofyour 8"-long pieces) to serve as a stand-off block for the next cuts. A standoff block is basicallyjust a spacer that's used to set up a cut, then removed before the cut is made, to keep little pieces from getting trapped against a fence and perhaps rubbing up against the saw blade, which could cause the piece to go flying (possibly into your face - ouch). Now clamp your stop-block to the fence to the right of the blade at 2V4" plus the width ofyour stand-off block, hold the stand-off block against your stop-block, and butt your stock against it. Hold the workpiece in place as you remove the stand-off block, then make the cut. Repeat this nine more times. Make a Sandwich Now sandwich two sets of three 8" pieces, using glue on both sides of the center pieces, then clamp them together until the glue sets. These will be your head and tail pieces. With those dry, start stacking your pieces, alternating between long and short. Drill two pilot holes near the center of all pieces other than the two sandwiches using V f A Yiv-;:- isasSsSiSisI; '''-Ky^'i' 7 k - & A fishy project. This trivet is a quick, easy and fun project for kids of all ages. a 1/32" bit, and drive a 3/4" brad into each of Now, set your combination square to those holes until the pointy ends are just emerging from the other side. (If you've a pinner or 18-gauge nailer, eschew the pilot holes and make quick work of the build.) 2%", grab one of the sandwiches and reference off the end to find the edge placement for the first "spine" piece. Add glue to the backside of the spine piece, and drive the Stand off for safety. With small workpieces, it's a good idea to use a spacer (also called a stand-off block) between the blade and fence to keep the cut piece from getting trapped. 24 ■ Popular Woodworking October 2009 LEAD RHoto BY AL RARRisH; ILLusTRATIoN BY RoBERT w. LANG |


