Popular Woodworking 2009-10 № 178, страница 13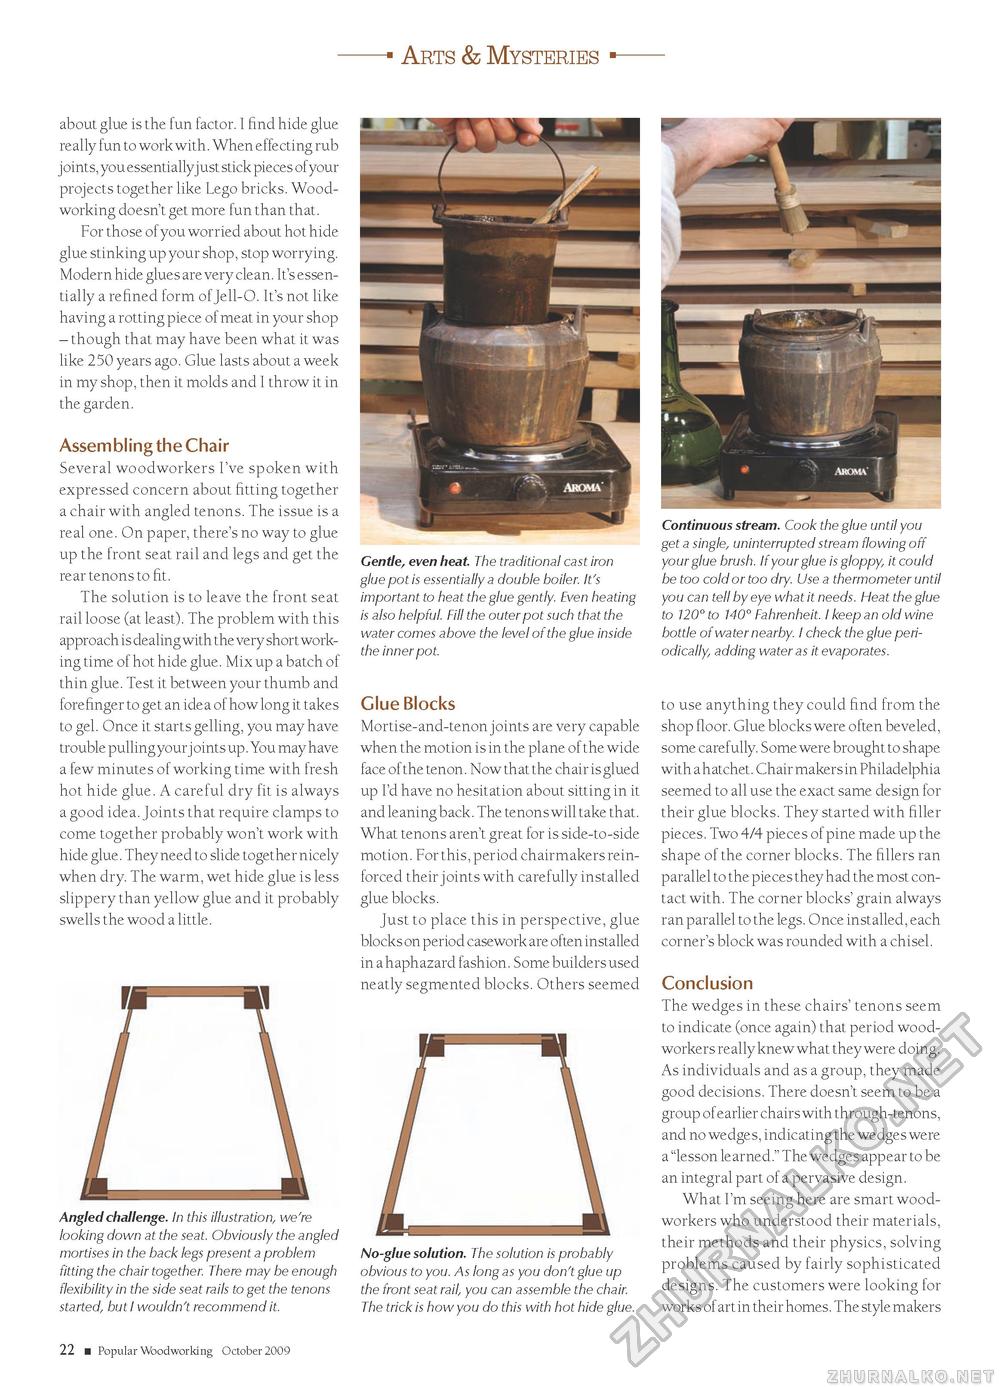
about glue is the fun factor. I find hide glue really fun to work with. When effecting rub joints, you essentiallyjust stick pieces of your projects together like Lego bricks. Woodworking doesn't get more fun than that. For those of you worried about hot hide glue stinking up your shop, stop worrying. Modern hide glues are very clean. It's essentially a refined form of Jell-O. It's not like having a rotting piece of meat in your shop - though that may have been what it was like 250 years ago. Glue lasts about a week in my shop, then it molds and I throw it in the garden. Assembling the Chair Several woodworkers I've spoken with expressed concern about fitting together a chair with angled tenons. The issue is a real one. On paper, there's no way to glue up the front seat rail and legs and get the rear tenons to fit. The solution is to leave the front seat rail loose (at least). The problem with this approach is dealing with the very short working time of hot hide glue. Mix up a batch of thin glue. Test it between your thumb and forefinger to get an idea of how long it takes to gel. Once it starts gelling, you may have trouble pulling your j oints up. You may have a few minutes of working time with fresh hot hide glue. A careful dry fit is always a good idea. Joints that require clamps to come together probably won't work with hide glue. They need to slide together nicely when dry. The warm, wet hide glue is less slippery than yellow glue and it probably swells the wood a little. Angled challenge. In this illustration, we're looking down at the seat. Obviously the angled mortises in the back legs present a problem fitting the chair together. There may be enough flexibility in the side seat rails to get the tenons started, but I wouldn't recommend it. Gentle, even heat. The traditional cast iron glue pot is essentially a double boiler. It's important to heat the glue gently. Even heating is also helpful. Fill the outer pot such that the water comes above the level of the glue inside the inner pot. Glue Blocks Mortise-and-tenon joints are very capable when the motion is in the plane of the wide face of the tenon. Now that the chair is glued up I'd have no hesitation about sitting in it and leaning back. The tenons will take that. What tenons aren't great for is side-to-side motion. For this, period chairmakers reinforced their joints with carefully installed glue blocks. Just to place this in perspective, glue blocks on period casework are often installed in a haphazard fashion. Some builders used neatly segmented blocks. Others seemed No-glue solution. The solution is probably obvious to you. As long as you don't glue up the front seat rail, you can assemble the chair. The trick is how you do this with hot hide glue. Continuous stream. Cook the glue until you get a single, uninterrupted stream flowing off your glue brush. If your glue is gloppy, it could be too cold or too dry. Use a thermometer until you can tell by eye what it needs. Heat the glue to 120° to 140° Fahrenheit. I keep an old wine bottle of water nearby. I check the glue periodically, adding water as it evaporates. to use anything they could find from the shop floor. Glue blocks were often beveled, some carefully. Some were brought to shape with a hatchet. Chair makers in Philadelphia seemed to all use the exact same design for their glue blocks. They started with filler pieces. Two 4/4 pieces of pine made up the shape of the corner blocks. The fillers ran parallel to the pieces they had the most contact with. The corner blocks' grain always ran parallel to the legs. Once installed, each corner's block was rounded with a chisel. Conclusion The wedges in these chairs' tenons seem to indicate (once again) that period woodworkers really knew what they were doing. As individuals and as a group, they made good decisions. There doesn't seem to be a group of earlier chairs with through-tenons, and no wedges, indicating the wedges were a "lesson learned." The wedges appear to be an integral part of a pervasive design. What I'm seeing here are smart woodworkers who understood their materials, their methods and their physics, solving problems caused by fairly sophisticated designs. The customers were looking for works of art in their homes. The style makers 22 ■ Popular Woodworking October 2009 |


