Popular Woodworking 2009-12 № 180, страница 16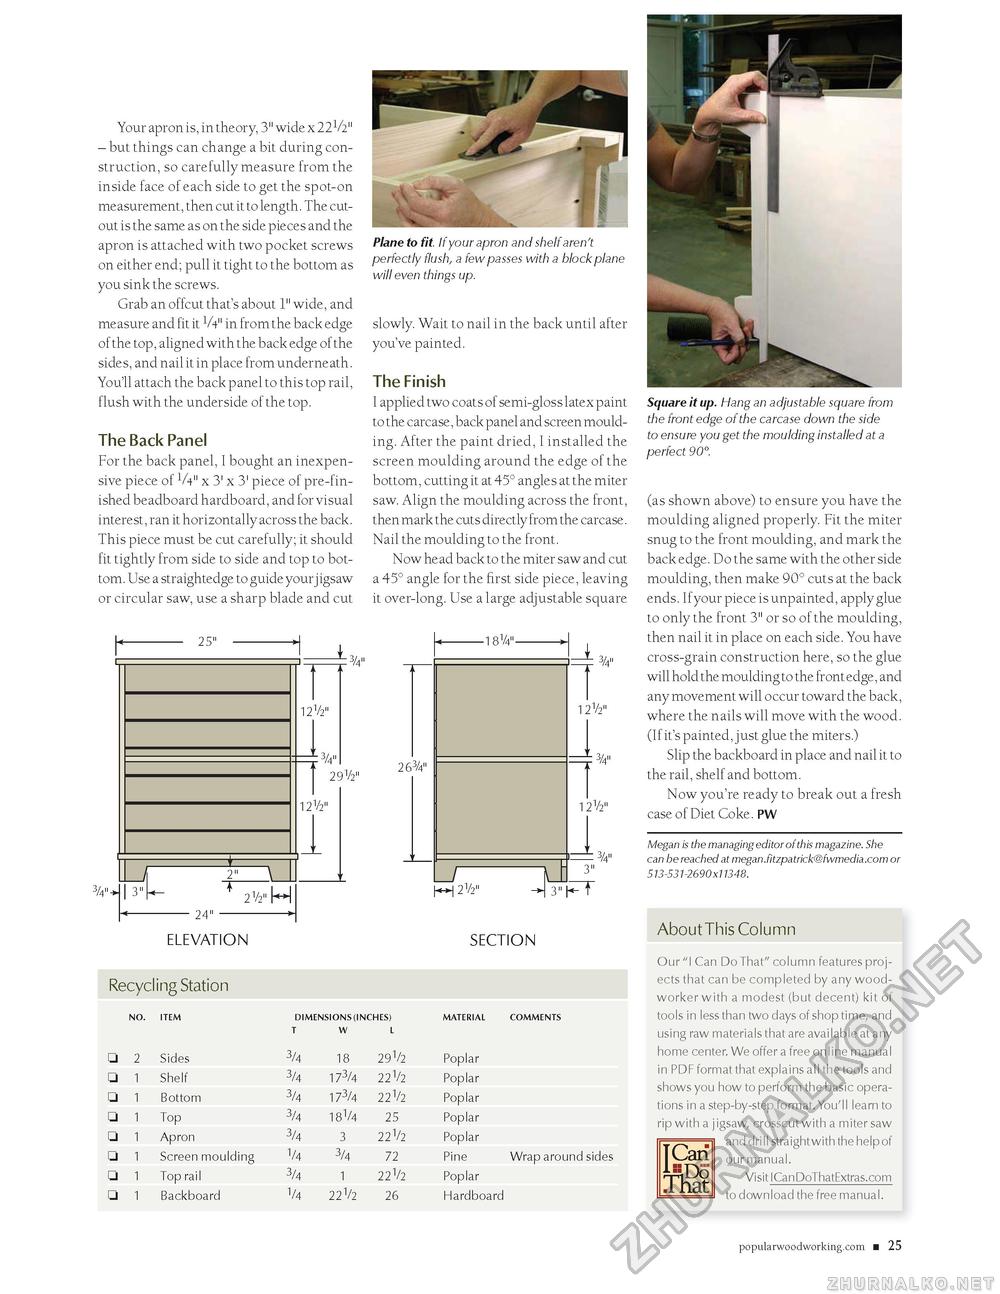
Your apron is, in theory, 3" wide x 22 V2" - but things can change a bit during construction, so carefully measure from the inside face of each side to get the spot-on me asurement, then cut it to length. The cutout is the same as on the side pieces and the apron is attached with two pocket screws on either end; pull it tight to the bottom as you sink the screws. Grab an offcut that's about 1" wide, and measure and fit it V4" in from the back edge of the top, aligned with the back edge of the sides, and nail it in place from underneath. You'll attach the back panel to this top rail, flush with the underside of the top. The Back PanelFor the back panel, I bought an inexpensive piece of V4" x 3' x 3' piece of pre-fin-ished beadboard hardboard, and for visual interest, ran it horizontally across the back. This piece must be cut carefully; it should fit tightly from side to side and top to bottom. Use a straightedge to guide your jigsaw or circular saw, use a sharp blade and cut 25" 24" 121/2" 3V 29V2" 12V2" ELEVATION Recycling Station Plane to fit. If your apron and shelf aren't perfectly flush, a few passes with a block plane will even things up. slowly. Wait to nail in the back until after you've painted. The FinishI applied two coats of semi-gloss latex paint to the carcase, back panel and screen moulding. After the paint dried, I installed the screen moulding around the edge of the bottom, cutting it at 45° angles at the miter saw. Align the moulding across the front, then mark the cuts directly from the carcase. Nail the moulding to the front. Now head back to the miter saw and cut a 45° angle for the first side piece, leaving it over-long. Use a large adjustable square :3/4" 2 634" I 2V2" 34" 12V2" 34" 12V2" 3" 3/4" SECTION
COMMENTS Wrap around sides COMMENTS Wrap around sides Square it up. Hang an adjustable square from the front edge of the carcase down the side to ensure you get the moulding installed at a perfect 90°. (as shown above) to ensure you have the moulding aligned properly. Fit the miter snug to the front moulding, and mark the back edge. Do the same with the other side moulding, then make 90° cuts at the back ends. Ifyour piece is unpainted, apply glue to only the front 3" or so of the moulding, then nail it in place on each side. You have cross-grain construction here, so the glue will hold the moulding to the front edge, and any movement will occur toward the back, where the nails will move with the wood. (If it's painted, just glue the miters.) Slip the backboard in place and nail it to the rail, shelf and bottom. Now you're ready to break out a fresh case of Diet Coke. PW Megan is the managing editor of this magazine. She can be reached at megan.fitzpatrick@fwmedia.com or 513-531-2690 x11348. About This Column Our "I Can Do That" column features projects that can be completed by any woodworker with a modest (but decent) kit of tools in less than two days of shop time, and using raw materials that are available at any home center. We offer a free online manual in PDF format that explains all the tools and shows you how to perform the basic operations in a step-by-step format. You'll learn to rip with a jigsaw, crosscut with a miter saw and drill straight with the help of our manual. Visit ICanDoThatExtras.com an -■Tin Tfiat to download the free manual. popularwoodworking.com ■ 21 |
||||||||||||||||||||||||||||||||||||||||||||||||||||||||||||


