79 - Slant Front Tool Cart, страница 15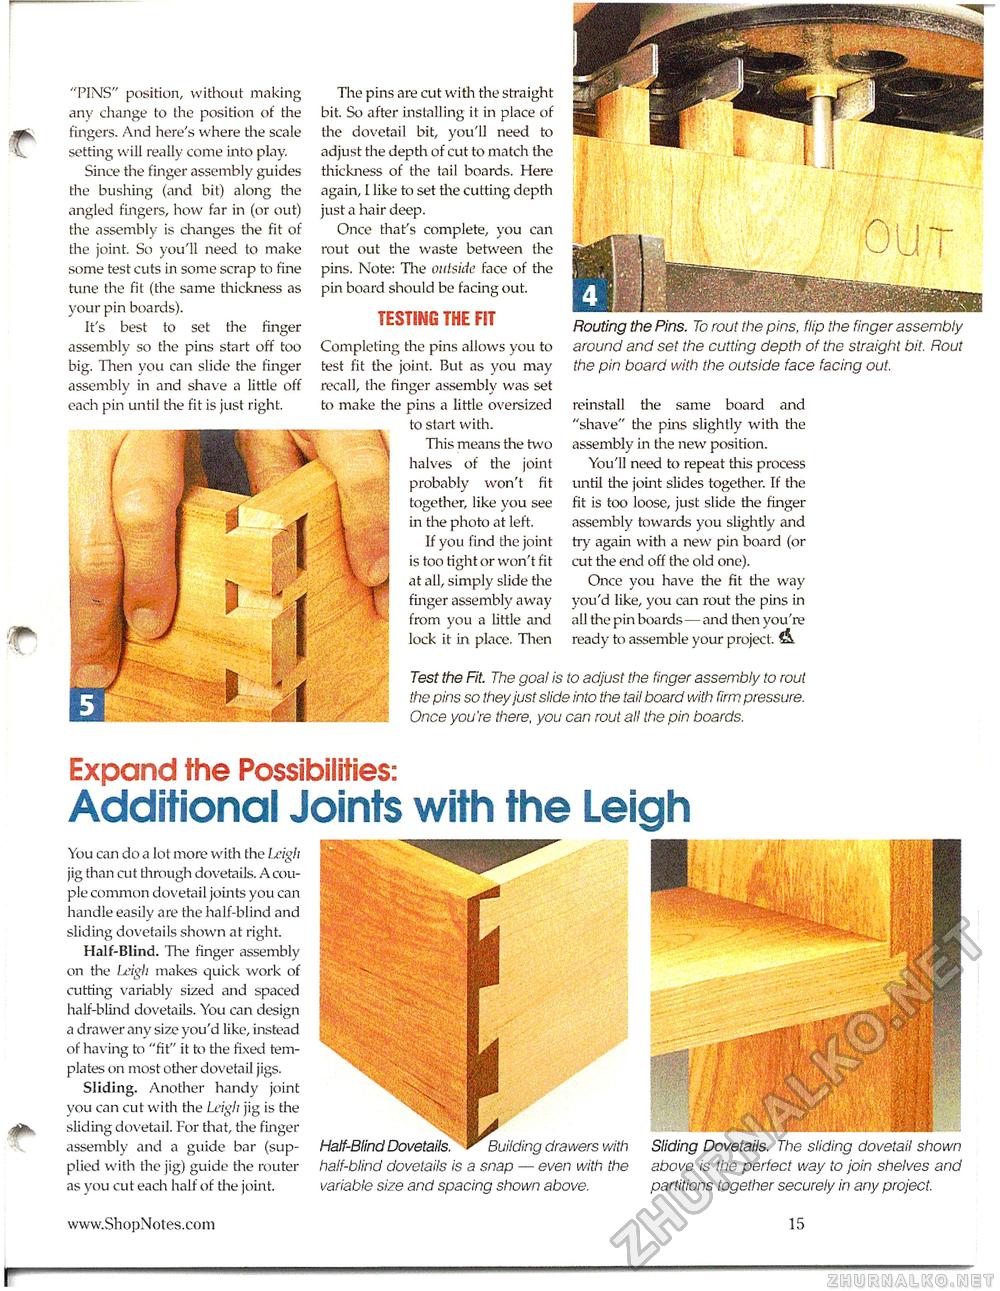
p- r Expand the Possibilities: Additional Joints with the Leigh You can do a lot more with the Leigh jig than cut through dovetails. A couple common dovetail joints you can handle easily are the half-blind and sliding dovetails shown at right. Half-Blind. The finger assembly on the Leigh makes quick work of cutting variably sized and spaced half-blind dovetails. You can design a drawer any size you'd like, instead of having to "fit" it to the fixed templates on most other dovetail jigs. Sliding. Another handy joint you can cut with the Leigh jig is the jfflk. sliding dovetail. For that, the finger assembly and a guide bar (supplied with the jig) guide the router as you cut each half of the joint. Half-Blind Dovetails, r Building drawers with Sliding Dovetails. The sliding dovetail shown half-blind dovetails is a snap — even with the above is the perfect way to join shelves and variable size and spacing shown above. partitions together securely in any project. Test the Fit. The goal is to adjust the finger assembly to rout the pins so they just slide into the tail board with firm pressure. Once you're there, you can rout all the pin boards. Routing the Pins. To rout the pins, flip the finger assembly around and set the cutting depth of the straight bit. Rout the pin board with the outside face facing out. reinstall the same board and "shave" the pins slightly with the assembly in the new position. You'll need to repeat this process until the joint slides together. If the fit is too loose, just slide the finger assembly towards you slightly and try again with a new pin board (or cut the end off the old one). Once you have the fit the way you'd like, you can rout the pins in all the pin boards—and then you're ready to assemble your project. "PINS" position, without making any change to the position of the fingers. And here's where the scale setting will really come into play. Since the finger assembly guides the bushing (and bit) along the angled fingers, how far in (or out) the assembly is changes the fit of the joint. So you'll need to make some test cuts in some scrap to fine tune the fit (the same thickness as your pin boards). It's best to set the finger assembly so the pins start off too big. Then you can slide the finger assembly in and shave a little off each pin until the fit is just right. The pins are cut with the straight bit. So after installing it in place of the dovetail bit, you'll need to adjust the depth of cut to match the thickness of the tail boards. Here again, I like to set the cutting depth just a hair deep. Once that's complete, you can rout out the waste between the pins. Note: Tine outside face of the pin board should be facing out. TESTING THE FIT Completing the pins allows you to test fit the joint. But as you may recall, the finger assembly was set to make the pins a little oversized to start with. Tliis means the two halves of the joint probably won't fit together, like you see in the photo at left. If you find the joint is too tight or won't fit at all, simply slide the finger assembly away from you a little and lock it in place. Then 15 |


