80 - Heirloom Tool Cabinet, страница 10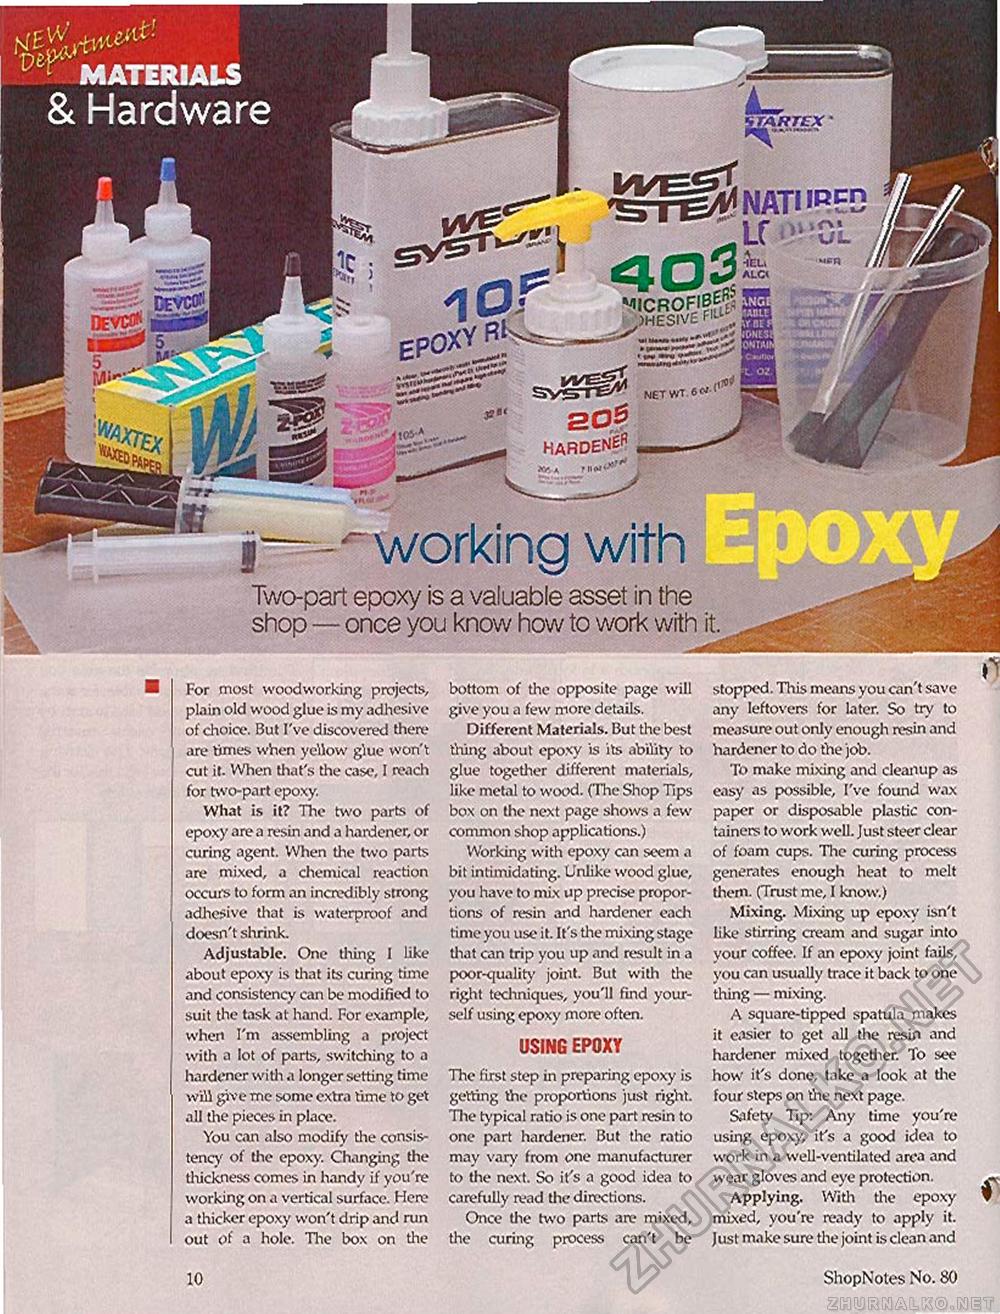
MICROFI )HESIV£ harden^ RTEX zsrew NATHRED Lf n UL «n alc« i svsr^1 Nt I Two-part epoxy is a valuable asset in the shop — once you know how to work with it. For most woodworking projects, plain old wood glue is my adhesive of choice. But I've discovered there are limes when yellow glue won't cut it. When that's the case, I reach for two-part epoxy. What is it? The two parts of epoxy are a resin and a hardener, or curing agent. When the two parts are mixed, a chemical reaction occurs to form an incnxlibly strong adhesive that is waterproof and doesn't shrink. Adjustable. One tiling I like about epoxy is that its curing time and consistency can be modified to suit the task at hand. For example, when I'm assembling a project with a lot of parts, switching to a hardener with a longer setting time will give me some extra time to get all the pieces in place. You can also modify the consistency of the epoxy. Changing the tliickness comes in handy if you're working on a vertical surface. Here a thicker epoxy won't drip and run out of a hole. The box on the bottom of the opposite page will give you a few more details. Different Materials. But the best thing about epoxy is its ability to glue together different materials, like metal to wood. (The Shop Tips box on the next page shows a few common shop applications.) Working with epoxy can seem a bit intimidating. Unlike wood glue, you have to mix up precise proportions of resin and hardener each time you use it. It's the mixing stage that can trip you up and result in a poor-quality joint- But with the right techniques, you'll find yourself using epoxy more often. USING EPOXY The first step in preparing epoxy is getting the proportions just right. The typical ratio is one part resin to one part hardener. But the ratio may vary from one manufacturer to the next. So it's a good idea to carefully read the directions. Once the two parts are mixed, the curing process can't be stopped. This means you can't save any leftovers for later. So try to measure out only enough resin and hardener to do the job. To make mixing and cleanup as easy as possible, I've found wax paper or disposable plastic containers to work well. Just steer clear of foam cups. The curing process generates enough heat to melt them. (Trust me, I know.) Mixing. Mixing up epoxv isn't like stirring cream and sugar into your coffee. If an epoxy joint fails, you can usually trace it back to one thing — mixing. A square-tipped spatula makes it easier to get all the resin and hardener mixed together. To see how it's done, take a look at the four steps on the next page. Safety Tip: Any time you're using epoxy, ifs a good idea to work in a well-ventilated area and wear gloves and eye protection. Applying. With the epoxy mixed, you're ready to apply it. Just make sure the joint is clean and 10 ShopNotes No. 80 |


