82 - The Complete Miter Saw Workstation, страница 14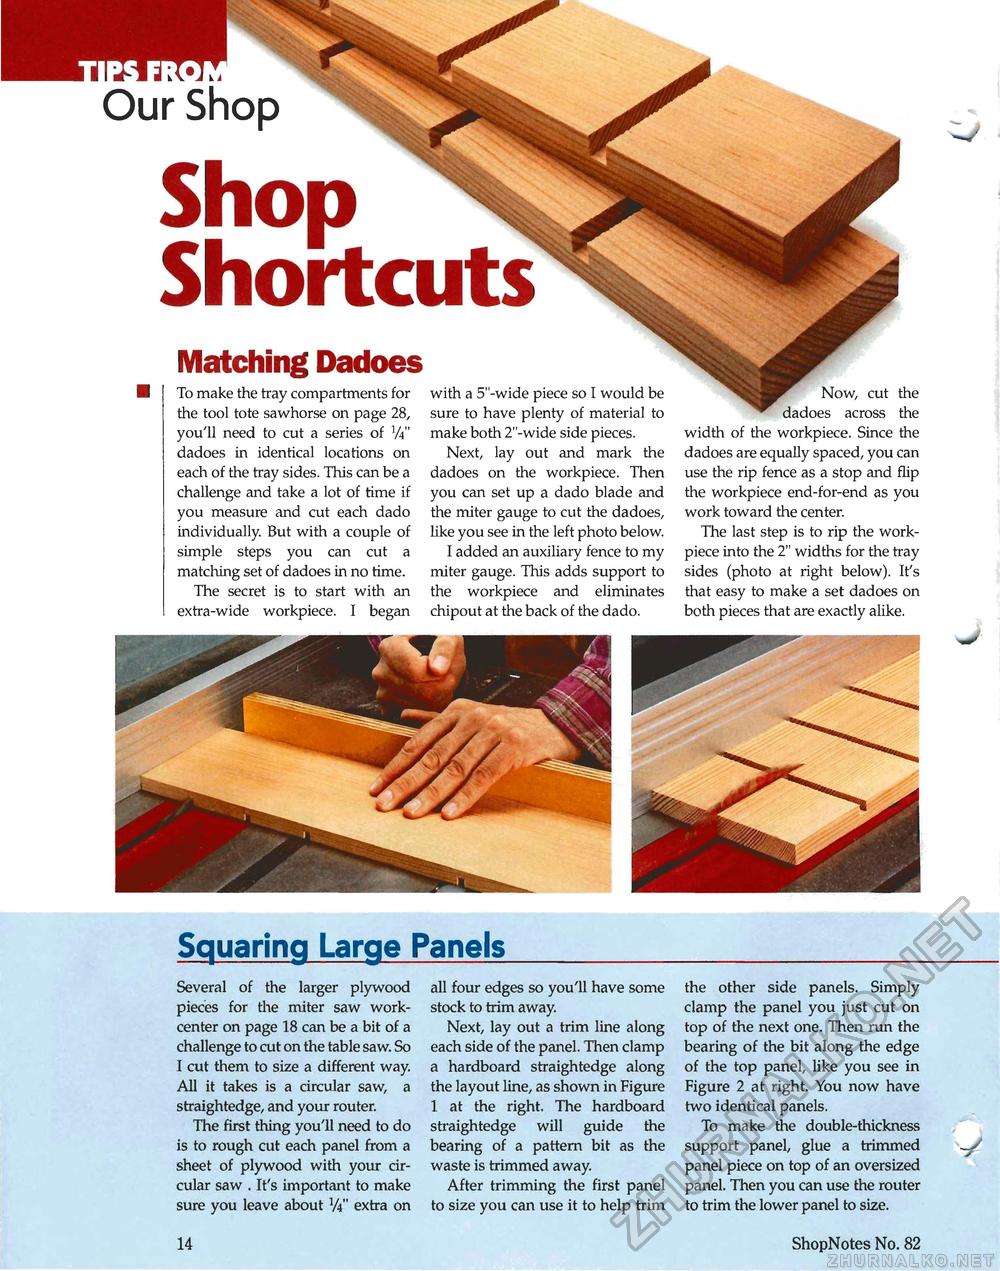
Our Shop Matching Dadoes To make the tray compartments for the tool tote sawhorse on page 28, you'll need to cut a series of W dadoes in identical locations on each of the tray sides. This can be a challenge and take a lot of time if you measure and cut each dado individually. But with a couple of simple steps you can cut a matching set of dadoes in no time. The secret is to start with an extra-wide workpiece. I began with a 5"-wide piece so I would be sure to have plenty of material to make both 2"-wide side pieces. Next, lay out and mark the dadoes on the workpiece. Then you can set up a dado blade and the miter gauge to cut the dadoes, like you see in the left photo below. I added an auxiliary fence to my miter gauge. This adds support to the workpiece and eliminates chipout at the back of the dado. Now, cut the dadoes across the width of the workpiece. Since the dadoes are equally spaced, you can use the rip fence as a stop and flip the workpiece end-for-end as you work toward the center. The last step is to rip the work-piece into the 2" widths for the tray sides (photo at right below). It's that easy to make a set dadoes on both pieces that are exactly alike. Squaring Large Panels Several of the larger plywood pieces for the miter saw work-center on page 18 can be a bit of a challenge to cut on the table saw. So I cut them to size a different way. All it takes is a circular saw, a straightedge, and your router. The first thing you'll need to do is to rough cut each panel from a sheet of plywood with your circular saw . It's important to make sure you leave about W extra on all four edges so you'll have some stock to trim away. Next, lay out a trim line along each side of the panel. Then clamp a hardboard straightedge along the layout line, as shown in Figure 1 at the right. The hardboard straightedge will guide the bearing of a pattern bit as the waste is trimmed away. After trimming the first panel to size you can use it to help trim the other side panels. Simply clamp the panel you just cut on top of the next one. Then run the bearing of the bit along the edge of the top panel, like you see in Figure 2 at right. You now have two identical panels. To make the double-thickness support panel, glue a trimmed panel piece on top of an oversized panel. Then you can use the router to trim the lower panel to size. 14 ShopNotes No. 82 |


