82 - The Complete Miter Saw Workstation, страница 12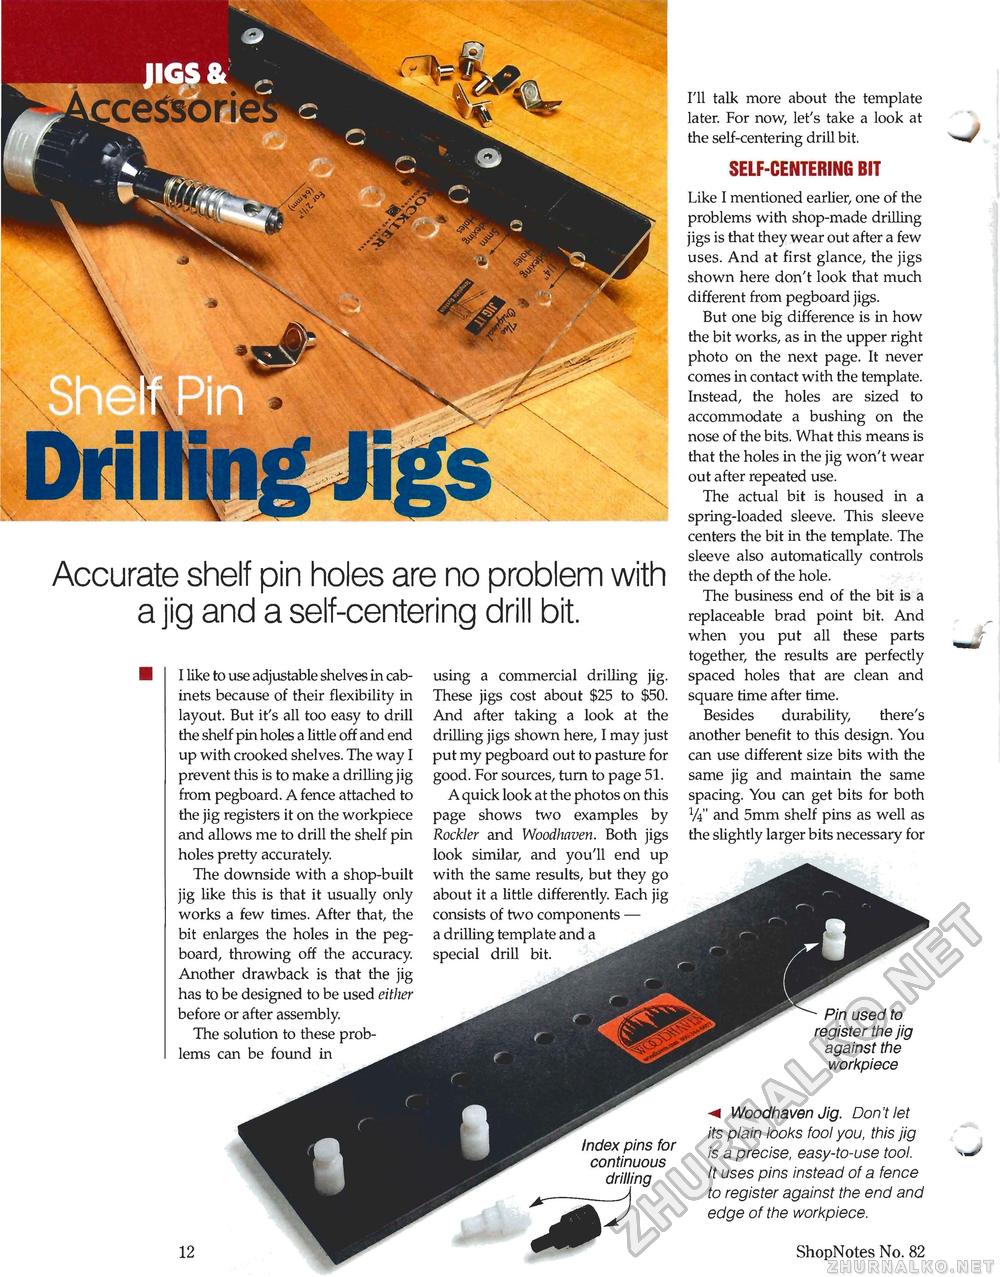
Index pins for continuous drilling J* ■< Woodhaven Jig. Don't let its plain looks fool you, this jig is a precise, easy-to-use tool. -s It uses pins instead of a fence to register against the end and edge of the workpiece. ShopNotes No. 82 I'll talk more about the template later. For now, let's take a look at the self-centering drill bit. SELF-CENTERING BIT Like I mentioned earlier, one of the problems with shop-made drilling jigs is that they wear out after a few uses. And at first glance, the jigs shown here don't look that much different from pegboard jigs. But one big difference is in how the bit works, as in the upper right photo on the next page. It never comes in contact with the template. Instead, the holes are sized to accommodate a bushing on the nose of the bits. What this means is that the holes in the jig won't wear out after repeated use. The actual bit is housed in a spring-loaded sleeve. This sleeve centers the bit in the template. The sleeve also automatically controls the depth of the hole. The business end of the bit is a replaceable brad point bit. And when you put all these parts together, the results are perfectly spaced holes that are clean and square time after time. Besides durability, there's another benefit to this design. You can use different size bits with the same jig and maintain the same spacing. You can get bits for both V4" and 5mm shelf pins as well as the slightly larger bits necessary for Pin used to register the jig against the workpiece Accurate shelf pin holes are no problem with a jig and a self-centering drill bit. I like to use adjustable shelves in cabinets because of their flexibility in layout. But it's all too easy to drill the shelf pin holes a little off and end up with crooked shelves. The way I prevent this is to make a drilling jig from pegboard. A fence attached to the jig registers it on the workpiece and allows me to drill the shelf pin holes pretty accurately. The downside with a shop-built jig like this is that it usually only works a few times. After that, the bit enlarges the holes in the peg-board, throwing off the accuracy. Another drawback is that the jig has to be designed to be used either before or after assembly. The solution to these problems can be found in using a commercial drilling jig. These jigs cost about $25 to $50. And after taking a look at the drilling jigs shown here, I may just put my pegboard out to pasture for good. For sources, turn to page 51. A quick look at the photos on this page shows two examples by Rockier and Woodhaven. Both jigs look similar, and you'll end up with the same results, but they go about it a little differently. Each jig consists of two components — a drilling template and a special drill bit. |


