87, страница 7
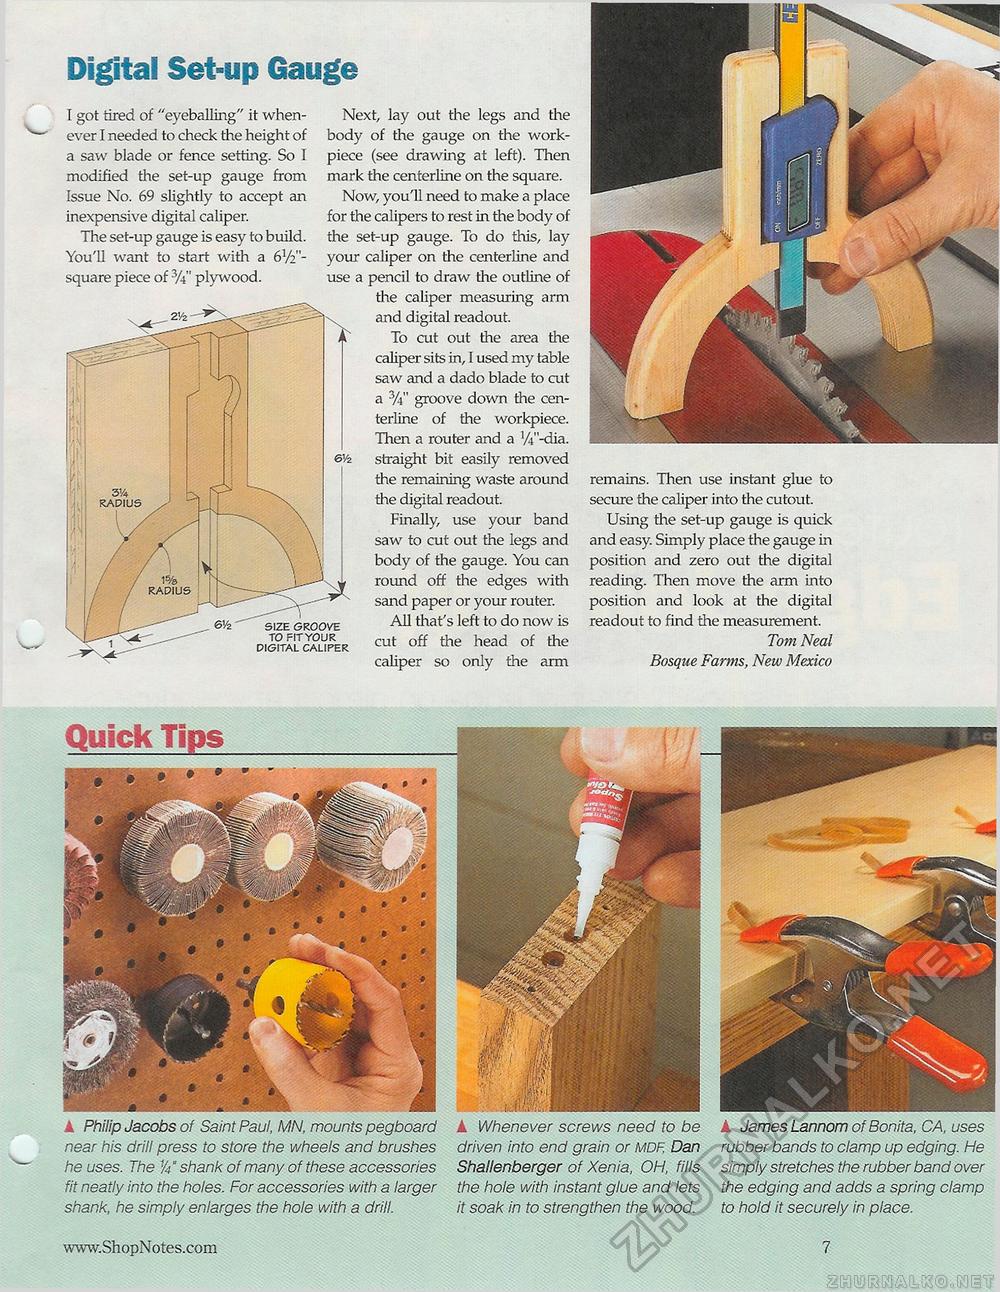
Digital Set-up Gauge remains. Then use instant glue to secure the caliper into the cutout. Using the set-up gauge is quick and easy. Simply place the gauge in position and zero out the digital reading. Then move the arm into position and look at the digital readout to find the measurement. Tom Neal Bosque Farms, New Mexico k Philip Jacobs of Saint Paul, MN, mounts pegboard near his drill press to store the wheels and brushes he uses. The shank of many of these accessories fit neatly into the holes. For accessories with a larger shank, he simply enlarges the hole with a drill. ▲ Whenever screws need to be driven into end grain or mdf, Dan Shallenberger of Xenia, OH, fills the hole with instant glue and lets it soak in to strengthen the wood. A James Lannom of Bonita, CA, uses rubber bands to clamp up edging. He simply stretches the rubber band over the edging and adds a spring clamp to hold it securely in place. I got tired of "eyeballing" it whenever I needed to check the height of a saw blade or fence setting. So I modified the set-up gauge from Issue No. 69 slightly to accept an inexpensive digital caliper. The set-up gauge is easy to build. You'll want to start with a 6l/2-square piece of 3/i" plywood. SIZE GROOVE TO FIT YOUR DIGITAL CALIPER Next, lay out the legs and the body of the gauge on the work-piece (see drawing at left). Then mark the centerline on the square. Now, you'll need to make a place for the calipers to rest in the body of the set-up gauge. To do this, lay your caliper on the centerline and use a pencil to draw the outline of the caliper measuring arm and digital readout. To cut out the area the caliper sits in, I used my table saw and a dado blade to cut a groove down the centerline of the workpiece. Then a router and a '/V'-dia. straight bit easily removed the remaining waste around the digital readout. Finally, use your band saw to cut out the legs and body of the gauge. You can round off the edges with sand paper or your router. All that's left to do now is cut off the head of the caliper so only the 6V2 arm 19 |


