91 - Planer Stand, страница 16
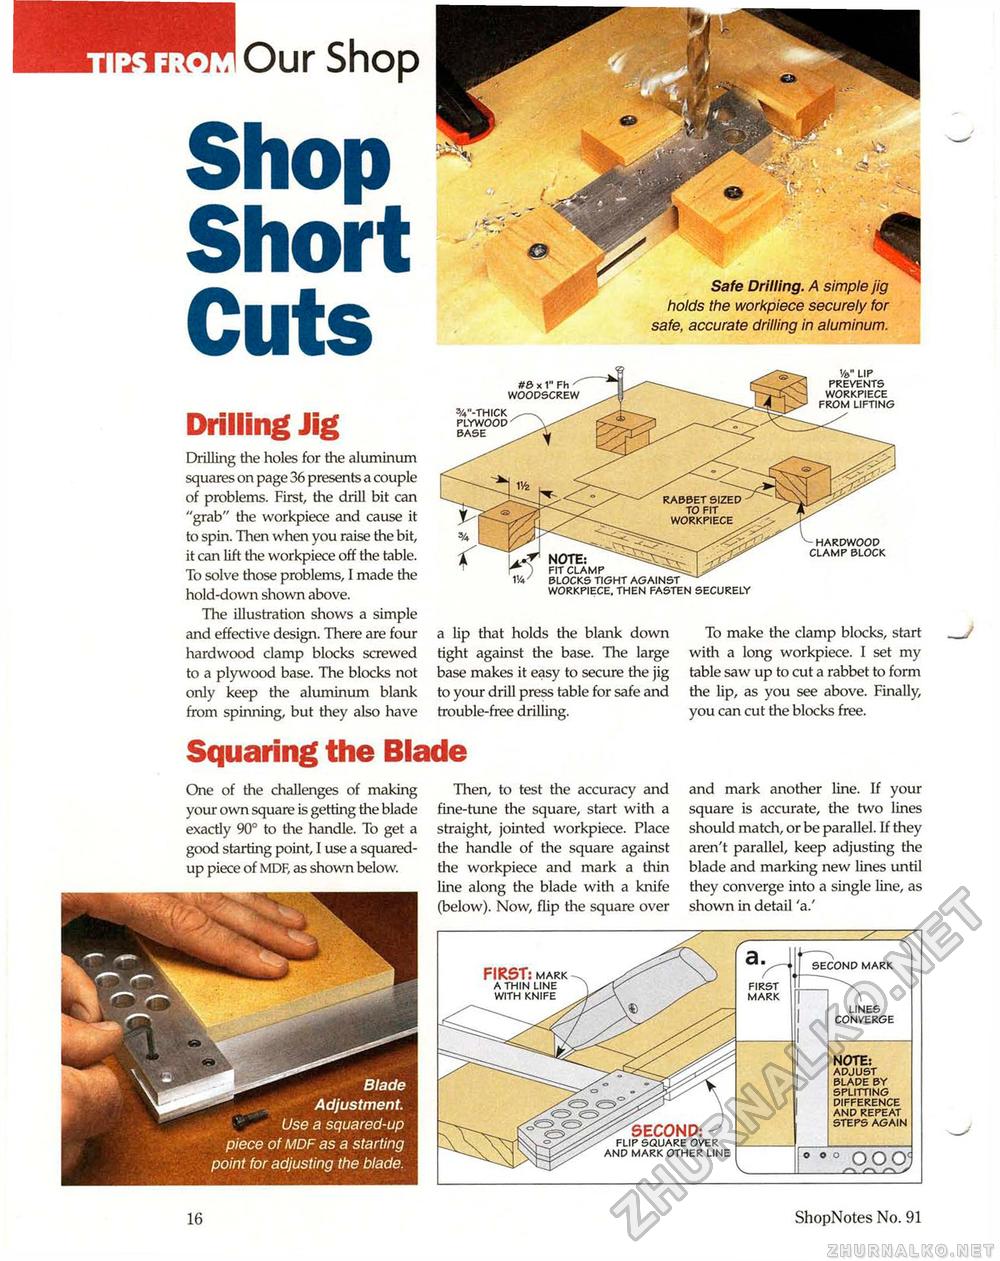
Our ShopShop Short CutsDrilling Jig Drilling the holes for the aluminum squares on page 36 presents a couple of problems. First, the drill bit can "grab" the workpiece and cause it to spin. Then when you raise the bit, it can lift the workpiece off the table. To solve those problems, I made the hold-down shown above. The illustration shows a simple and effective design. There are four a lip that holds the blank down hardwood clamp blocks screwed tight against the base. The large to a plywood base. The blocks not base makes it easy to secure the jig only keep the aluminum blank to your drill press table for safe and from spinning, but they also have trouble-free drilling. Squaring the Blade Then, to test the accuracy and fine-tune the square, start with a straight, jointed workpiece. Place the handle of the square against the workpiece and mark a thin line along the blade with a knife (below). Now, flip the square over One of the challenges of making your own square is getting the blade exactly 90° to the handle. To get a good starting point, I use a squared-up piece of MDF, as shown below. To make the clamp blocks, start with a long workpiece. I set my table saw up to cut a rabbet to form the lip, as you see above. Finally, you can cut the blocks free. and mark another line. If your square is accurate, the two lines should match, or be parallel. If they aren't parallel, keep adjusting the blade and marking new lines until they converge into a single line, as shown in detail 'a.' Safe Drilling. A simple jig holds the workpiece securely for safe, accurate drilling in aluminum. #& x 1" Fh woodscrew 3/«"-thick plywood base '/©" lip prevents workpiece from lifting then fasten securely hardwood clamp block FIRST: mark a thin line with knife 00 OOOj _Ann/ second mark first mark lines converge NOTE: ADJUST BLADE BY SPLITTING DIFFERENCE AND REPEAT STEPS AGAIN 16 ShopNotes No. 91 |


