Woodworker's Journal 101-Projects-for-Woodworkers, страница 103
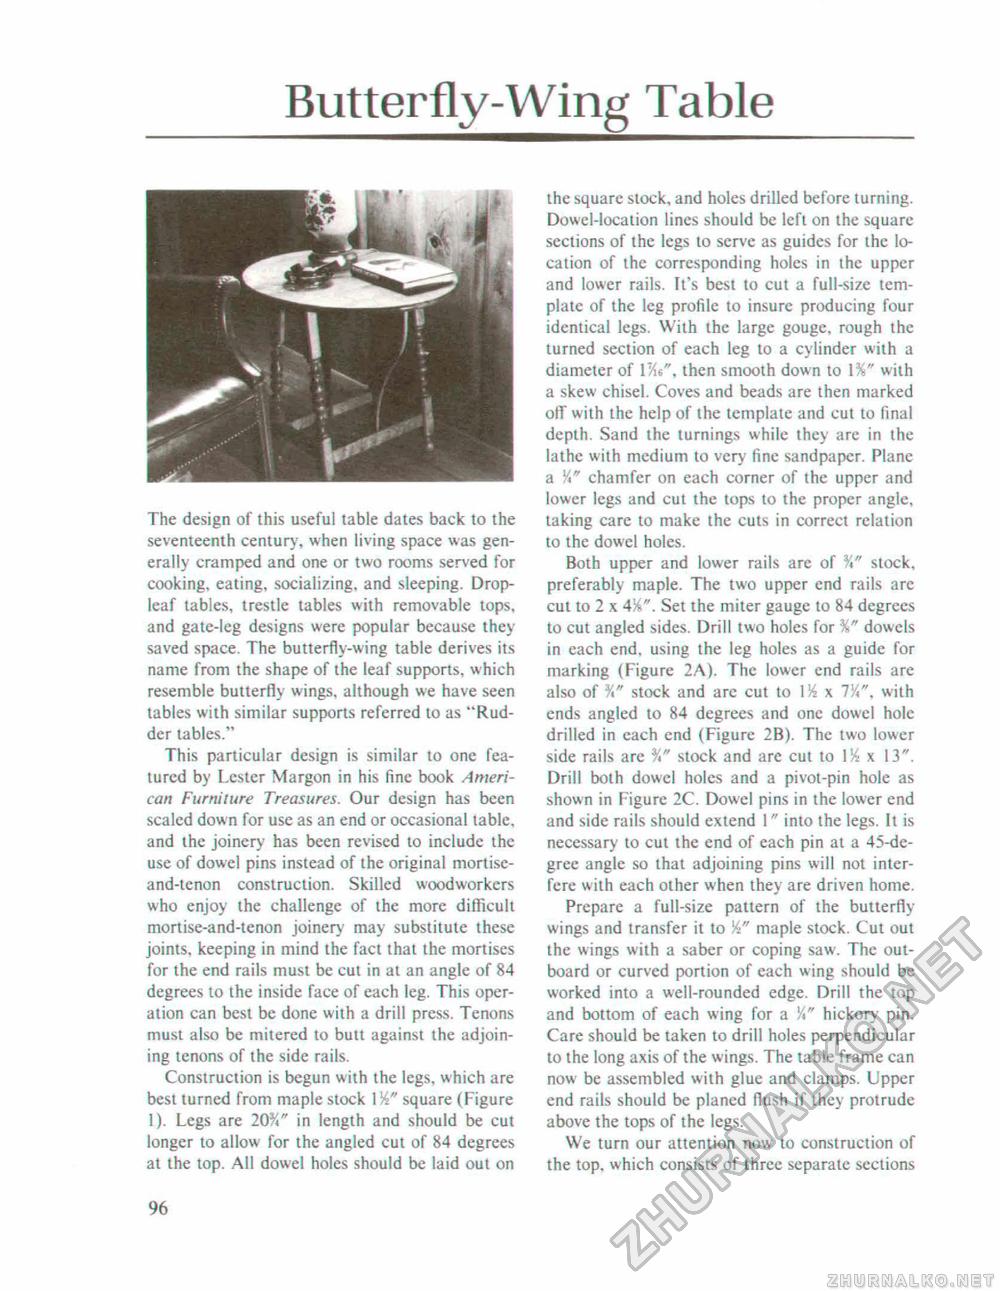
Butterfly-Wing TableThe design of this useful table dates back to the seventeenth century, when living space was generally cramped and one or two rooms served for cooking, eating, socializing, and sleeping. Drop-leaf tables, trestle tables with removable tops, and gate-leg designs were popular because they saved space. The butterfly-wing table derives its name from the shape of the leaf supports, which resemble butterfly wings, although we have seen tables with similar supports referred to as "Rudder tables." This particular design is similar to one featured by Lester Margon in his fine book American Furniture Treasures. Our design has been scaled down for use as an end or occasional table, and the joinery has been revised to include the use of dowel pins instead of the original mortise-and-lenon construction. Skilled woodworkers who enjoy the challenge of the more difficult mortise-and-tenon joinery may substitute these joints, keeping in mind the fact that the mortises for the end rails must be cut in at an angle of 84 degrees to the inside face of each leg. This operation can best be done with a drill press. Tenons must also be mitered to butt against the adjoining tenons of the side rails. Construction is begun with the legs, which are best turned from maple stock 1W square (Figure 1). Legs are 20%" in length and should be cut longer to allow for the angled cut of 84 degrees at the top. All dowel holes should be laid out on the square stock, and holes drilled before turning. Dowel-location lines should be left on the square sections of the legs to serve as guides for the location of the corresponding holes in the upper and lower rails. It's best to cut a full-size template of the leg profile to insure producing four identical legs. With the large gouge, rough the turned section of each leg to a cylinder with a diameter of 1 then smooth down to \%" with a skew chisel. Coves and beads are then marked off with the help of the template and cut to final depth. Sand the turnings while they are in the lathe with medium to very fine sandpaper. Plane a Y" chamfer on each corner of the upper and lower legs and cut the tops to the proper angle, taking care to make the cuts in correct relation to the dowel holes. Both upper and lower rails are of Y*" stock, preferably maple. The two upper end rails arc cut to 2 x 4%". Set the miter gauge to 84 degrees to cut angled sides. Drill two holes for %" dowels in each end, using the leg holes as a guide for marking (Figure 2A). The lower end rails are also of Yt" stock and are cut to 1% x VA", with ends angled to 84 degrees and one dowel hole drilled in each end (Figure 2B). The two lower side rails are Y" stock and are cut to IK x 13". Drill both dowel holes and a pivot-pin hole as shown in Figure 2C. Dowel pins in the lower end and side rails should extend 1" into the legs. It is necessary to cut the end of each pin at a 45-de-grec angle so that adjoining pins will not interfere with each other when they are driven home. Prepare a full-size pattern of the butterfly-wings and transfer it to Yi" maple stock. Cut out the wings with a saber or coping saw. The outboard or curved portion of each wing should be worked into a well-rounded edge. Drill the top and bottom of each wing for a Y" hickory pin. Care should be taken to drill holes perpendicular to the long axis of the wings. The table frame can now be assembled with glue and clamps. Upper end rails should be planed flush if they protrude above the tops of the legs. We turn our attention now to construction of the top, which consists of three separate sections 96 |


