Woodworker's Journal 101-Projects-for-Woodworkers, страница 123
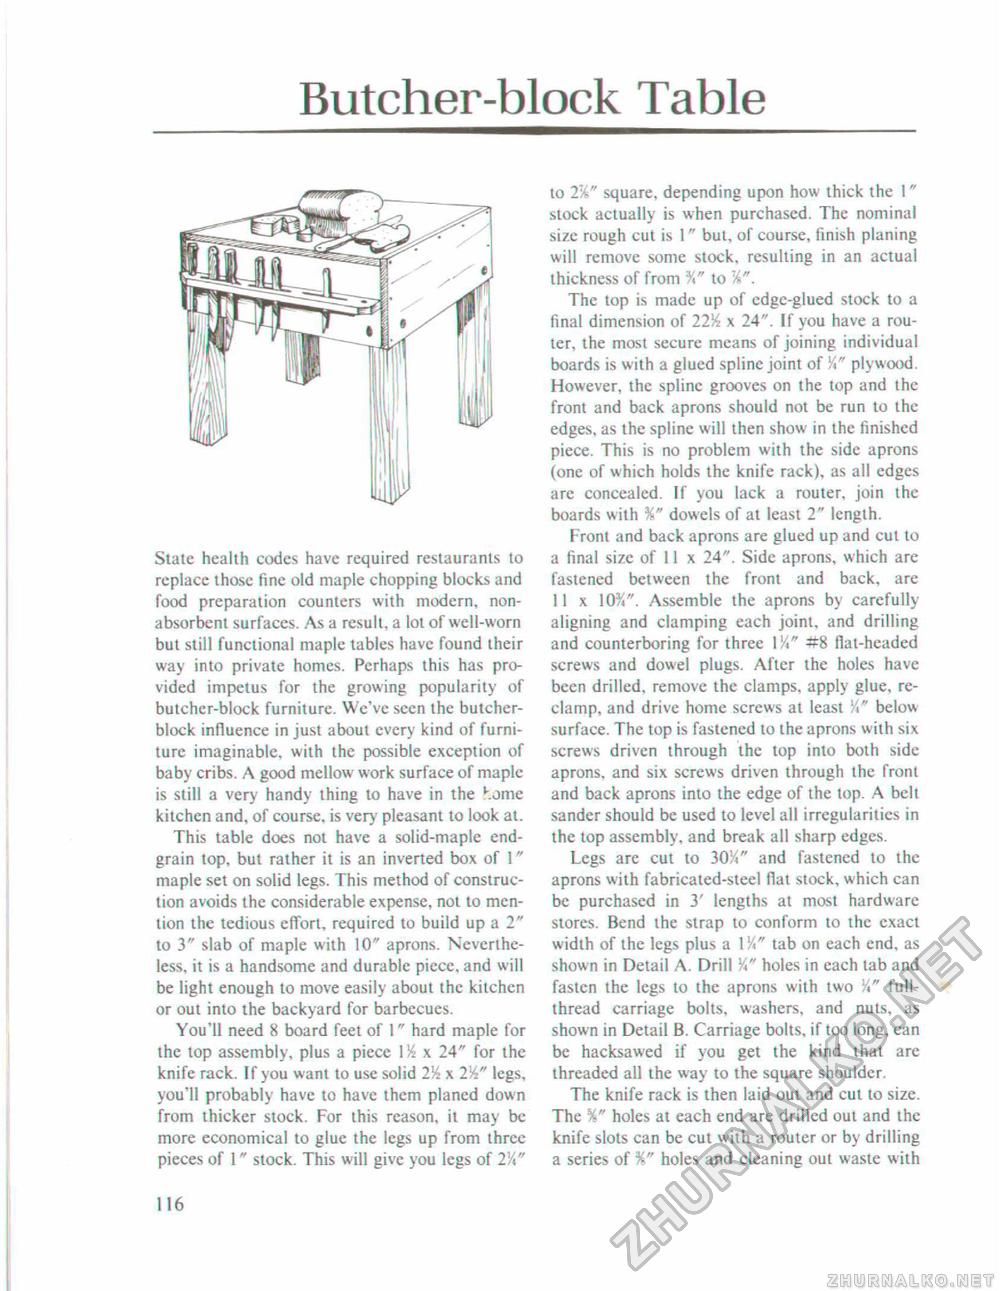
Butcher-block TableState health codes have required restaurants to replace those fine old maple chopping blocks and food preparation counters with modern, non-absorbent surfaces. As a result, a lot of well-worn but still functional maple tables have found their way into private homes. Perhaps this has provided impetus for the growing popularity of butcher-block furniture. We've seen the butcher-block influence in just about every kind of furniture imaginable, with the possible exception of baby cribs. A good mellow work surface of maple is still a very handy thing to have in the Kome kitchen and, of course, is very pleasant to look at. This table does not have a solid-maple end-grain top. but rather it is an inverted box of 1" maple set on solid legs. This method of construction avoids the considerable expense, not to mention the tedious efTort, required to build up a 2" to 3" slab of maple with 10" aprons. Nevertheless, it is a handsome and durable piece, and will be light enough to move easily about the kitchen or out into the backyard for barbecues. You'll need 8 board feet of 1" hard maple for the top assembly, plus a piece IK x 24" for the knife rack. If you want to use solid 2% x 2!4" legs, you'll probably have to have them planed down from thicker stock. For this reason, it may be more economical to glue the legs up from three pieces of 1" stock. This will give you legs of 2%" to 2~k" square, depending upon how thick the 1" stock actually is when purchased. The nominal size rough cut is 1" but, of course, finish planing will remove some stock, resulting in an actual thickness of from to The top is made up of edge-glued stock to a final dimension of 22Yt x 24". If you have a router, the most secure means of joining individual boards is with a glued spline joint of Vi" plywood. However, the spline grooves on the top and the front and back aprons should not be run to the edges, as the spline will then show in the finished piece. This is no problem with the side aprons (one of which holds the knife rack), as all edges are concealed. If you lack a router, join the boards with dowels of at least 2" length. Front and back aprons are glued up and cut to a final size of 11 x 24". Side aprons, which are fastened between the front and back, are 11 x \0%". Assemble the aprons by carefully aligning and clamping each joint, and drilling and counterboring for three l%" #8 flat-headed screws and dowel plugs. After the holes have been drilled, remove the clamps, apply glue, re-clamp, and drive home screws at least below surface. The top is fastened to the aprons with six screws driven through the top into both side aprons, and six screws driven through the front and back aprons into the edge of the top. A belt sander should be used to level all irregularities in the top assembly, and break all sharp edges. Tegs are cut to 3054" and fastened to the aprons with fabricated-steel flat stock, which can be purchased in 3' lengths at most hardware stores. Bend the strap to conform to the exact width of the legs plus a 1W" tab on each end. as shown in Detail A. Drill V*" holes in each lab and fasten the legs to the aprons with two full-thread carriage bolts, washers, and nuts, as shown in Detail B. Carriage bolts, if too long, can be hacksawed if you get the kind that arc threaded all the way to the square shoulder. The knife rack is then laid out and cut to size. The %" holes at each end are drilled oui and ihe knife slots can be cut with a router or by drilling a series of %" holes and cleaning out waste with 116 |


