Woodworker's Journal 101-Projects-for-Woodworkers, страница 147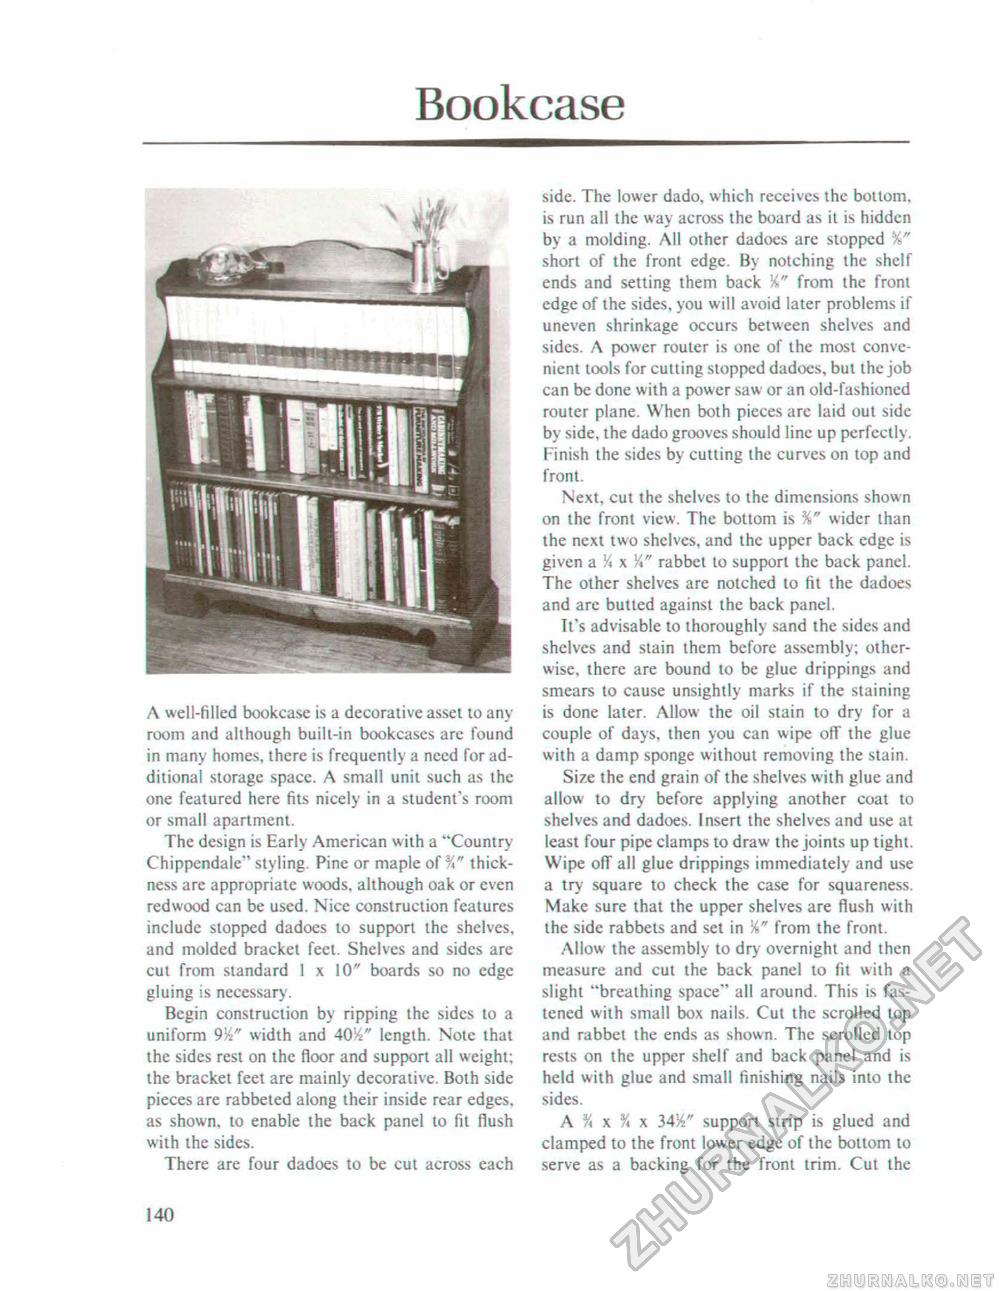
BookcaseA well-filled bookcase is a decorative asset to any room and although built-in bookcases are found in many homes, there is frequently a need for additional storage space. A small unit such as the one featured here fits nicely in a student's room or small apartment. The design is Early American with a "Country Chippendale" styling. Pine or maple of %" thickness are appropriate woods, although oak or even redwood can be used. Nice construction features include stopped dadoes to support the shelves, and molded bracket feel. Shelves and sides are cut from standard 1 x 10" boards so no edge gluing is necessary. Begin construction by ripping the sides to a uniform 9%" width and 40%" length. Note that the sides rest on the floor and support all weight; the bracket feet are mainly decorative. Both side pieces are rabbeted along their inside rear edges, as shown, to enable the back panel to fit flush with the sides. There are four dadoes to be cut across each side. The lower dado, which receives the bottom, is run all the way across the board as it is hidden by a molding. All other dadoes are stopped %" short of the front edge. By notching the shelf ends and setting them back from the front edge of the sides, you will avoid later problems if uneven shrinkage occurs between shelves and sides. A power router is one of the most convenient tools for cutting stopped dadoes, but the job can be done with a power saw or an old-fashioned router plane. When both pieces arc laid out side by side, the dado grooves should line up perfectly. Finish the sides by cutting the curves on top and front. Next, cut the shelves to the dimensions shown on the front view. The bottom is %" wider than the next two shelves, and the upper back edge is given a % x %" rabbet to support the back panel. The other shelves are notched to fit the dadoes and are bulled against the back panel. It's advisable to thoroughly sand the sides and shelves and stain them before assembly; otherwise, there are bound to be glue drippings and smears to cause unsightly marks if the staining is done later. Allow the oil stain to dry for a couple of days, then you can wipe off the glue with a damp sponge without removing the stain. Size the end grain of the shelves with glue and allow to dry before applying another coat to shelves and dadoes. Insert the shelves and use at least four pipe clamps to draw the joints up tight. Wipe off all glue drippings immediately and use a try square to check the case for squareness. Make sure that the upper shelves are flush with the side rabbets and set in from the front. Allow the assembly to dry overnight and then measure and cut the back panel to fit with a slight "breathing space" all around. This is fastened with small box nails. Cut the scrolled top and rabbet the ends as shown. The scrolled top rests on the upper shelf and back panel and is held with glue and small finishing nails into the sides. A % x % x 34W support strip is glued and clamped to the front lower edge of the bottom to serve as a backing for the front trim. Cut the 140 |


