Woodworker's Journal 101-Projects-for-Woodworkers, страница 151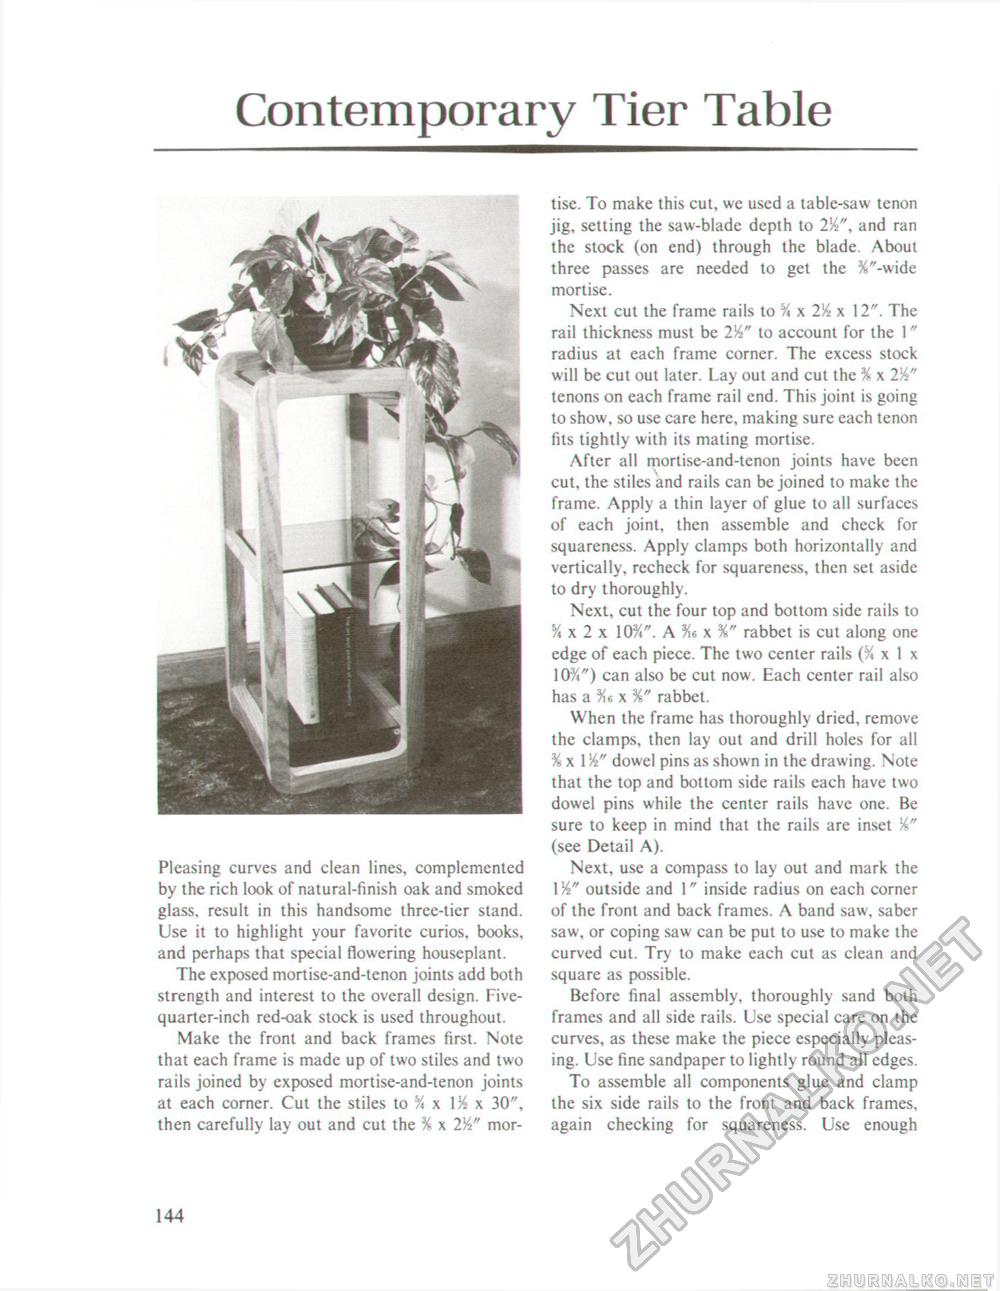
Contemporary Tier TablePleasing curves and clean lines, complemented by the rich look of natural-finish oak and smoked glass, result in this handsome three-tier stand. Use it to highlight your favorite curios, books, and perhaps that special flowering houseplant. The exposed mortise-and-tenon joints add both strength and interest to the overall design. Five-quarter-inch red-oak stock is used throughout. Make the front and back frames first. Note that each frame is made up of two stiles and two rails joined by exposed mortise-and-tenon joints at each corner. Cut the stiles to % x 1% x 30", then carefully lay out and cut the % x 2W mor tise. To make this cut, we used a table-saw tenon jig, setting the saw-blade depth to 254", and ran the stock (on end) through the blade. About three passes are needed to get the %"-wide mortise. Next cut the frame rails to % x 254 x 12". The rail thickness must be 254" to account for the 1" radius at each frame corner. The excess stock will be cut out later. Lay out and cut the % x 254" tenons on each frame rail end. This joint is going to show, so use care here, making sure each tenon fits tightly with its mating mortise. After all mortise-and-tenon joints have been cut, the stiles and rails can be joined to make the frame. Apply a thin layer of glue to all surfaces of each joint, then assemble and check for squareness. Apply clamps both horizontally and vertically, recheck for squareness, then set aside to dry thoroughly. Next, cut the four top and bottom side rails to % x 2 x 10%". A x %" rabbet is cut along one edge of each piece. The two center rails x 1 x 10%") can also be cut now. Each center rail also has a x %" rabbet. When the frame has thoroughly dried, remove the clamps, then lay out and drill holes for all % x 154" dowel pins as shown in the drawing. Note that the top and bottom side rails each have two dowel pins while the center rails have one. Be sure to keep in mind that the rails are inset (see Detail A). Next, use a compass to lay out and mark the 154" outside and 1" inside radius on each corner of the front and back frames. A band saw, saber saw, or coping saw can be put to use to make the curved cut. Try to make each cut as clean and square as possible. Before final assembly, thoroughly sand both frames and all side rails. Use special care on the curves, as these make the piece especially pleasing. Use fine sandpaper to lightly round all edges. To assemble all components glue and clamp the six side rails to the front and back frames, again checking for squareness. Use enough 144 |


