Woodworker's Journal 101-Projects-for-Woodworkers, страница 200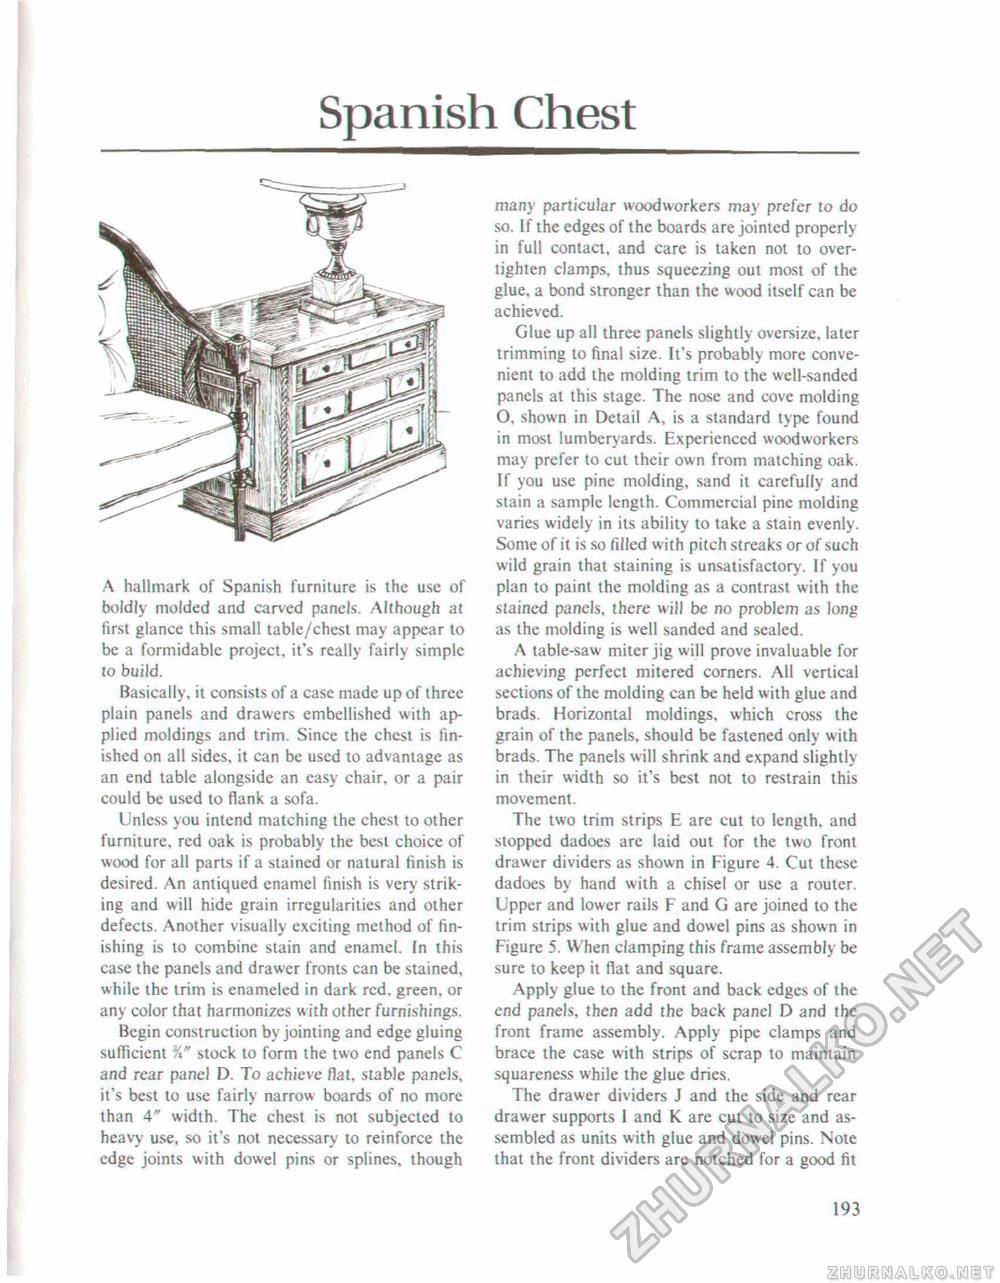
Spanish ChestA hallmark of Spanish furniture is the use of boldly molded and carved panels. Although at first glance this small table/chest may appear to be a formidable project, it's really fairly simple to build. Basically, it consists of a case made up of three plain panels and drawers embellished with applied moldings and trim. Since the chest is finished on all sides, it can be used to advantage as an end table alongside an easy chair, or a pair could be used to flank a sofa. Unless you intend matching the chest to other furniture, red oak is probably the best choice of wood for all parts if a stained or natural finish is desired. An antiqued enamel finish is very striking and will hide grain irregularities and other defects. Another visually exciting method of finishing is to combine stain and enamel, In this case the panels and drawer fronts can be stained, while the trim is enameled in dark red, green, or any color that harmonizes with other furnishings. Begin construction by jointing and edge gluing sufficient stock to form the two end panels C and rear panel D. To achieve flat, stable panels, it's best to use fairly narrow boards of no more than 4" width. The chest is not subjected to heavy use, so it's not necessary to reinforce the edge joints with dowel pins or splines, though many particular woodworkers may prefer to do so. If the edges of the boards are jointed properly in full contact, and care is taken not to overtighten clamps, thus squeezing out most of the glue, a bond stronger than the wood itself can be achieved. Glue up all three panels slightly oversize, later trimming to final size. It's probably more convenient to add the molding trim to the well-sanded panels at this stage. The nose and cove molding O, shown in Detail A, is a standard type found in most lumberyards. Experienced woodworkers may prefer to cut their own from matching oak. If you use pine molding, sand it carefully and stain a sample length. Commercial pine molding varies widely in its ability to lake a stain evenly. Some of it is so filled w ith pitch streaks or of such wild grain that staining is unsatisfactory. If you plan to paint the molding as a contrast with the stained panels, there will be no problem as long as the molding is well sanded and sealed. A table-saw miter jig will prove invaluable for achieving perfect mitered corners. All vertical sections of the molding can be held with glue and brads. Horizontal moldings, which cross Ihe grain of ihe panels, should be fastened only with brads. The panels will shrink and expand slightly in their width so it's best not to restrain this movement. The two trim strips E are cut to length, and stopped dadoes arc laid out for the two front drawer dividers as shown in Figure 4. Cut these dadoes by hand with a chisel or use a router. Upper and lower rails F and G are joined to the trim strips with glue and dowel pins as shown in Figure 5. When clamping this frame assembly be sure to keep it flat and square. Apply glue to the front and back edges of the end panels, then add the back panel D and the front frame assembly. Apply pipe clamps and brace the case with strips of scrap to maintain squareness while the glue dries. The drawer dividers J and the side and rear drawer supports I and K are cut to size and assembled as units with glue and dowel pins. Note that the front dividers are notched for a good fit 193 |


