Woodworker's Journal 101-Projects-for-Woodworkers, страница 226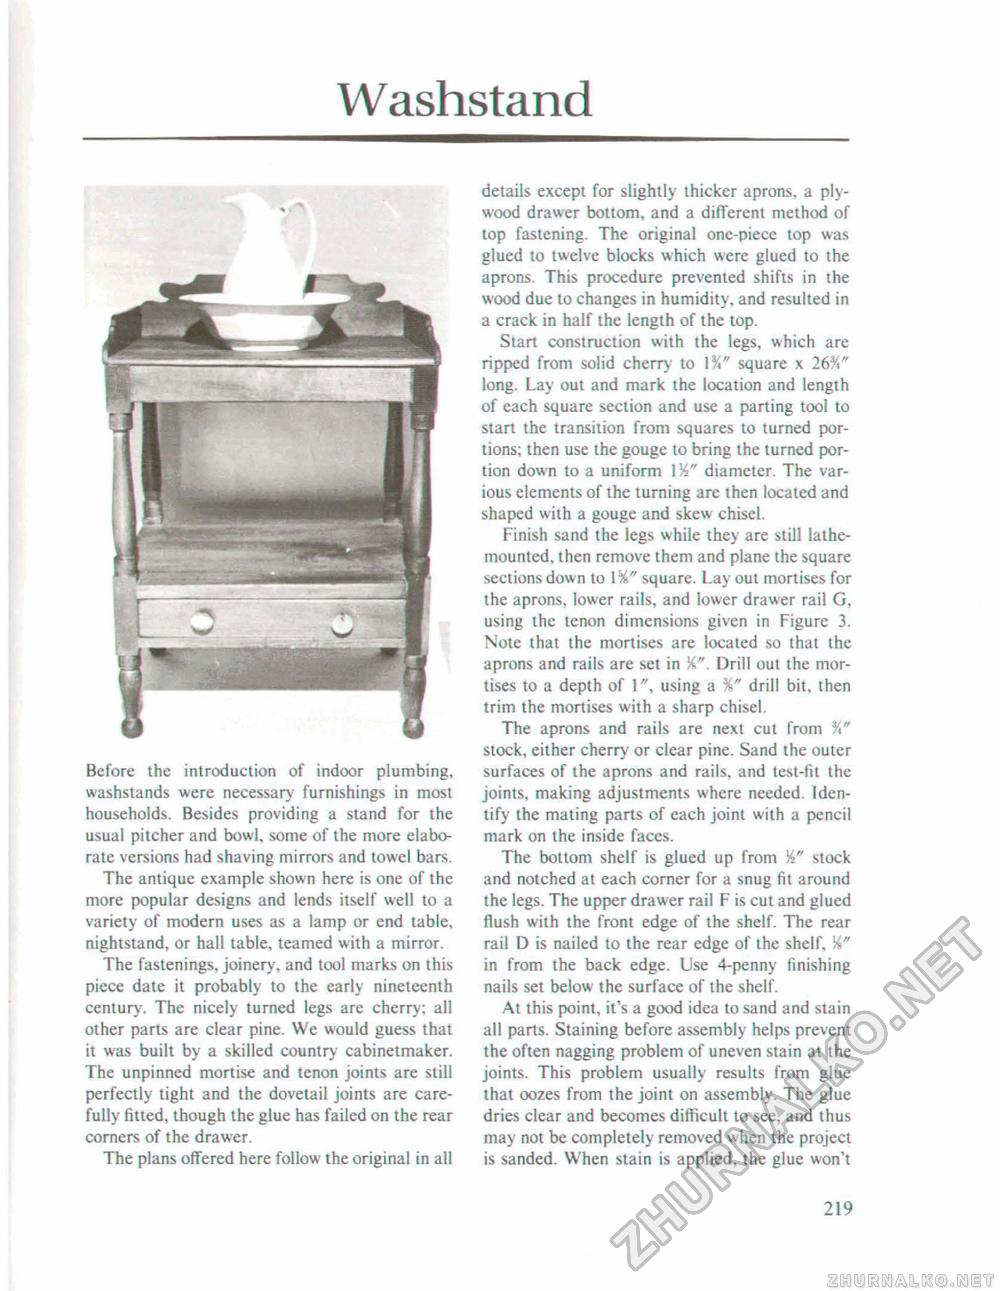
Washstanddetails except for slightly thicker aprons, a plywood drawer bottom, and a different method of top fastening. The original one-piece top was glued to twelve blocks which were glued to the aprons. This procedure prevented shifts in the wood due to changes in humidity, and resulted in a crack in half the length of the top. Start construction with the legs, which are ripped from solid cherry' to 1%" square x 26 long. Lay out and mark the location and length of each square section and use a parting tool to start the transition from squares to turned portions: then use the gouge to bring the turned portion down to a uniform \W diameter. The various elements of the turning are then located and shaped with a gouge and skew chisel. Finish sand the legs while they are still lathe-mounted, then remove them and plane the square sections down to I %" square. Lay out mortises for the aprons, lower rails, and lower drawer rail G, using the tenon dimensions given in Figure 3. Note that the mortises are located so that the aprons and rails are set in Drill out the mortises to a depth of 1", using a %" drill bit, then trim the mortises with a sharp chisel. The aprons and rails are next cut from %" stock, either cherry or clear pine. Sand the outer surfaces of the aprons and rails, and test-fit the joints, making adjustments where needed. Identify the mating parts of each joint with a pencil mark on the inside faces. The bottom shelf is glued up from stock and notched at each corner for a snug fit around the legs. The upper drawer rail F is cut and glued flush with the front edge of the shelf. The rear rail D is nailed to the rear edge of the shelf, W in from the back edge. Use 4-penny finishing nails set below the surface of the shelf. At this point, it's a good idea to sand and stain all parts. Staining before assembly helps prevent the often nagging problem of uneven stain at the joints. This problem usually results from glue that oozes from the joint on assembly. The glue dries clear and becomes difficult to see, and thus may not be completely removed when the project is sanded. When stain is applied, the glue won't Before the introduction of indoor plumbing, washstands were necessary furnishings in most households. Besides providing a stand for the usual pitcher and bowl, some of the more elaborate versions had shaving mirrors and towel bars. The antique example shown here is one of the more popular designs and tends itself well to a variety of modern uses as a lamp or end table, nightstand, or hall table, teamed with a mirror. The fastenings, joinery, and tool marks on this piece date it probably to the early nineteenth century. The nicely turned legs are cherry; all other parts are clear pine. We would guess that it was built by a skilled country cabinetmaker. The unpinned mortise and tenon joints are still perfectly tight and the dovetail joints are carefully filled, though the glue has failed on the rear corners of the drawer. The plans offered here follow the original in all 219 |


