Woodworker's Journal 101-Projects-for-Woodworkers, страница 35
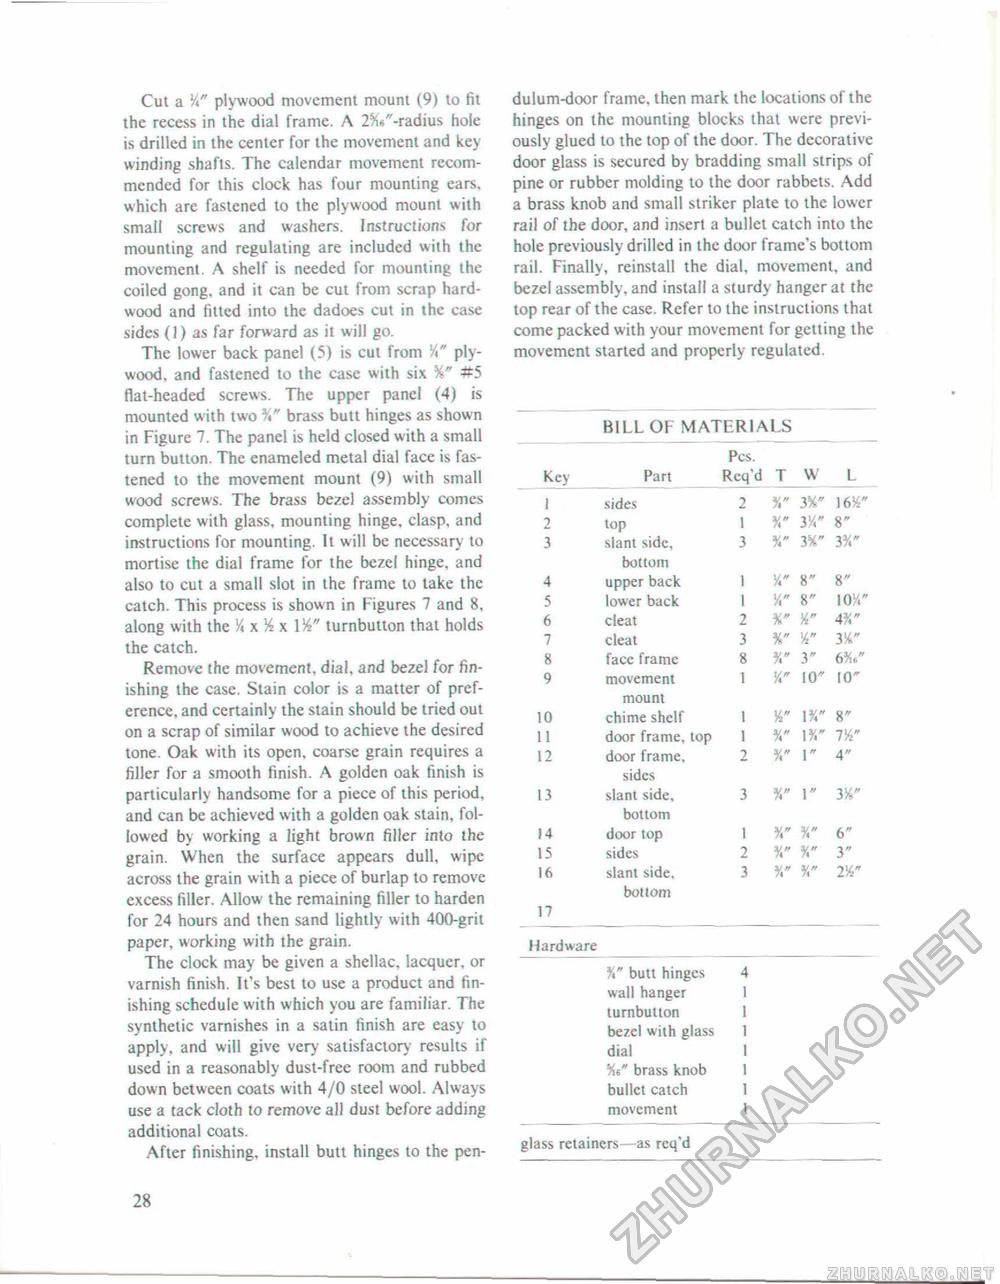
Cut a y<" plywood movement mount (9) to fit the recess in the dial frame. A 2%«"-radius hole is drilled in the center for the movement and key winding shafts. The calendar movement recommended for this clock has four mounting ears, which are fastened to the plywood mount with small screws and washers. Instructions for mounting and regulating are included with the movement. A shelf is needed for mounting the coiled gong, and it can be cut from scrap hardwood and fitted into the dadoes cut in the case sides (1) as far forward as it will go. The lower back panel (5) is cut from !4" plywood. and fastened to the case with six %" #5 fiat-headed screws. The upper panel (4) is mounted with two V brass butt hinges as shown in Figure 7. The panel is held closed with a small turn button. The enameled metal dial face is fastened to the movement mount (9) with small wood screws. The brass bezel assembly comes complete with glass, mounting hinge, clasp, and instructions for mounting. It will be necessary to mortise the dial frame for the bezel hinge, and also to cut a small slot in the frame to lake the catch. This process is shown in Figures 7 and 8, along with the Vt x % x l!4" turnbutton that holds the catch. Remove the movement, dial, and bezel for finishing the case. Stain color is a matter of preference, and certainly the stain should be tried out on a scrap of similar wood to achieve the desired tone. Oak with its open, coarse grain requires a filler for a smooth finish. A golden oak finish is particularly handsome for a piece of this period, and can be achieved with a golden oak stain, followed by working a light brown filler into the grain. When the surface appears dull, wipe across the grain with a piece of burlap to remove excess filler. Allow the remaining filler to harden for 24 hours and then sand lightly with 400-grit paper, working with the grain. The clock may be given a shellac, lacquer, or varnish finish. It's best to use a product and finishing schedule with which you are familiar. The synthetic varnishes in a satin finish are easy to apply, and will give very satisfactory results if used in a reasonably dust-free room and rubbed down between coats with 4/0 steel wool. Always use a tack cloth to remove al) dust before adding additional coats. After finishing, install butt hinges to the pen dulum-door frame, then mark the locations of the hinges on the mounting blocks that were previously glued to the top of the door. The decorative door glass is secured by bradding small strips of pine or rubber molding to the door rabbets. Add a brass knob and small striker plate to the lower rail of the door, and insert a bullet catch into the hole previously drilled in the door frame's bottom rail. Finally, reinstall the dial, movement, and bezel assembly, and install a sturdy hanger at the top rear of the case. Refer to the instructions that come packed with your movement for getting the movement started and properly regulated. BILL OF MATERIALS BILL OF MATERIALS
bottom 17 bottom 17 Hardware butt hinges 4 wall hanger 1 turnbutton 1 bezel with glass 1 dial I Me" brass knob 1 bullet catch 1 movement 1 glass retainers—as req'd 28 |


