Woodworker's Journal 101-Projects-for-Woodworkers, страница 37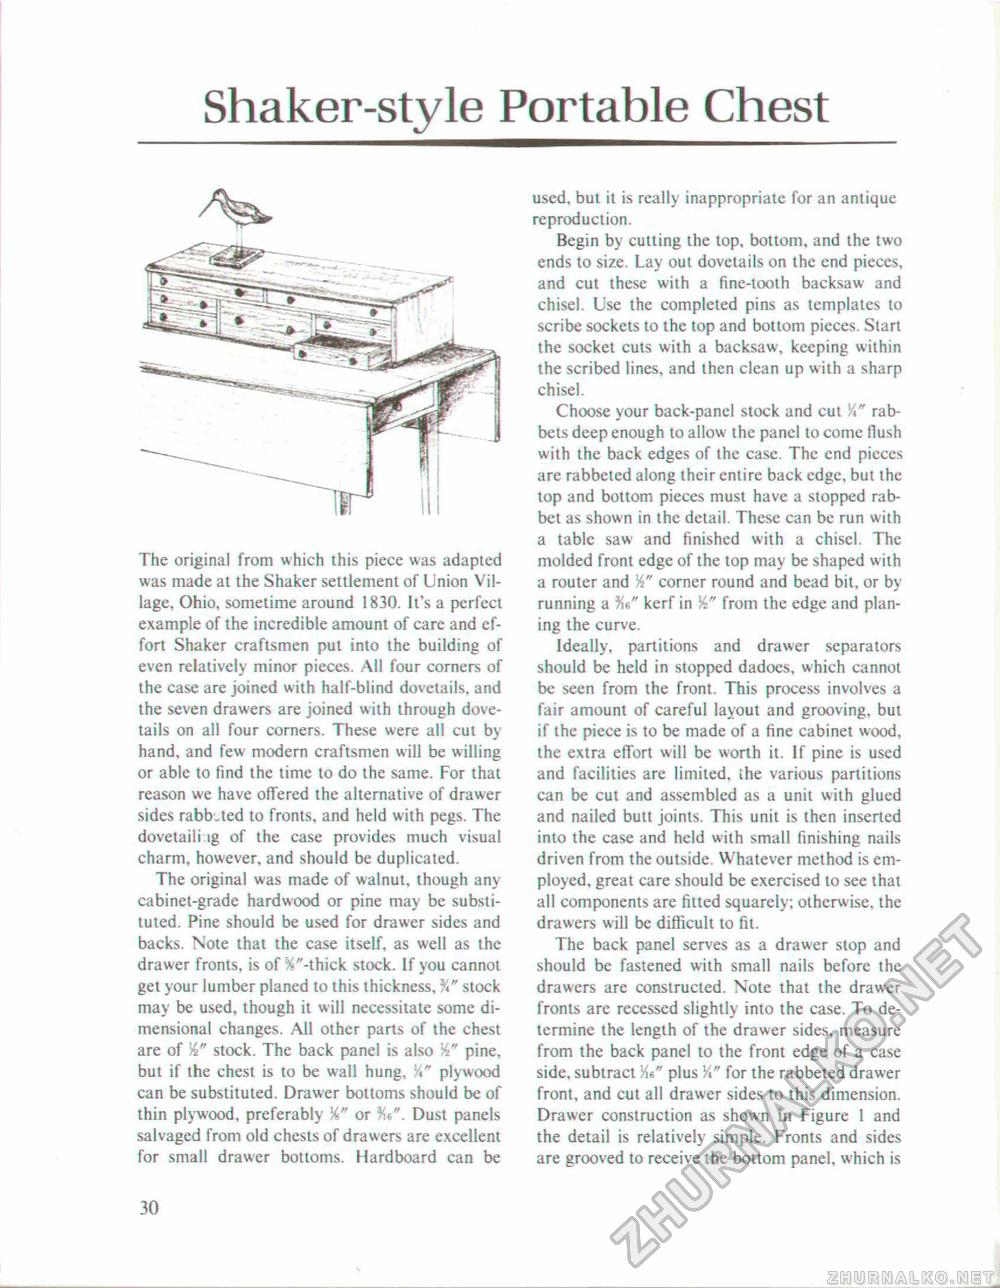
Shaker-style Portable ChestThe original from which this piece was adapted was made at the Shaker settlement of Union Village, Ohio, sometime around 1830. It's a perfect example of the incredible amount of care and effort Shaker craftsmen put into the building of even relatively minor pieces. All four corners of the case are joined with half-blind dovetails, and the seven drawers are joined with through dovetails on all four corners. These were all cut by hand, and few modern craftsmen will be willing or able to find the time to do the same. For that reason we have offered the alternative of drawer sides rabb.led to fronts, and held with pegs. The dovelaili tg of the case provides much visual charm, however, and should be duplicated. The original was made of walnut, though any cabinet-grade hardwood or pine may be substituted. Pine should be used for drawer sides and backs. Note that the case itself, as well as the drawer fronts, is of %"-thick stock. If you cannot get your lumber planed to this thickness, %" stock may be used, though it will necessitate some dimensional changes. All other parts of the chest are of stock. The back panel is also W pine, but if the chest is to be wall hung, Ji" plywood can be substituted. Drawer bottoms should be of thin plywood, preferably or Ks". Dust panels salvaged from old chests of drawers are excellent for small drawer bottoms. Hardboard can be used, but it is really inappropriate for an antique reproduction. Begin by cutting the top, bottom, and the two ends to size. Lay out dovetails on the end pieces, and cut these with a fine-tooth backsaw and chisel. Use the completed pins as templates to scribe sockets to the top and bottom pieces. Start the socket cuts with a backsaw, keeping within the scribed lines, and then clean up with a sharp chisel. Choose your back-panel stock and cut ft" rabbets deep enough to allow the panel to come flush with the back edges of the case. The end pieces are rabbeted along their entire back edge, but the top and bottom pieces must have a stopped rabbet as shown in the detail. These can be run with a table saw and finished with a chisel. The molded front edge of the top may be shaped with a router and 54" corner round and bead bit, or by running a kerf in from the edge and planing the curve. Ideally, partitions and drawer separators should be held in stopped dadoes, which cannot be seen from the front. This process involves a fair amount of careful layout and grooving, but if the piece is to be made of a fine cabinet wood, the extra effort will be worth it. If pine is used and facilities are limited, the various partitions can be cut and assembled as a unit with glued and nailed butt joints. This unit is then inserted into the case and held with small finishing nails driven from the outside. Whatever method is employed. great care should be exercised to see that all components are fitted squarely; otherwise, the drawers will be difficult to fit. The back panel serves as a drawer stop and should be fastened with small nails before the drawers are constructed. Note that the drawer fronts are recessed slightly into the case. To determine the length of the drawer sides, measure from the back panel to the front edge of a case side, subtract plus for the rabbeted drawer front, and cut all drawer sides to this dimension. Drawer construction as shown in Figure 1 and the detail is relatively simple. Fronts and sides are grooved to receive the bottom panel, which is 30 |


