Woodworker's Journal 101-Projects-for-Woodworkers, страница 59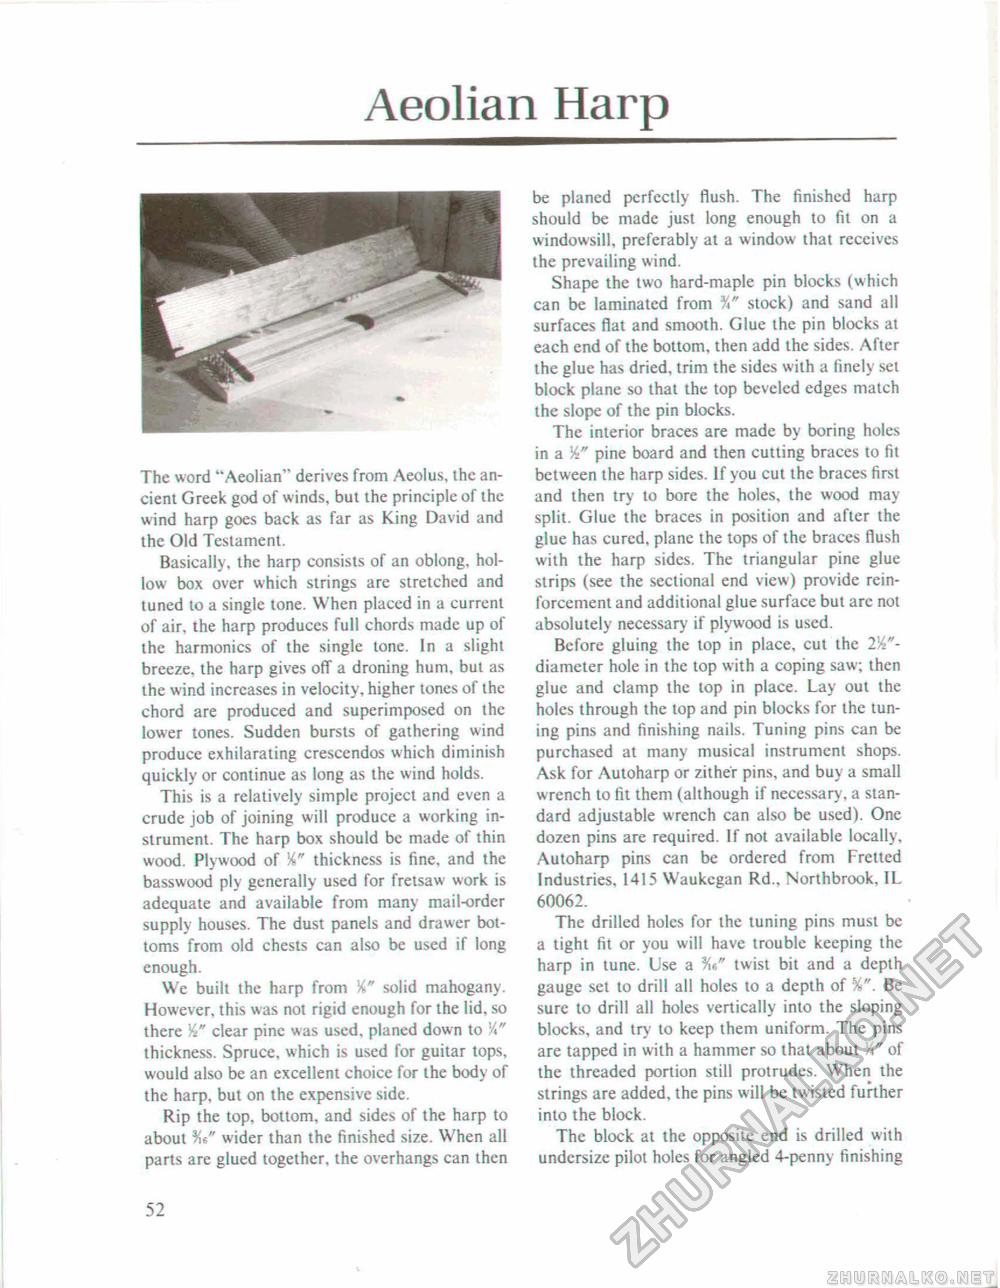
Aeolian HarpThe word "Aeolian" derives from Aeolus, the ancient Greek god of winds, but the principle of the wind harp goes back as far as King David and the Old Testament. Basically, the harp consists of an oblong, hollow box over which strings are stretched and tuned to a single tone. When placed in a current of air, the harp produces full chords made up of the harmonics of the single tone. In a slight breeze, the harp gives off a droning hum, but as the wind increases in velocity, higher tones of the chord are produced and superimposed on the lower tones. Sudden bursts of gathering wind produce exhilarating crescendos which diminish quickly or continue as long as the wind holds. This is a relatively simple project and even a crude job of joining will produce a working instrument. The harp box should be made of thin wood. Plywood of thickness is fine, and the basswood ply generally used for fretsaw work is adequate and available from many mail-order supply houses. The dust panels and drawer bottoms from old chests can also be used if long enough. We built the harp from solid mahogany. However, this was not rigid enough for the lid, so there clear pine was used, planed down to W thickness. Spruce, which is used for guitar tops, would also be an excellent choice for the body of the harp, but on the expensive side. Rip the top, bottom, and sides of the harp to about ?is* wider than the finished size. When all parts are glued together, the overhangs can then be planed perfectly flush. The finished harp should be made just long enough to fit on a windowsill, preferably at a window that receives the prevailing wind. Shape the two hard-maple pin blocks (which can be laminated from stock) and sand all surfaces flat and smooth. Glue the pin blocks at each end of the bottom, then add the sides. After the glue has dried, trim the sides with a finely set block plane so that the top beveled edges match the slope of the pin blocks. The interior braces are made by boring holes in a pine board and then cutting braces to fit between the harp sides. If you cut the braces first and then try to bore the holes, the wood may split. Glue the braces in position and after the glue has cured, plane the tops of the braces flush with the harp sides. The triangular pine glue strips (see the sectional end view) provide reinforcement and additional glue surface but are not absolutely necessary if plywood is used. Before gluing the top in place, cut the 2%"-diameter hole in the top with a coping saw; then glue and clamp the lop in place. Lay out the holes through the top and pin blocks for the tuning pins and finishing nails. Tuning pins can be purchased at many musical instrument shops. Ask for Autoharp or zither pins, and buy a small wrench to fit them (although if necessary, a standard adjustable wrench can also be used). One dozen pins are required. !f not available locally, Autoharp pins can be ordered from Fretted Industries. 1415 Waukegan Rd.. Northbrook, IL 60062. The drilled holes for the tuning pins must be a tight fit or you will have trouble keeping the harp in tune. Use a twist bit and a depth gauge set to drill all holes to a depth of %". Be sure to drill all holes vertically into the sloping blocks, and try to keep them uniform. The pins are tapped in with a hammer so that about V" of the threaded portion still protrudes. When the strings are added, the pins will be twisted further into the block. The block at the opposite end is drilled with undersize pilot holes for angled 4-penny finishing 52 |


