Woodworker's Journal 101-Projects-for-Woodworkers, страница 69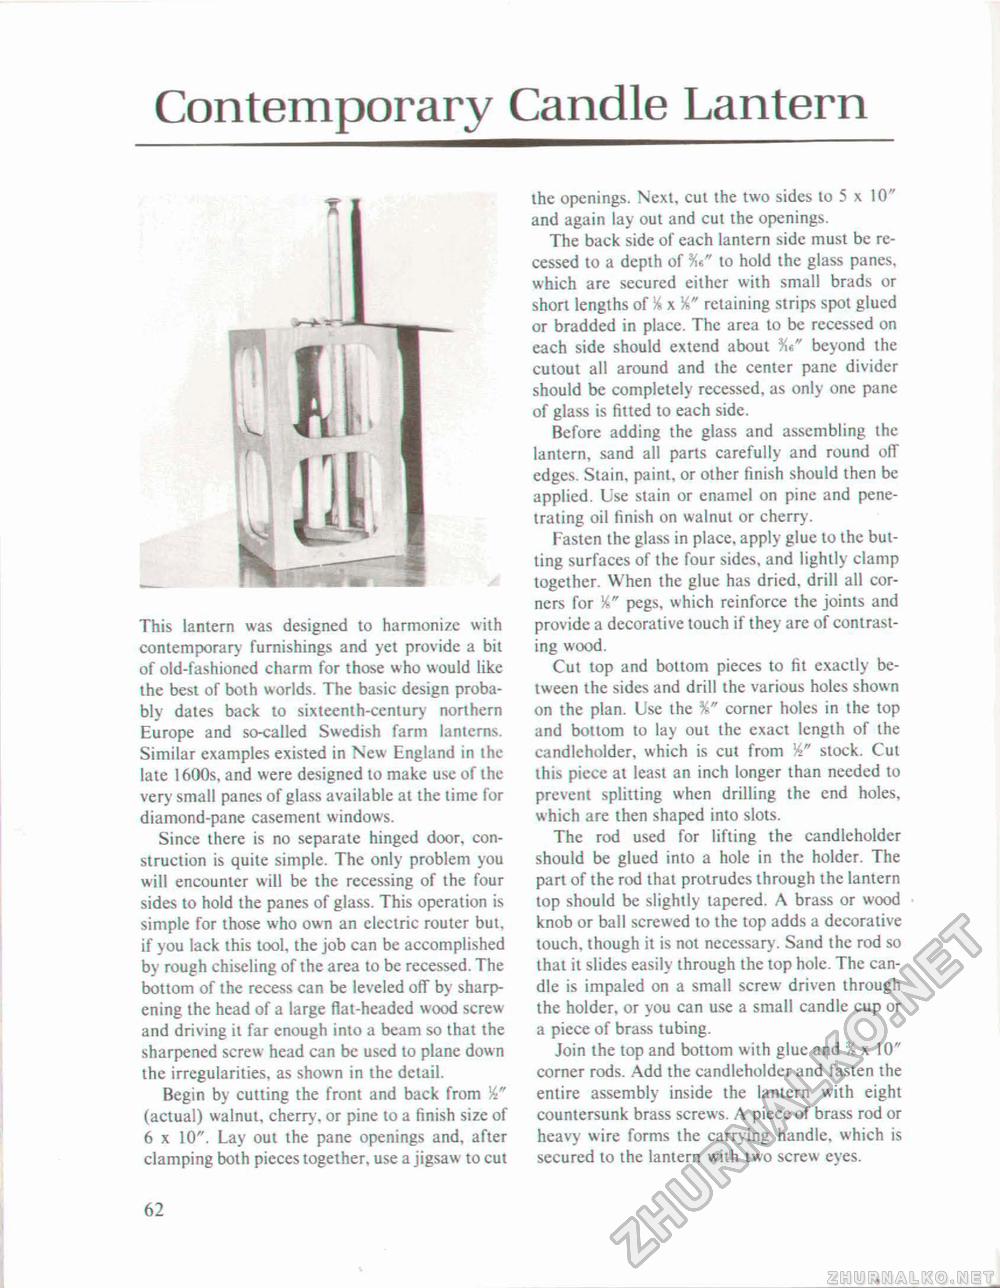
Contemporary Candle LanternThis lantern was designed to harmonize with contemporary furnishings and yet provide a bit of old-fashioned charm for those who would like the best of both worlds. The basic design probably dates back to sixteenth-century northern Europe and so-called Swedish farm lanterns. Similar examples existed in New England in the late 1600s, and were designed to make use of the very small panes of glass available at the time for diamond-pane casement windows. Since there is no separate hinged door, construction is quite simple. The only problem you will encounter will be the recessing of the four sides to hold the panes of glass. This operation is simple for those who own an electric router but, if you lack this tool, the job can be accomplished by rough chiseling of the area to be recessed. The bottom of the recess can be leveled off by sharpening the head of a large flat-headed wood screw and driving it far enough into a beam so that the sharpened screw head can be used to plane down the irregularities, as shown in the detail. Begin by cutting the front and back from (actual) walnut, cherry , or pine to a finish size of 6 x 10". Lay out the pane openings and. after clamping both pieces together, use a jigsaw to cut the openings. Next, cut the two sides to 5 x 10" and again lay out and cut the openings. The back side of each lantern side must be recessed to a depth of to hold the glass panes, which arc secured either with small brads or short lengths of % x retaining strips spot glued or bradded in place. The area to be recessed on each side should extend about beyond the cutout all around and the center pane divider should be completely recessed, as only one pane of glass is fitted to each side. Before adding the glass and assembling the lantern, sand all parts carefully and round off edges. Stain, paint, or other finish should then be applied. Lse stain or enamel on pine and penetrating oil finish on walnut or cherry. fasten the glass in place, apply glue to the butting surfaces of the four sides, and lightly clamp together. When the glue has dried, drill all corners for pegs, which reinforce the joints and provide a decorative touch if they are of contrasting wood. Cut top and bottom pieces to fit exactly between the sides and drill the various holes shown on the plan. Use the %" corner holes in the top and bottom to lay out the exact length of the candleholder. which is cut from W stock. Cut this piece at least an inch longer than needed to prevent splitting when drilling the end holes, which are then shaped into slots. The rod used for lifting the candleholder should be glued into a hole in the holder. The part of the rod that protrudes through the lantern top should be slightly tapered. A brass or wood knob or bail screwed to the top adds a decorative touch, though it is not necessary. Sand the rod so that it slides easily through the top hole. The candle is impaled on a small screw driven through the holder, or you can use a small candle cup or a piece of brass tubing. Join the top and bottom with glue and % x 10" corner rods. Add the candleholder and fasten the entire assembly inside the lantern with eight countersunk brass screws. A piece of brass rod or heavy wire forms the carrying handle, which is secured to the lantern with two screw eves. 62 |


