Woodworker's Journal 101-Projects-for-Woodworkers, страница 86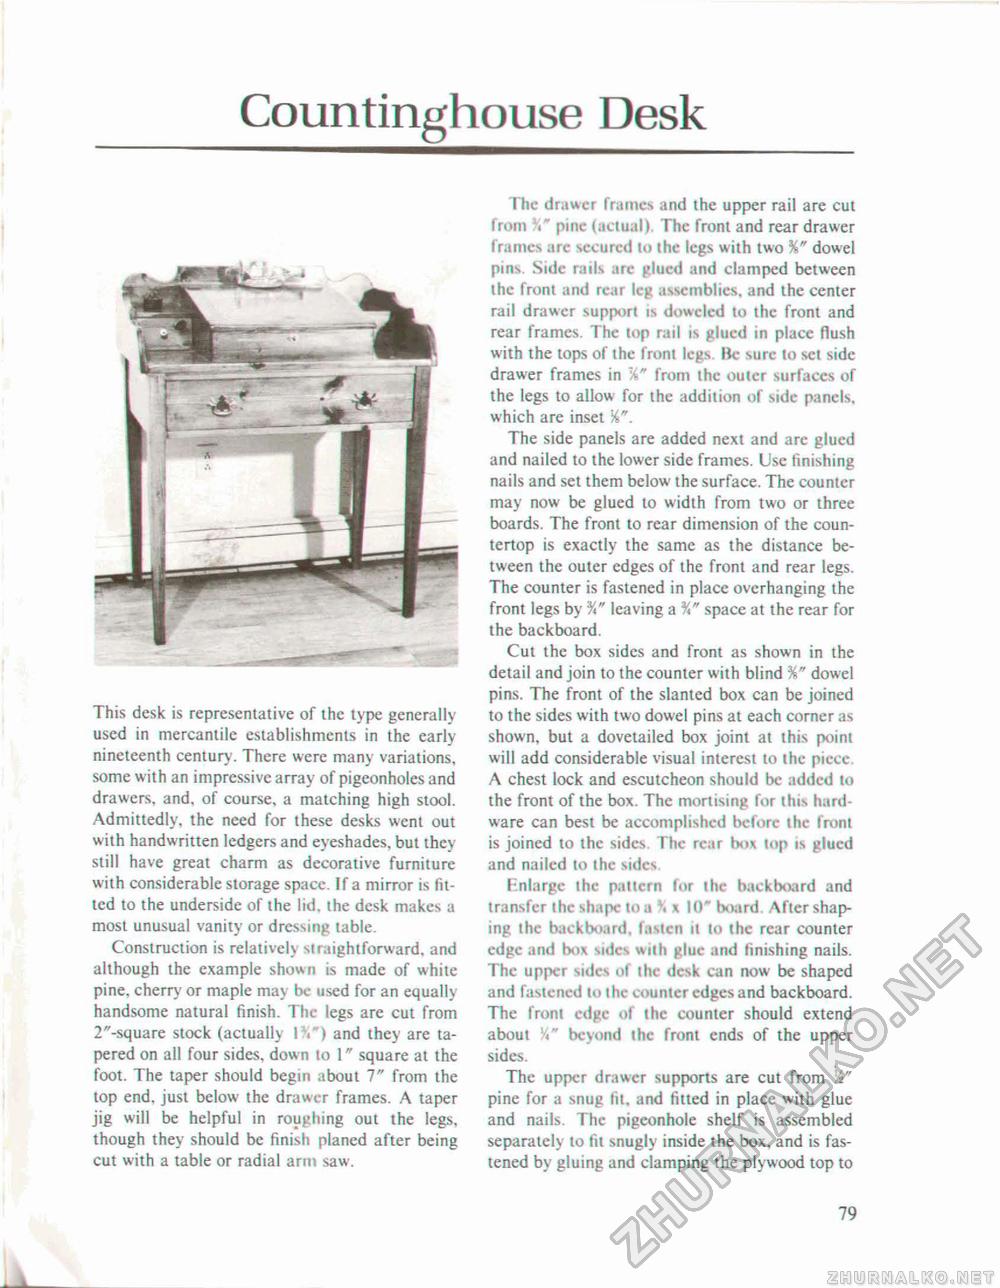
Countinghouse DeskThis desk is representative of the type generally used in mercantile establishments in the early nineteenth century. There were many variations, some with an impressive array of pigeonholes and drawers, and, of course, a matching high stool. Admittedly, the need for these desks went out with handwritten ledgers and eyeshades, but they still have great charm as decorative furniture with considerable storage space. If a mirror is fitted to the underside of the lid. the desk makes a most unusual vanity or dressing table. Construction is relatively siraightforward, and although the example shown is made of white pine, cherry or maple may be used for an equally handsome natural finish. The legs are cut from 2"-square stock (actually IV) and they are tapered on all four sides, down to 1" square at the foot. The taper should begin about 7" from the top end, just below the drawer frames. A taper jig will be helpful in roughing out the legs, though they should be finish planed after being cut with a table or radial arm saw. The drawer frames and the upper rail are cut from pine (actual) The front and rear drawer frames are secured to the legs with two %" dowel pins. Side rails are glued and clamped between the front and rear leg assemblies, and the center rail drawer support is doweled to the front and rear frames. The top rail is glued in place flush with the tops of the front legs Ik- sure to set side drawer frames in from the outer surfaces of the tegs to allow for the addition of side panels, which are inset W. The side panels are added next and are glued and nailed to the lower side frames. Use finishing nails and set them below the surface. The counter may now be glued to width from two or three boards. The front to rear dimension of the coun-tertop is exactly the same as the distance between the outer edges of the front and rear legs. The counter is fastened in place overhanging the front legs by %" leaving a space at the rear for the backboard. Cut the box sides and front as shown in the detail and join to the counter with blind %" dowel pins. The front of the slanted box can be joined to the sides with two dowel pins at each corner as shown, but a dovetailed box joint at this point will add considerable visual interest to ihc piece A chest lock and escutcheon should be added to the front of the box. The mortising for this hardware can best be accomplished before the front is joined to the sides I hc rear box top is glued and nailed to the sides Enlarge the pattern for the backboard and transfer the shape to a . * 10" board After shaping the backboard, l.ivtcn it to the rear counter edge and box sides with glue and finishing nails. The upper sides of the desk can now be shaped and fastened to the counter edges and backboard. The from edge of the counter should extend about ''<" beyond the front ends of the upper sides. The upper drawer supports are cut from Yi" pine for a snug fit, and fitted in place with glue and nails. The pigeonhole shelf is assembled separately to lit snugly inside the box, and is fastened by gluing and clamping the plywood top to 79 |


