Woodworker's Journal 101-Projects-for-Woodworkers, страница 83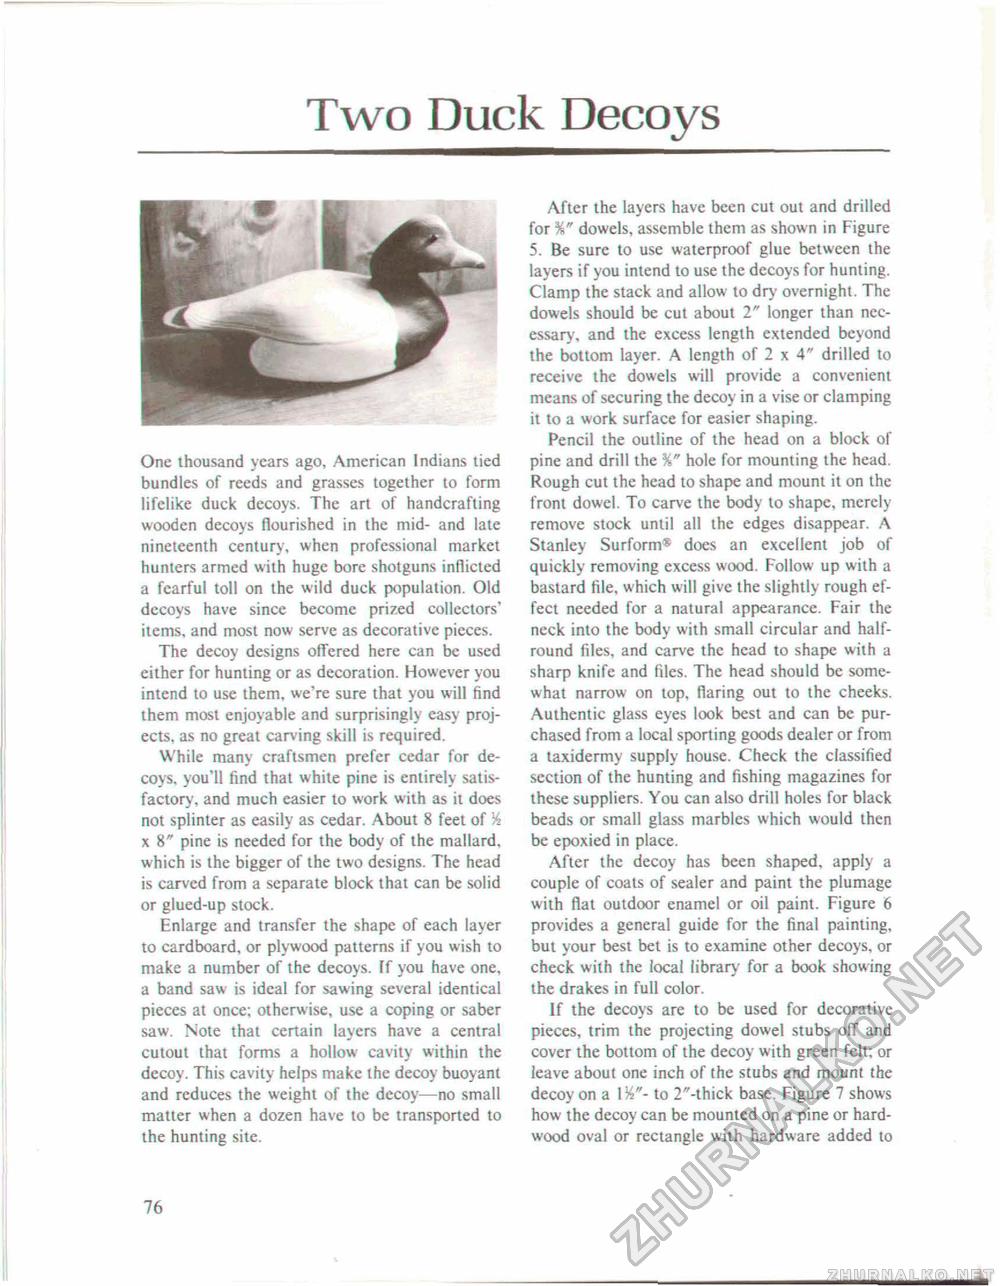
Two Duck DecoysOne thousand years ago, American Indians tied bundles of reeds and grasses together to form lifelike duck dccovs. The art of handcrafting wooden decoys nourished in the mid- and late nineteenth century, when professional market hunters armed with huge bore shotguns inflicted a fearful toll on the wild duck population. Old decoys have since become prized collectors' items, and most now serve as decorative pieces. The decoy designs offered here can be used either for hunting or as decoration. However you intend to use them, we're sure that you will find them most enjoyable and surprisingly easy projects, as no great carving skill is required. While many craftsmen prefer cedar for decoys, you'll find that white pine is entirely satisfactory, and much easier to work with as it does not splinter as easily as cedar. About 8 feet of % x 8" pine is needed for the body of the mallard, which is the bigger of the two designs. The head is carved from a separate block that can be solid or glued-up stock. Enlarge and transfer the shape of each layer to cardboard, or plywood patterns if you wish to make a number of the decoys, ff you have one, a band saw is ideal for sawing several identical pieces at once; otherwise, use a coping or saber saw. Note that certain layers have a central cutout that forms a hollow cavity within the decoy. This cavity helps make the decoy buoyant and reduces the weight of the decoy—no small matter when a dozen have to be transported to the hunting site. After the layers have been cut out and drilled for %" dowels, assemble them as shown in Figure 5. Be sure to use waterproof glue between the layers if you intend to use the decoys for hunting. Clamp the stack and allow to dry overnight. The dowels should be cut about 2" longer than necessary, and the excess length extended beyond the bottom layer. A length of 2 x 4" drilled to receive the dowels will provide a convenient means of securing the decoy in a vise or clamping it to a work surface for easier shaping. Pencil the outline of the head on a block of pine and drill the %" hole for mounting the head. Rough cut the head to shape and mount it on the front dowel. To carve the body to shape, merely remove stock until all the edges disappear. A Stanley Surform® does an excellent job of quickly removing excess wood. Follow up with a bastard file, which will give the slightly rough effect needed for a natural appearance. Fair the neck into the body with small circular and half-round files, and carve the head to shape with a sharp knife and files. The head should be somewhat narrow on top, flaring out to the cheeks. Authentic glass eyes look best and can be purchased from a local sporting goods dealer or from a taxidermy supply house. Check the classified section of the hunting and fishing magazines for these suppliers. You can also drill holes for black beads or small glass marbles which would then be epoxied in place. After the decoy has been shaped, apply a couple of coats of sealer and paint the plumage with flat outdoor enamel or oil paint. Figure 6 provides a general guide for the final painting, but your best bet is to examine other decoys, or check with the local library for a book showing the drakes in full color. If the decoys are to be used for decorative pieces, trim the projecting dowel stubs off and cover the bottom of the decoy with green felt; or leave about one inch of the stubs and mount the decoy on a XW'- to 2"-thick base. Figure 7 shows how the decoy can be mounted on a pine or hardwood oval or rectangle with hardware added to 76 |


