Woodworker's Journal 1983-7-1, страница 28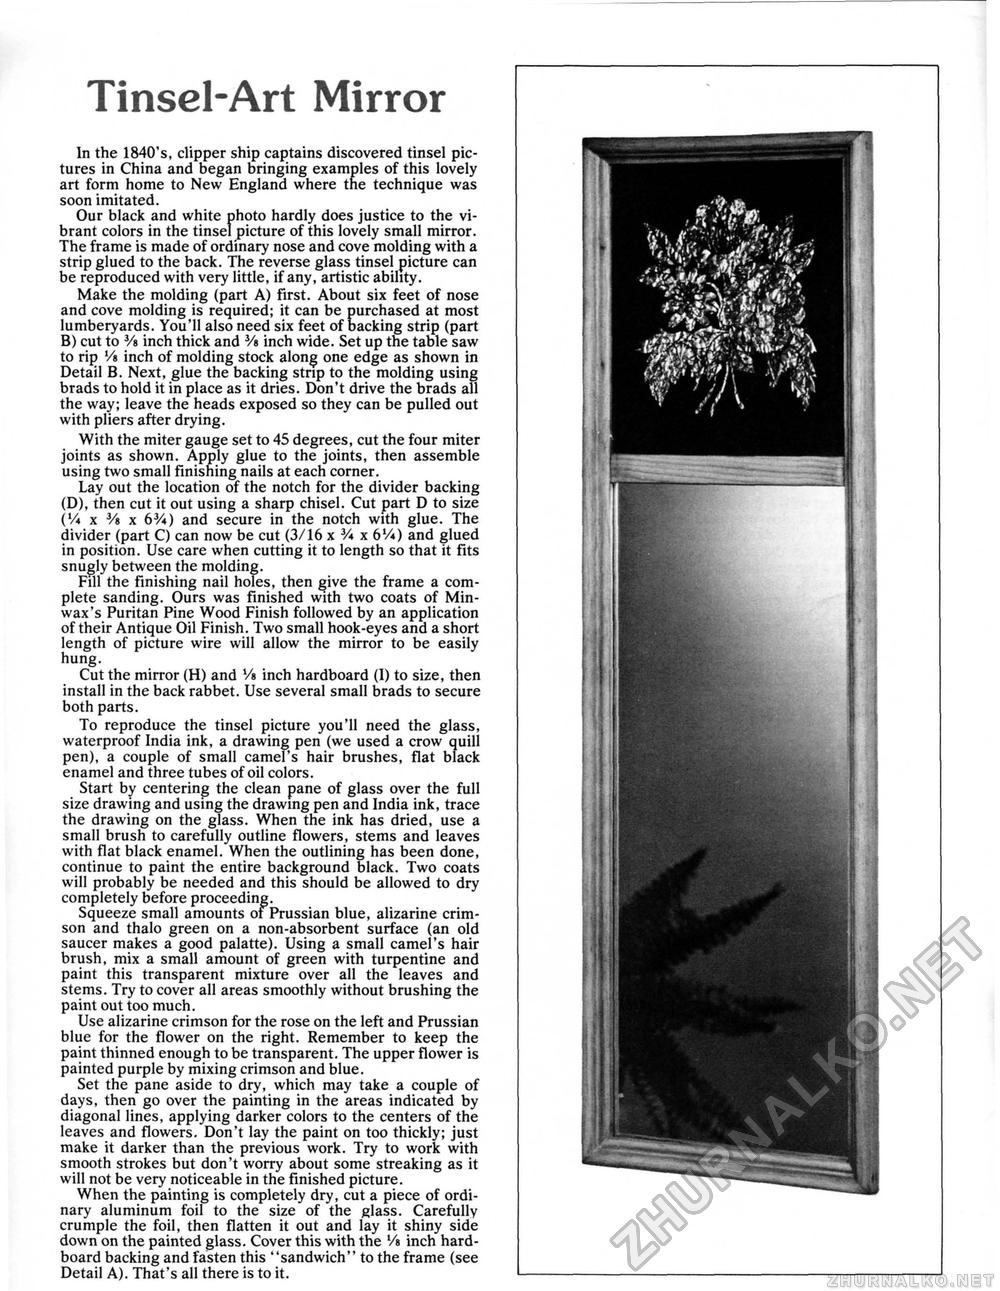
Tinsel-Art MirrorIn the 1840's, clipper ship captains discovered tinsel pictures in China and began bringing examples of this lovely art form home to New England where tne technique was soon imitated. Our black and white photo hardly does justice to the vibrant colors in the tinsel picture of this lovely small mirror. The frame is made of ordinary nose and cove molding with a strip glued to the back. The reverse glass tinsel picture can be reproduced with very little, if any, artistic ability. Make the molding (part A) first. About six feet of nose and cove molding is required; it can be purchased at most lumberyards. You'll also need six feet of backing strip (part B) cut to Vt inch thick and V» inch wide. Set up the table saw to rip '/« inch of molding stock along one edge as shown in Detail B. Next, glue the backing strip to the molding using brads to hold it in place as it dries. Don't drive the brads all the way; leave the heads exposed so they can be pulled out with pliers after drying. With the miter gauge set to 45 degrees, cut the four miter joints as shown. Apply glue to the joints, then assemble using two small finishing nails at each corner. Lay out the location of the notch for the divider backing (D), then cut it out using a sharp chisel. Cut part D to size (Vi x V» x 63/i) and secure in the notch with glue. The divider (part C) can now be cut (3/16 x 3/i x 6Vi) and glued in position. Use care when cutting it to length so that it fits snugly between the molding. Fill the finishing nail holes, then give the frame a complete sanding. Ours was finished with two coats of Min-wax's Puritan Pine Wood Finish followed by an application of their Antique Oil Finish. Two small hook-eyes and a short length of picture wire will allow the mirror to be easily hung. Cut the mirror (H) and Va inch hardboard (1) to size, then install in the back rabbet. Use several small brads to secure both parts. To reproduce the tinsel picture you'll need the glass, waterproof India ink, a drawing pen (we used a crow quill pen), a couple of small camel's hair brushes, flat black enamel and three tubes of oil colors. Start by centering the clean pane of glass over the full size drawing and using the drawing pen and India ink, trace the drawing on the glass. When the ink has dried, use a small brush to carefully outline flowers, stems and leaves with flat black enamel. When the outlining has been done, continue to paint the entire background black. Two coats will probably be needed and this should be allowed to dry completely before proceeding. Squeeze small amounts of Prussian blue, alizarine crimson and thalo green on a non-absorbent surface (an old saucer makes a good palatte). Using a small camel s hair brush, mix a small amount of green with turpentine and paint this transparent mixture over all the leaves and stems. Try to cover all areas smoothly without brushing the paint out too much. Use alizarine crimson for the rose on the left and Prussian blue for the flower on the right. Remember to keep the paint thinned enough to be transparent. The upper flower is painted purple by mixing crimson and blue. Set the pane aside to dry, which may take a couple of days, then go over the painting in the areas indicated by diagonal lines, applying darker colors to the centers of the leaves and flowers. Don't lay the paint on too thickly; just make it darker than the previous work. Try to work with smooth strokes but don't worry about some streaking as it will not be very noticeable in the finished picture. When the painting is completely dry, cut a piece of ordinary aluminum foil to the size of the glass. Carefully crumple the foil, then flatten it out and lay it shiny side down on the painted glass. Cover this with the Vt inch hard-board backing and fasten this "sandwich" to the frame (see Detail A). That's all there is to it. |


