Woodworker's Journal 1983-7-2, страница 42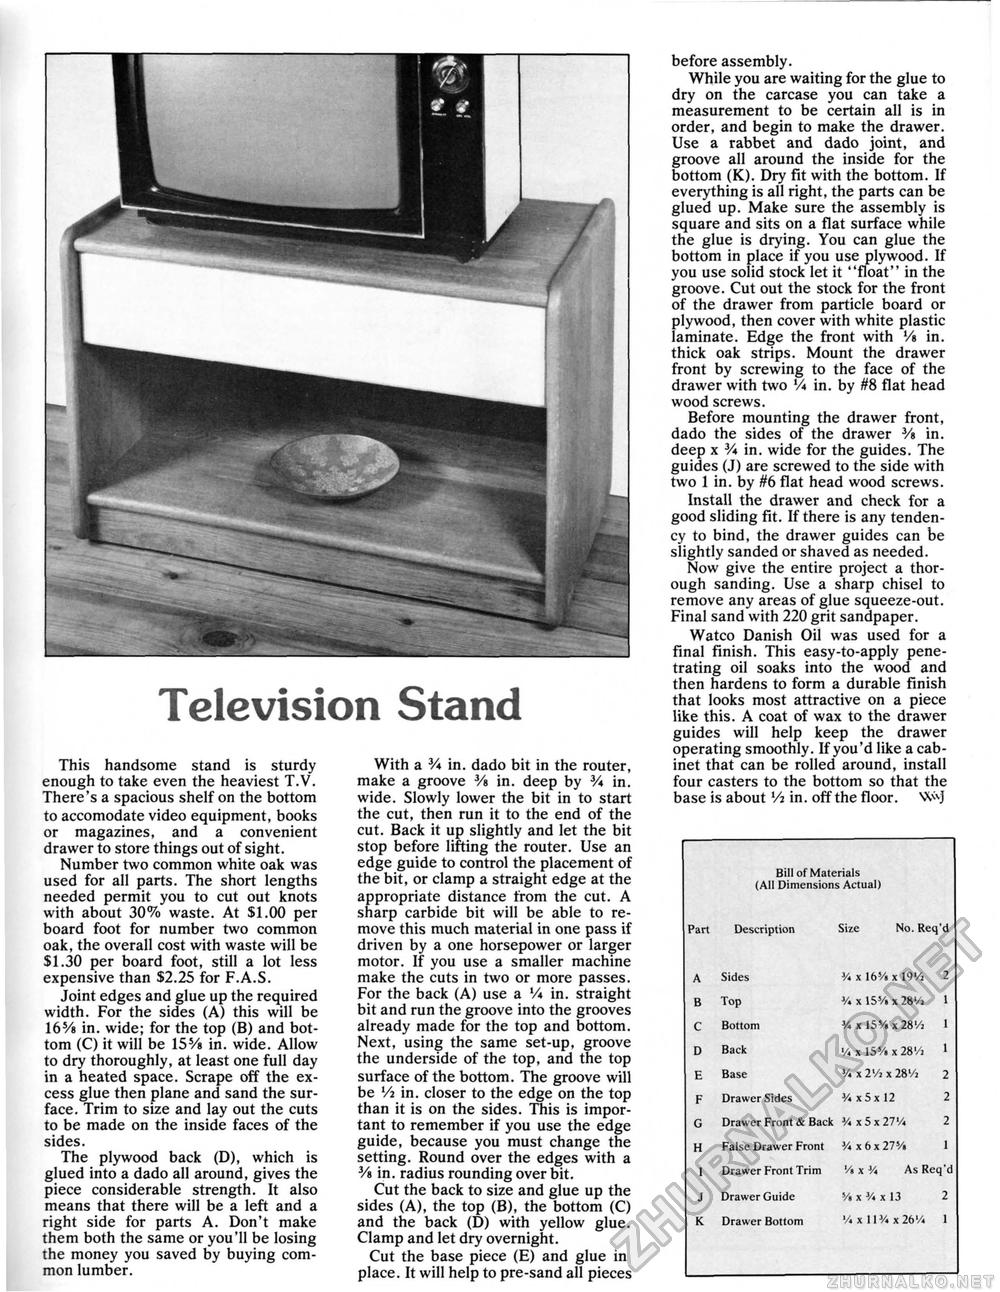
Television Stand This handsome stand is sturdy enough to take even the heaviest T.V. There's a spacious shelf on the bottom to accomodate video equipment, books or magazines, and a convenient drawer to store things out of sight. Number two common white oak was used for all parts. The short lengths needed permit you to cut out knots with about 30% waste. At $1.00 per board foot for number two common oak, the overall cost with waste will be $1.30 per board foot, still a lot less expensive than $2.25 for F.A.S. Joint edges and glue up the required width. For the sides (A) this will be 165/8 in. wide; for the top (B) and bottom (C) it will be 155/s in. wide. Allow to dry thoroughly, at least one full day in a heated space. Scrape off the excess glue then plane and sand the surface. Trim to size and lay out the cuts to be made on the inside faces of the sides. The plywood back (D), which is glued into a dado all around, gives the piece considerable strength. It also means that there will be a left and a right side for parts A. Don't make them both the same or you'll be losing the money you saved by buying common lumber. With a V* in. dado bit in the router, make a groove Vs in. deep by V* in. wide. Slowly lower the bit in to start the cut, then run it to the end of the cut. Back it up slightly and let the bit stop before lifting the router. Use an edge guide to control the placement of the bit, or clamp a straight edge at the appropriate distance from the cut. A sharp carbide bit will be able to remove this much material in one pass if driven by a one horsepower or larger motor. If you use a smaller machine make the cuts in two or more passes. For the back (A) use a lA in. straight bit and run the groove into the grooves already made for the top and bottom. Next, using the same set-up, groove the underside of the top, and the top surface of the bottom. The groove will be Vi in. closer to the edge on the top than it is on the sides. This is important to remember if you use the edge guide, because you must change the setting. Round over the edges with a Vs in. radius rounding over bit. Cut the back to size and glue up the sides (A), the top (B), the bottom (C) and the back (D) with yellow glue. Clamp and let dry overnight. Cut the base piece (E) and glue in place. It will help to pre-sand all pieces before assembly. While you are waiting for the glue to dry on the carcase you can take a measurement to be certain all is in order, and begin to make the drawer. Use a rabbet and dado joint, and groove all around the inside for the bottom (K). Dry fit with the bottom. If everything is all right, the parts can be glued up. Make sure the assembly is square and sits on a flat surface while the glue is drying. You can glue the bottom in place if you use plywood. If you use solid stock let it "float" in the groove. Cut out the stock for the front of the drawer from particle board or plywood, then cover with white plastic laminate. Edge the front with V» in. thick oak strips. Mount the drawer front by screwing to the face of the drawer with two V* in. by #8 flat head wood screws. Before mounting the drawer front, dado the sides of the drawer Vs in. deep x V* in. wide for the guides. The guides (J) are screwed to the side with two 1 in. by #6 flat head wood screws. Install the drawer and check for a good sliding fit. If there is any tendency to bind, the drawer guides can be slightly sanded or shaved as needed. Now give the entire project a thorough sanding. Use a sharp chisel to remove any areas of glue squeeze-out. Final sand with 220 grit sandpaper. Watco Danish Oil was used for a final finish. This easy-to-apply penetrating oil soaks into the wood and then hardens to form a durable finish that looks most attractive on a piece like this. A coat of wax to the drawer guides will help keep the drawer operating smoothly. If you'd like a cabinet that can be rolled around, install four casters to the bottom so that the base is about Vi in. off the floor.
|
||||||||||||||||||||||||||||||||||||||||||||||||||||


