Woodworker's Journal 1984-8-2, страница 48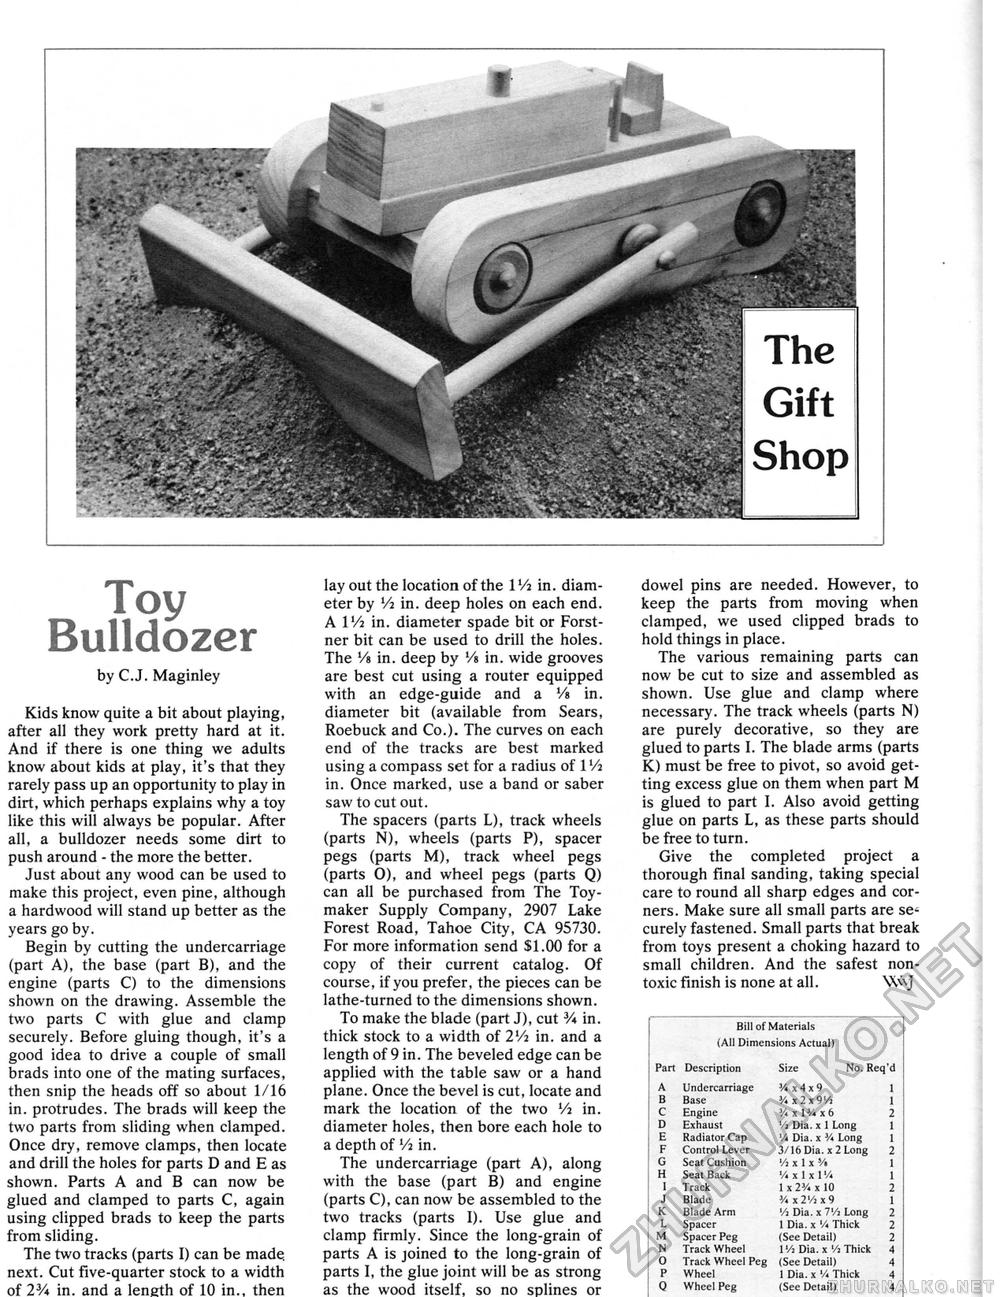
Toy Bulldozer by C.J. Maginley Kids know quite a bit about playing, after all they work pretty hard at it. And if there is one thing we adults know about kids at play, it's that they rarely pass up an opportunity to play in dirt, which perhaps explains why a toy like this will always be popular. After all, a bulldozer needs some dirt to push around - the more the better. Just about any wood can be used to make this project, even pine, although a hardwood will stand up better as the years go by. Begin by cutting the undercarriage (part A), the base (part B), and the engine (parts C) to the dimensions shown on the drawing. Assemble the two parts C with glue and clamp securely. Before gluing though, it's a good idea to drive a couple of small brads into one of the mating surfaces, then snip the heads off so about 1/16 in. protrudes. The brads will keep the two parts from sliding when clamped. Once dry, remove clamps, then locate and drill the holes for parts D and E as shown. Parts A and B can now be glued and clamped to parts C, again using clipped brads to keep the parts from sliding. The two tracks (parts I) can be made, next. Cut five-quarter stock to a width of 23A in. and a length of 10 in., then lay out the location of the 1 Vi in. diameter by Vi in. deep holes on each end, A 1 Vi in. diameter spade bit or Forst-ner bit can be used to drill the holes. The Vi in. deep by Vt in. wide grooves are best cut using a router equipped with an edge-guide and a Vt in. diameter bit (available from Sears, Roebuck and Co.). The curves on each end of the tracks are best marked using a compass set for a radius of lVi in. Once marked, use a band or saber saw to cut out. The spacers (parts L), track wheels (parts N), wheels (parts P), spacer pegs (parts M), track wheel pegs (parts O), and wheel pegs (parts Q) can all be purchased from The Toy-maker Supply Company, 2907 Lake Forest Road,' Tahoe City, CA 95730. For more information send SI.00 for a copy of their current catalog. Of course, if you prefer, the pieces can be lathe-turned to the dimensions shown. To make the blade (part J), cut V* in. thick stock to a width of 2Vi in. and a length of 9 in. The beveled edge can be applied with the table saw or a hand plane. Once the bevei is cut, locate and mark the location of the two Vi in. diameter holes, then bore each hole to a depth of Vi in. The undercarriage (part A), along with the base (part B) and engine (parts C), can now be assembled to the two tracks (parts I). Use glue and clamp firmly. Since the long-grain of parts A is joined to the long-grain of parts I, the glue joint will be as strong as the wood itself, so no splines or dowel pins are needed. However, to keep the parts from moving when clamped, we used clipped brads to hold things in place . The various remaining parts can now be cut to size and assembled as shown. Use glue and clamp where necessary. The track wheels (parts N) are purely decorative, so they are glued to parts I. The blade arms (parts K) must be free to pivot, so avoid getting excess glue on them when part M is glued to part I. Also avoid getting glue on parts L, as these parts should be free to turn. Give the completed project a thorough final sanding, taking special care to round all sharp edges and corners. Make sure all small parts are securely fastened. Small parts that break from toys present a choking hazard to small children. And the safest nontoxic finish is none at all. Bill of Materials [All Dimensions Actual) Bill of Materials [All Dimensions Actual)
|
||||||||||||||||||||||||||||||||||||||||||||||||||||||||||||||||||||||||


