Woodworker's Journal 1984-8-2, страница 56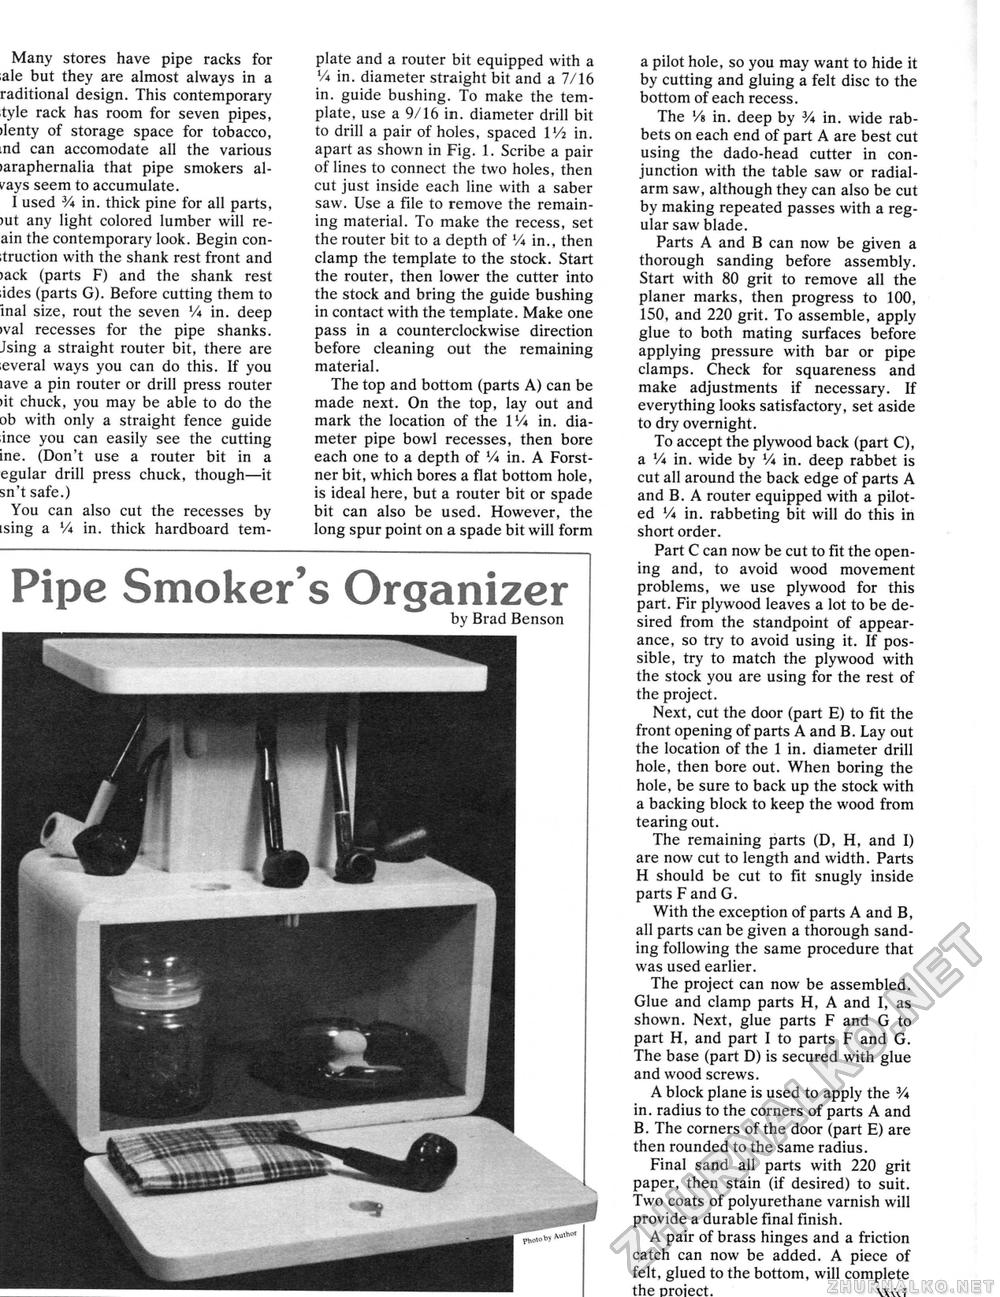
Many stores have pipe racks for ;ale but they are almost always in a raditional design. This contemporary ■tyle rack has room for seven pipes, ilenty of storage space for tobacco, md can accomodate all the various >araphernalia that pipe smokers always seem to accumulate. 1 used Va in, thick pine for al! parts, )ut any light colored lumber will re-ain the contemporary look. Begin conduction with the shank rest front and >ack (parts F) and the shank rest ;ides (parts G). Before cutting them to inal size, rout the seven Vi in. deep >val recesses for the pipe shanks. Jsing a straight router bit, there are ;everal ways you can do this. If you lave a pin router or drill press router )it chuck, you may be able to do the ob with only a straight fence guide ,ince you can easily see the cutting ine. (Don't use a router bit in a egular drill press chuck, though—it sn't safe.) You can also cut the recesses by ising a Vi in. thick hardboard tem plate and a router bit equipped with a Va in. diameter straight bit and a 7/16 in. guide bushing. To make the template, use a 9/16 in. diameter drill bit to drill a pair of holes, spaced I1/: in. apart as shown in Fig. 1. Scribe a pair of lines to connect the two holes, then cut just inside each line with a saber saw. Use a file to remove the remaining material. To make the recess, set the router bit to a depth of Va in., then clamp the template to the stock. Start the router, then lower the cutter into the stock and bring the guide bushing in contact with the template. Make one pass in a counterclockwise direction before cleaning out the remaining material. The top and bottom (parts A) can be made next. On the top, lay out and mark the location of the VA in. diameter pipe bowl recesses, then bore each one to a depth of Vi in. A Forst-ner bit, which bores a flat bottom hole, is ideal here, but a router bit or spade bit can also be used. However, the long spur point on a spade bit will form a pilot hole, so you may want to hide it by cutting and gluing a felt disc to the bottom of each recess. The '/« in. deep by Va in. wide rabbets on each end of part A are best cut using the dado-head cutter in conjunction with the table saw or radial-arm saw, although they can also be cut by making repeated passes with a regular saw blade. Parts A and B can now be given a thorough sanding before assembly. Start with 80 grit to remove all the planer marks, then progress to 100, 150, and 220 grit. To assemble, apply glue to both mating surfaces before applying pressure with bar or pipe clamps. Check for squareness and make adjustments if necessary. If everything looks satisfactory, set aside to dry overnight. To accept the plywood back (part C), a Vi in. wide by Vi in, deep rabbet is cut all around the back edge of parts A and B. A router equipped with a piloted Vt in. rabbeting bit will do this in short order. Part C can now be cut to fit the opening and, to avoid wood movement problems, we use plywood for this part. Fir plywood leaves a lot to be desired from the standpoint of appearance, so try to avoid using it. If possible, try to match the plywood with the stock you are using for the rest of the project. Next, cut the door (part E) to fit the front opening of parts A and B. Lay out the location of the 1 in. diameter drill hole, then bore out. When boring the hole, be sure to back up the stock with a backing block to keep the wood from tearing out. The remaining parts (D, H, and I) are now cut to length and width. Parts H should be cut to fit snugly inside parts F and G. With the exception of parts A and B, all parts can be given a thorough sanding following the same procedure that was used earlier. The project can now be assembled. Glue and damp parts H, A and I, as shown. Next, glue parts F and G to part H, and part I to parts F and G. The base (part D) is secured with glue and wood screws. A block plane is used to apply the Va in. radius to the corners of parts A and B. The corners of the door (part E) are then rounded to the same radius. Final sand all parts with 220 grit paper, then stain (if desired) to suit. Two coats of polyurethane varnish will provide a durable final finish. A pair of brass hinges and a friction catch can now be added. A piece of felt, glued to the bottom, will complete the project. \\vvJ Pipe Smoker's Organizer by Brad Benson |


