Woodworker's Journal 1984-8-4, страница 42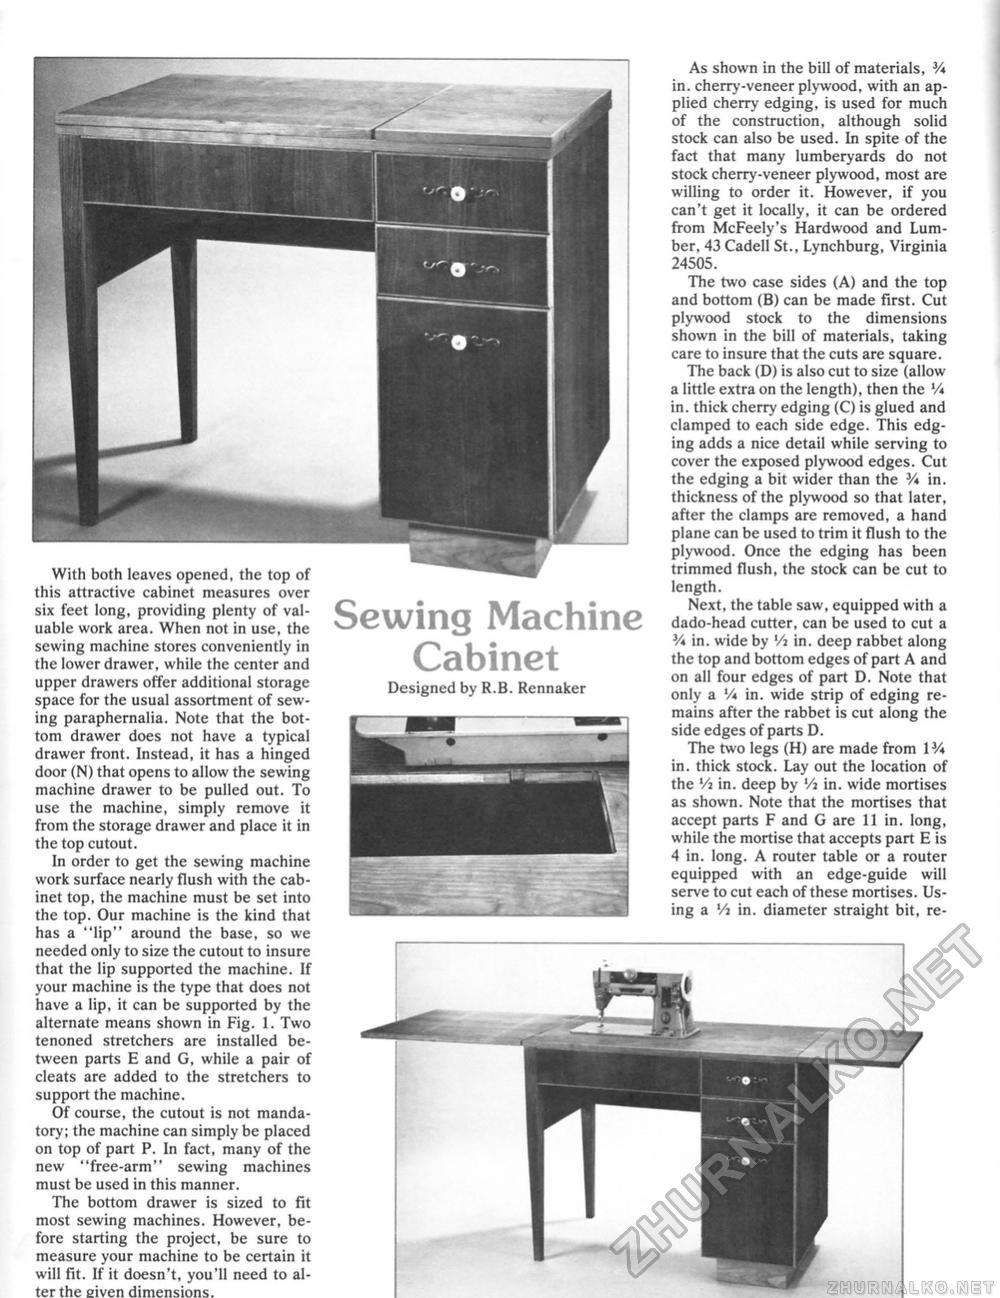
With both leaves opened, the top of this attractive cabinet measures over six feet long, providing plenty of valuable work area. When not in use, the sewing machine stores conveniently in the lower drawer, while the center and upper drawers offer additional storage space for the usual assortment of sewing paraphernalia. Note that the bottom drawer does not have a typical drawer front. Instead, it has a hinged door (N) that opens to allow the sewing machine drawer to be pulled out. To use the machine, simply remove it from the storage drawer and place it in the top cutout. In order to get the sewing machine work surface nearly flush with the cabinet top, the machine must be set into the top. Our machine is the kind that has a "lip" around the base, so we needed only to size the cutout to insure that the lip supported the machine. If your machine is the type that does not have a lip, it can be supported by the alternate means shown in Fig. 1. Two tenoned stretchers are installed between parts E and G, while a pair of cleats are added to the stretchers to support the machine. Of course, the cutout is not mandatory; the machine can simply be placed on top of part P. In fact, many of the new "free-arm" sewing machines must be used in this manner. The bottom drawer is sized to fit most sewing machines. However, before starting the project, be sure to measure your machine to be certain it will fit. If it doesn't, you'll need to alter the given dimensions. As shown in the bill of materials, V* in. cherry-veneer plywood, with an applied cherry edging, is used for much of the construction, although solid stock can also be used. In spite of the fact that many lumberyards do not stock cherry-veneer plywood, most are willing to order it. However, if you can't get it locally, it can be ordered from McFeely's Hardwood and Lumber, 43 Cadell St., Lynchburg, Virginia 24505. The two case sides (A) and the top and bottom (B) can be made first. Cut plywood stock to the dimensions shown in the bili of materials, taking care to insure that the cuts are square. The back (D) is also cut to size (allow a little extra on the length), then the Vi in. thick cherry edging (C) is glued and clamped to each side edge. This edging adds a nice detail while serving to cover the exposed plywood edges. Cut the edging a bit wider than the V* in. thickness of the plywood so that later, after the clamps are removed, a hand plane can be used to trim it flush to the plywood. Once the edging has been trimmed flush, the stock can be cut to length. Next, the table saw, equipped with a dado-head cutter, can be used to cut a V* in. wide by Vi in. deep rabbet along the top and bottom edges of part A and on all four edges of part D. Note that only a Vi in. wide strip of edging remains after the rabbet is cut along the side edges of parts D. The two legs (H) are made from 1V* in. thick stock. Lay out the location of the Vi in. deep by Vi in. wide mortises as shown. Note that the mortises that accept parts F and G are II in. long, while the mortise that accepts part E is 4 in. long. A router table or a router equipped with an edge-guide will serve to cut each of these mortises. Using a Vi in. diameter straight bit, re Sewing Machine Cabinet Designed by R.B. Rennaker |


