Woodworker's Journal 1984-8-6, страница 50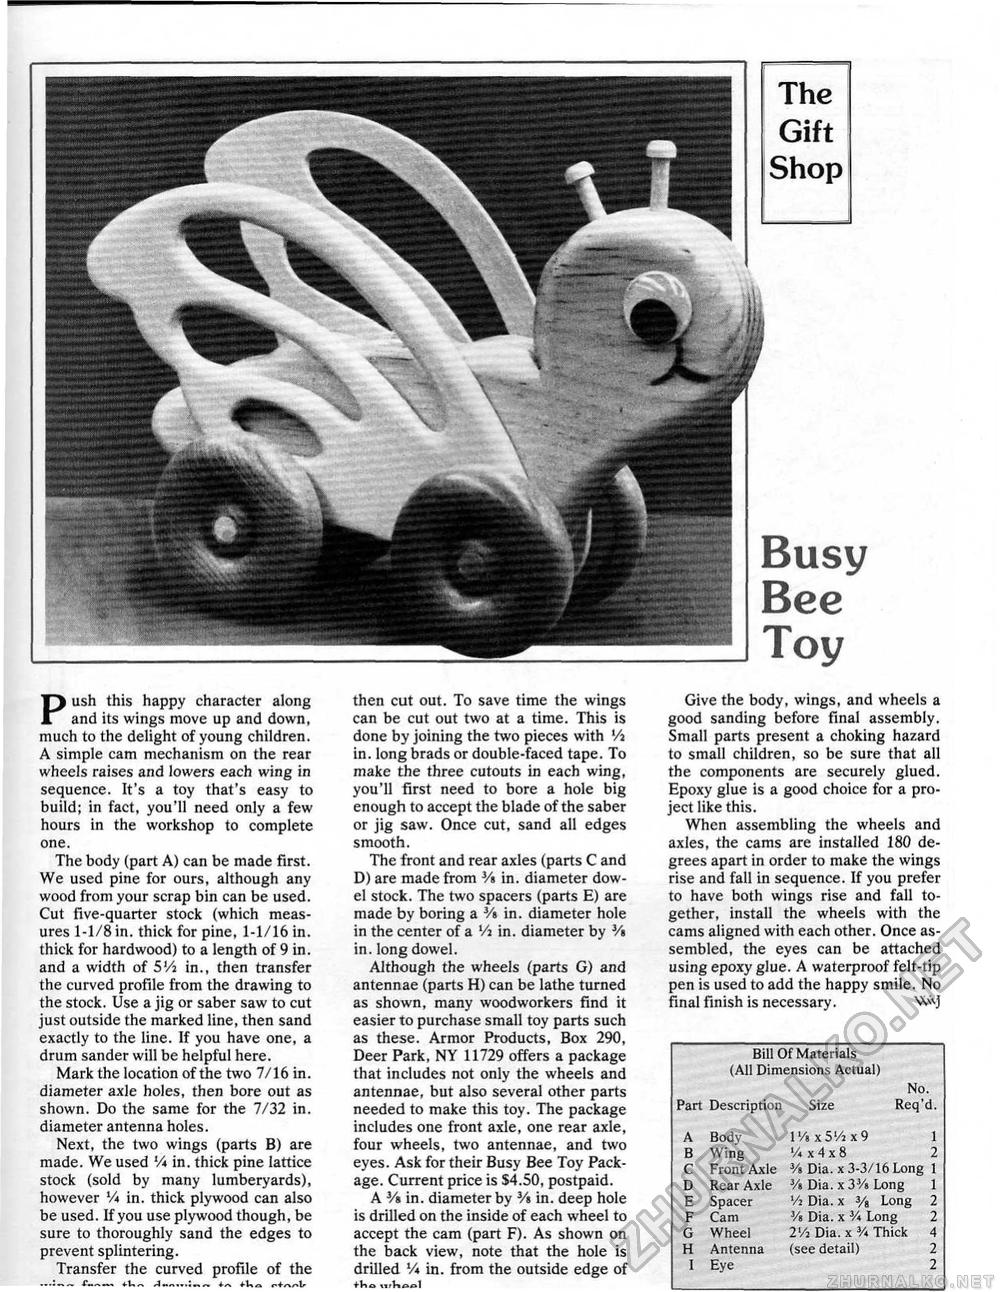
Push this happy character along and its wings move up and down, much to the delight of young children, A simple cam mechanism on the rear wheels raises and lowers each wing in sequence. It's a toy that's easy to build; in fact, you'll need only a few hours in the workshop to complete one. The body (part A) can be made first. We used pine for ours, although any wood from your scrap bin can be used. Cut five-quarter stock (which measures 1-1/8 in. thick for pine, 1-1/16 in. thick for hardwood) to a length of 9 in, and a width of 5'A in., then transfer the curved profile from the drawing to the stock. Use a jig or saber saw to cut just outside the marked line, then sand exactly to the line. If you have one, a drum sander will be helpful here. Mark the location of the two 7/16 in. diameter axle holes, then bore out as shown. Do the same for the 7/32 in. diameter antenna holes. Next, the two wings (parts B) are made. We used lA in. thick pine lattice stock (sold by many lumberyards), however Vi in. thick plywood can also be used. If you use plywood though, be sure to thoroughly sand the edges to prevent splintering. Transfer the curved profile of the '1....... thc;i cut out. To save time the wings can be cut out two at a time. This is done by joining the two pieces with '/a in. long brads or double-faced tape. To make the three cutouts in each wing, you'll first need to bore a hole big enough to accept the blade of the saber or jig saw. Once cut, sand all edges smooth. The front and rear axles (parts C and D) are made from V» in. diameter dowel stock. The two spacers (parts E) are made by boring a ¥» in. diameter hole in the center of a Vi in. diameter by 3/# in. long dowel. Although the wheels (parts G) and antennae (parts H) can be lathe turned as shown, many woodworkers find it easier to purchase small toy parts such as these. Armor Products, Box 290, Deer Park, NY 11729 offers a package that includes not only the wheels and antennae, but also several other parts needed to make this toy. The package includes one front axle, one rear axle, four wheels, two antennae, and two eyes. Ask for their Busy Bee Toy Package. Current price is $4.50, postpaid. A Vn in. diameter by s/» in. deep hole is drilled on the inside of each wheel to accept the cam (part F). As shown on the back view, note that the hole is drilled Vi in. from the outside edge of llfKAfll Give the body, wings, and wheels a good sanding before final assembly. Small parts present a choking hazard to small children, so be sure that all the components are securely glued. Epoxy glue is a good choice for a project like this. When assembling the wheels and axles, the cams are installed 180 degrees apart in order to make the wings rise and fall in sequence. If you prefer to have both wings rise and fall together, install the wheels with the cams aligned with each other. Once assembled, the eyes can be attached using epoxy glue, A waterproof felt-tip pen is used to add the happy smile. No final finish is necessary. VwJ Bill Of Materials (All Dimensions Actual) No. Bill Of Materials (All Dimensions Actual) No.
|


