Woodworker's Journal 1985-9-5, страница 61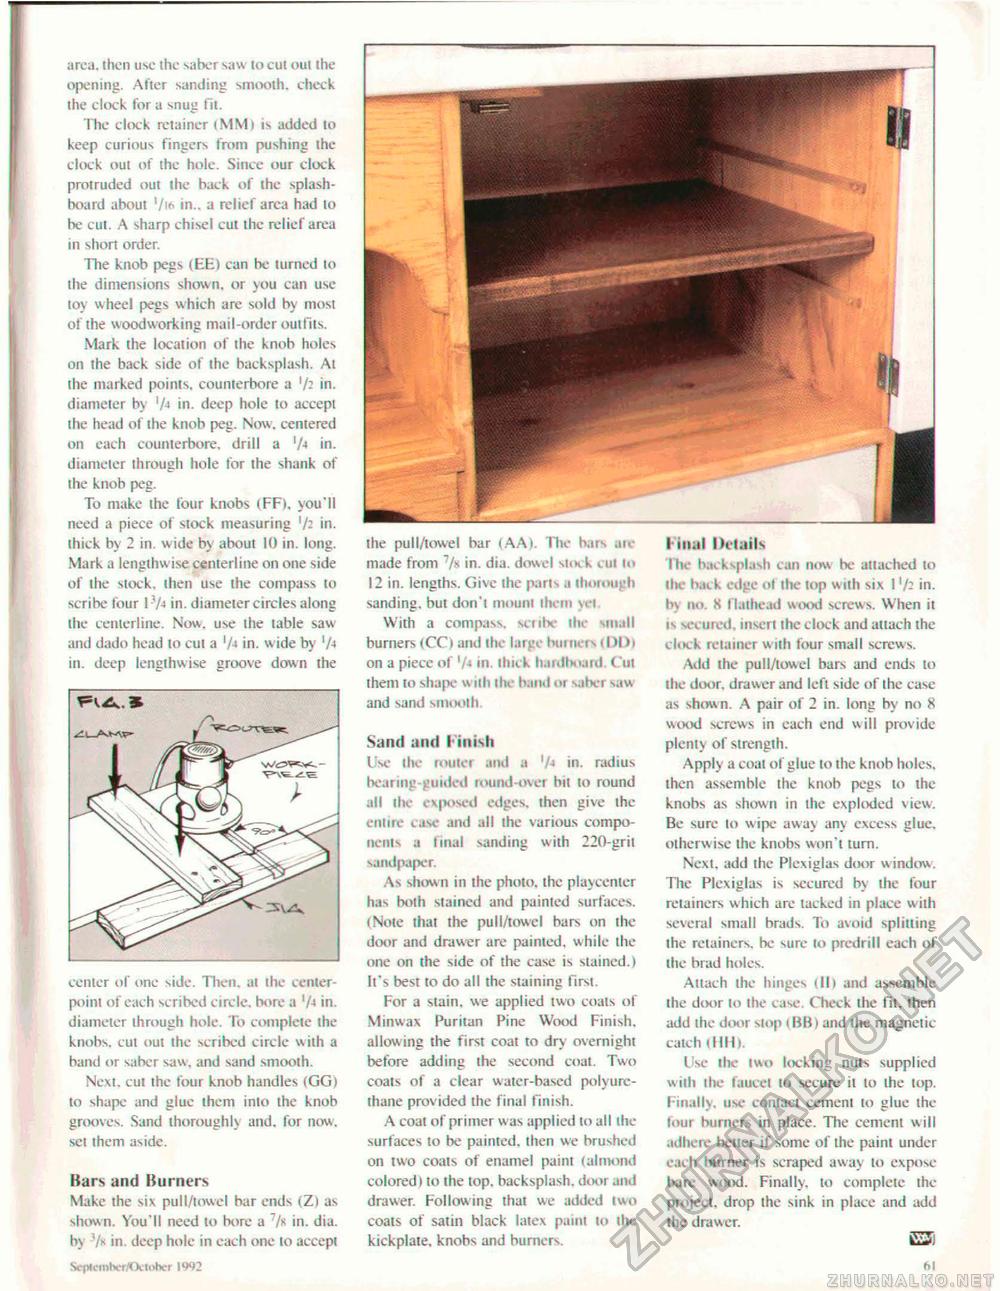
area, then use the saber saw to cut out the opening. After sanding smooth, check the clock for a snug fit. The clock retainer 1MM1 is added to keep curious fingers from pushing ihe clock out of the hole. Since our clock protruded out the hack of the splashboard about '/i* in., a relief area had lo be eul A sharp chisel cut the relief area in short order. The knob pegs (EE) can be turned lo ihe dimensions shown, or you can use toy wheel pegs which are sold by most of the woodworking mail-order outfits, Mark the location of the knob holes on ihe back side of the baeksplash. At the marked points, counterbore a in. diameter b> '/j in. deep hole to accept the head of the knob peg. Now. centered on each counterbore. drill a '/-» in. diameter through hole for the shank of ihe knob peg. To make the four knobs (FF). you'll need a piece of stock measuring in. thick by 2 in. wide by about 10 in. long. Mark a lengthwise centerline on one side of the stock, then use the compass to scribe four P/4 in. diameter circles along the centerline. Now. use the table saw and dado head to cut a 'A in. wide by '/•» in. deep lengthwise groove down the center of one side. Then, ai the center-point of each scribed circle, bore a Va in. diameter through hole. To complete the knobs, cut out the scribed circle w ith a hand or saber saw. and sand smooth. Next, cut the four knob handles (GG) to shape and glue them into the knob grooves. Sand thoroughly and. for now. set them aside. Bars and Burners Make the six pull/towel bar ends (Z) as shown. You'll need lo bore a /k in. dia. b\ 7* in. deep hole in each one lo accept ScphmhcriOctober W2 the pull/towel bar (AA). The bats are made from /» in. dia. dowel stoik cut 12 in. lengths. Give ihe paris a thorough sanding, but don't mount them yet. With a compass, scribe the small burners (CC) and ihe large burners (l)l)i on a piece of 1 /-* in. (luck liardboard. Cut them to shape w nil the hand or saber saw and sand smooth. Sand and Finish Use the router and a '/j in. radius bearing guided round-over bit to round all the exposed edges, then give the entire case and all the various components a final sanding with 220-gril sandpaper. As show n in the photo, the playcenter has both stained and painted surfaces. (Note that the pull/towel bars on the door and drawer are painted, while the one on the side of the case is stained.) It's best to do all the staining first. For a stain, we applied two coats of Minwax Puritan Pine Wood Finish, allowing the first coat to dry overnight before adding the second coat. Two coats of a clear water-based polyure-thane provided the final finish. A coat of primer was applied to all the surfaces to be painted, then we brushed on two coats of enamel paint (almond colored) to the top, baeksplash. door ami drawer. Following that we added two coats of satin black latex paint to the kickpiaie. knobs and burners. Final Details Ihe baeksplash can now be attached to itie back edge of ihe top with six 1'/- in-bv no. X t lathead wood screws. When it is secured, insert the clock and attach the clock retainer with four small screws. Add ihe pull/low el bars and ends to the di>or, drawer and left side of the case as shown. A pair of 2 in. long by no 8 wood screws in each end will provide plenty of strength. Apply a coat of glue to the knob holes, then assemble the knob pegs to the knobs as shown in the exploded view. Be sure to wipe away anv excess glue, otherwise ihe knobs won't turn. Nexl, add ihe Plexiglas door window. The Plexiglas is secured by ihe four retainers which are lacked in place with several small brads. To avoid splitting the retainers, be sure lo predrill each of the brad holes. Attach the hinges ill) and assemble the door to the case. Check the fit. then add ihe di«>r slop i BB) and the magnetic catch (HH>. Use the two locking nuls supplied wiih the faucet to secure it to the lop. Finally, use contact cement to glue the four burners in place. The cement will adhere bcller if some of the paint under each burner is scraped away to expose bare wood. Finally, to complete the project, drop the sink in place and add the drawer. m 61 3WV |


