Woodworker's Journal 1985-9-6, страница 44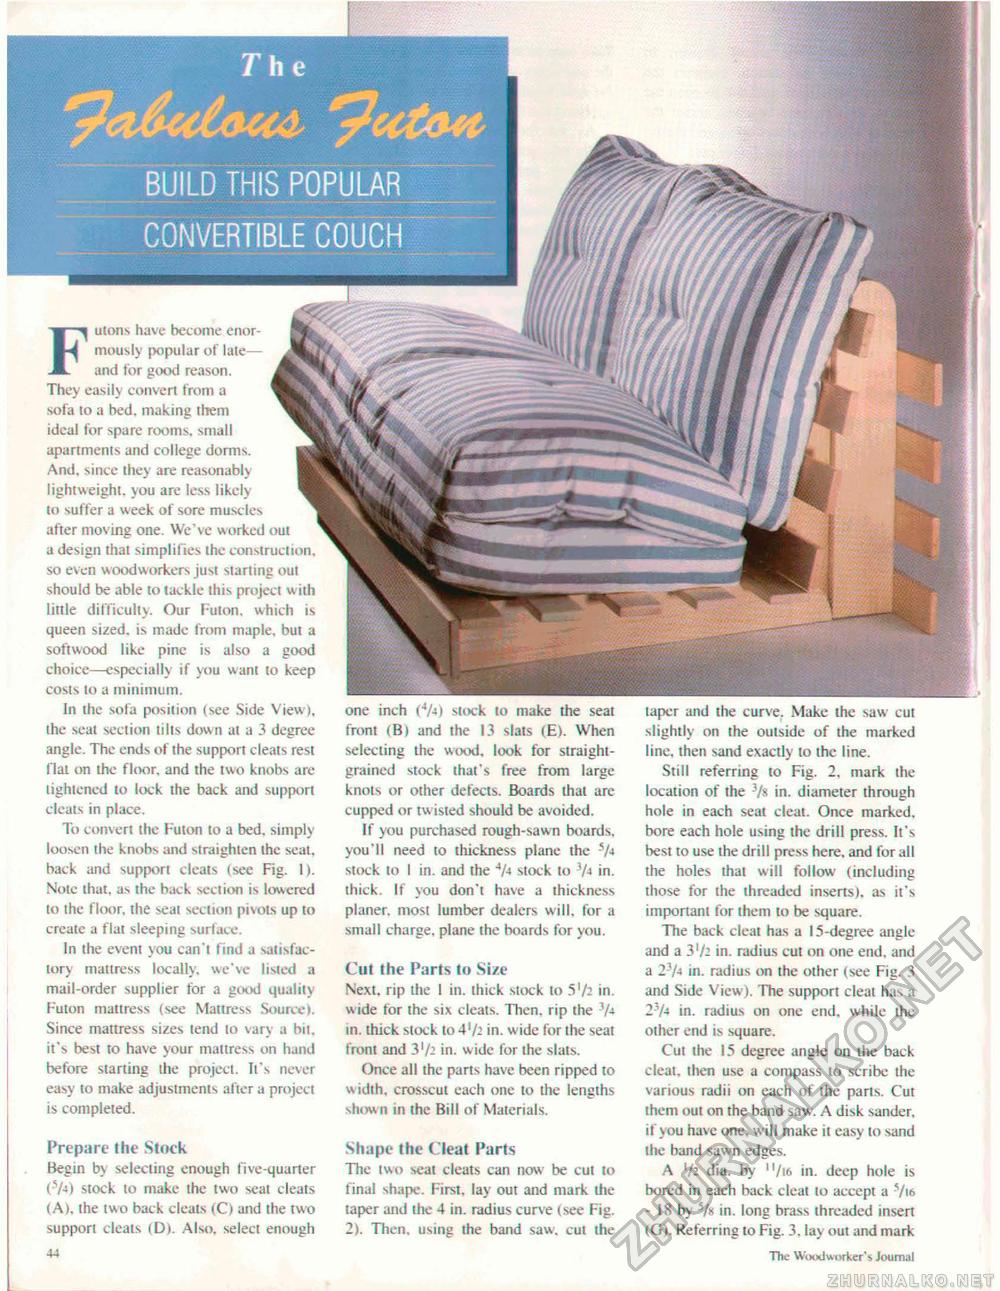
BUILD THIS POPULAR CONVERTIBLE COUCH Futons have become enormously popular of late— and for good reason. They easily convert from a sofa 10 a hed, making them ideal for spare rooms, small apartments and college dorms. And. since they are reasonably lightweight, you are less likely to suffer a week of sore muscles after moving one. We've worked out a design that simplifies the construction, so even woodworkers just starting oul should be able to tackle this project with little difficulty. Our Futon, which is queen sized, is made from maple, but a softwood like pine is also a good choice—especially if you want to keep costs to a minimum. In the sofa position (see Side View ), the seat section tilts down at a 3 degree angle. The ends of the support cleats rest flat on the fk>or, and the two knobs are tightened to lock the back and support cicats in place. To convert the Futon to a bed. simply loosen the knobs and straighten the seat, back and support cleats (see Fig. 1). Note that, as the back section is lowered to the floor, the seat section pivots up to create a flat sleeping surface. In the event you ean'l find a satisfactory mattress locally, we've listed a mail-order supplier for a good quality Futon mattress (see Mattress Source). Since mattress sizes tend to vary a bit. it's best to have your mattress on hand before starting the project. It's never easy to make adjustments after a project is completed. Prepare the Stock Begin b\ selecting enough five-quarter stock to make the two seat cleats (A), the two back cleats (C) and the two support cleats (D). Also, select enough 44 one inch (4A) stock to make the seat front (B) and the 13 slats (E). When selecting the wood, look for straight-grained stock that's free from large knots or other defects. Boards that are cupped or tv. isted should be avoided. If you purchased rough-sawn boards, you'll need to thickness plane the -V-i slock to I in. and the AU stock to in. thick. If you don't have a thickness planer, most lumber dealers will, for a small charge, plane the boards for you. Cut the Parts to Size Next, rip the 1 in. thick stock lo 51/? in. wide tor ihe six cleats. Then, rip the V* in. thick slock to 4'/^ in. wide for the seal front and V/i in. wide for ihe slats. Once all ihe parts have been ripped to width, crosscut each one lo the lengths shown in the Bill of Materials. Shape the Cleat Parts The two seat cleats can now be cut lo final shape. First, lay out and mark ihe taper and the 4 in. radius curve (see Fig. 2). Then, using the band saw, cut the taper and the curve. Make the saw cut slightly on ihe outside of the marked line, then sand exactly to ihe line. Still referring to Fig. 2, mark the location of the 3/s in. diameter through hole in each seat cleat. Once marked, bore each hole using the drill press. It's best to use the drill press here, and for all the holes thai will follow (including those for the threaded inserts), as ii's important for them to be square. The back cleat has a 15-degree angle and a 3'/i in. radius cut on one end, and a 23/a in. radius on the other (see Fig. 3 and Side View). The support cleat has a 23/4 in. radius on one end. while ihe other end is square. Cut ihe 15 degree angle on the back cleat, then use a compass to scribe ihe various radii on each of ihe parts. Cut them out on the band saw. A disk sander. if >ou have one. w ill make it easy to sand the band sawn edges. A '/: dia. by "/us in. deep hole is bored in each back cleat lo accept a 5/ie> - 18 by 5/fe in. long brass ihrcaded insert (G). Referring to Fig. 3. lav oul and mark •4K The Woodworker'?. Journal |


