Woodworker's Journal 1985-9-6, страница 47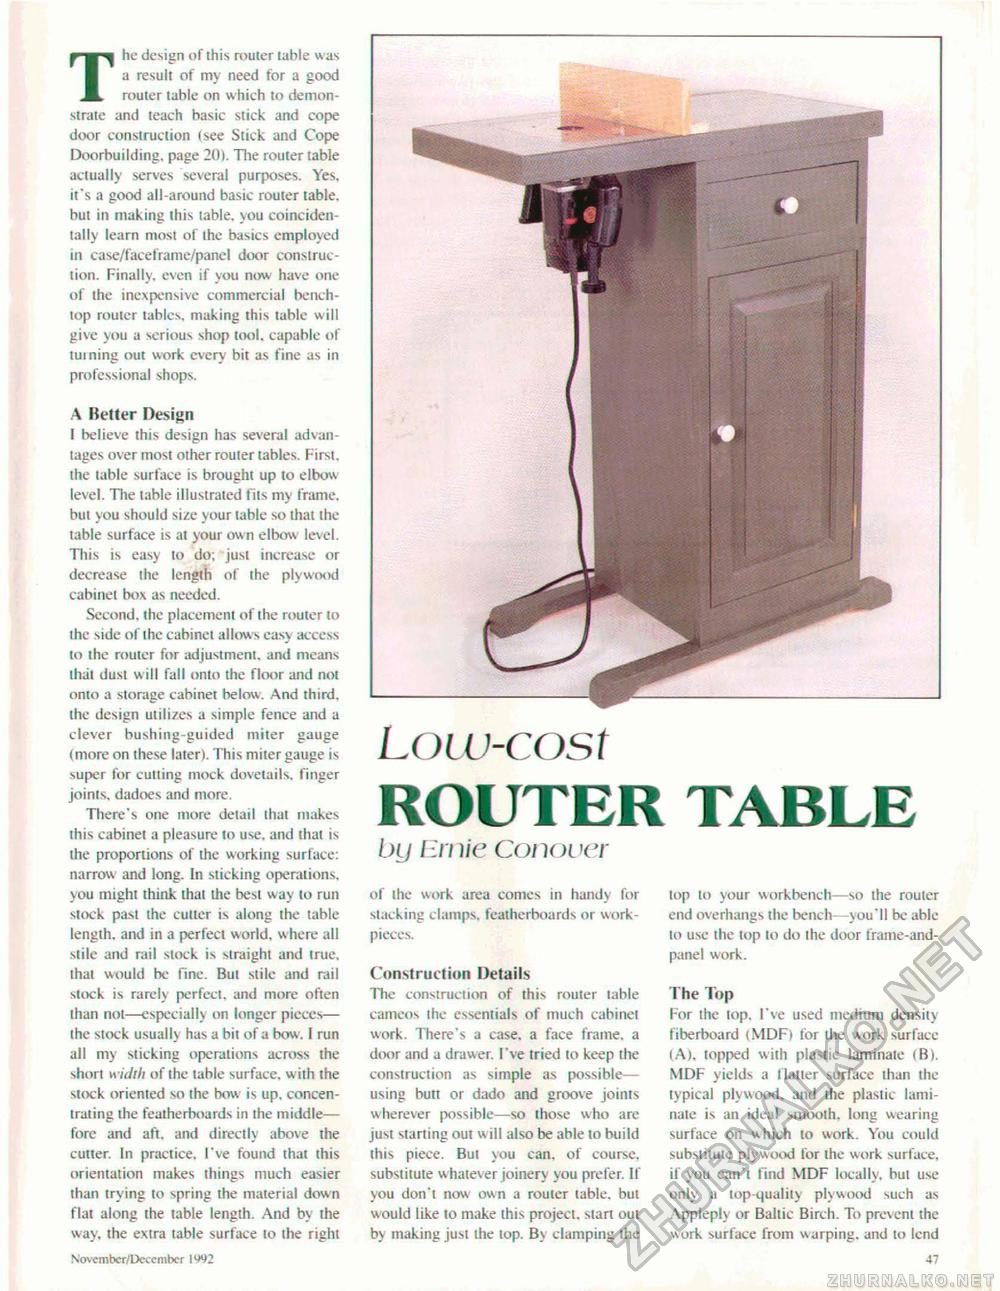
Loiu-cost ROUTER 1 ABLE bu Ernie Conouer The design of this router table was a result of my need for a good rouler table on which to demonstrate and teach basic stick and cope door construction (see Stick and Cope Doorbuilding, page 20). The rouler table actually serves several purposes. Yes. it's a good all-around basic router table, but in making this table, you coinciden-tally learn most of the basics employed in case/laceframe/panel door construction. Finally, even if you now have one of the inexpensive commercial bench-top router tables, making this table will give you a serious shop tool, capable of turning out work every bit as fine as in professional shops. A Better Design I believe this design has several advantages over most other router tables. First, the table surface is brought up to elbow level. The table illustrated fits my frame, but you should size your table so thai the table surface is al your own elbow level. Tlits is easy to do; just increase or decrease the length of ihe plywood cabinet box as needed. Second, the placement of the router to the side of the cabinet allows easy access to the router for adjustment, and means that dust w ill fall onlo the floor and not onto a storage cabinet below. And third, the design utilizes a simple fence and a clever bushing-guided miter gauge (more on these later). This miter gauge is super for cutting mock dovetails, finger joints, dadoes and more There's one more detail that makes this cabinet a pleasure to use, and that is the proportions of the working surface: narrow and long. In slicking operations, you might think that the best way to run stock past ihe cutter is along ihe table length, and in a perfect world, where all stile and rail stock is straight and I rue. that would be fine. But stile and rail stock is rarely perfect, and more often than not—especially on longer pieces—-the stock usually has a bit of a bow . I run all my sticking operations across the short width of the table surface, with the stock oriented so the bow is up, concentrating the featherboards in the middle— fore and aft. and directly above the cutter. In practice. I've found that this orientation makes things much easier than trying io spring the material down flat along the table length. And by the way, the extra table surface to the right November/Dcccmbcr 1W2 of the work area comes in handy for stacking clamps, featherboards or work-pieces, Construction Details The construction of this rouler table cameos the essentials of much cabinet work. There's a case, a face frame, a door and a drawer. I've tried 10 keep the construction as simple as possible— using butt or dado and groove joints wherever possible—so those who are just starting out w ill also be able lo build this piece. Bui you can. of course, substiiute whatever joinery you prefer. If you don't now own a router table, but would like to make this project, start out by making just the lop. By clamping the top to your workbench—so the rouler end overhangs the bench -you'll be able to use the top to do the door frame-and-panel work. The Top For the top. I've used medium density fiberboard (MDF) for the work surface (A), topped with plastic laminate (B). MDF yields a flatter surface than the typical plywood, and the plastic laminate is an ideal smooth, long wearing surface on which to work. You could substitute plywood for the work surface, if you can't find MDF locally, but use only a top-quality plywood such as Appleply or Baltic Birch. To prevent the work surface from warping, and to lend 47 |


