Woodworker's Journal 1993-17-4, страница 36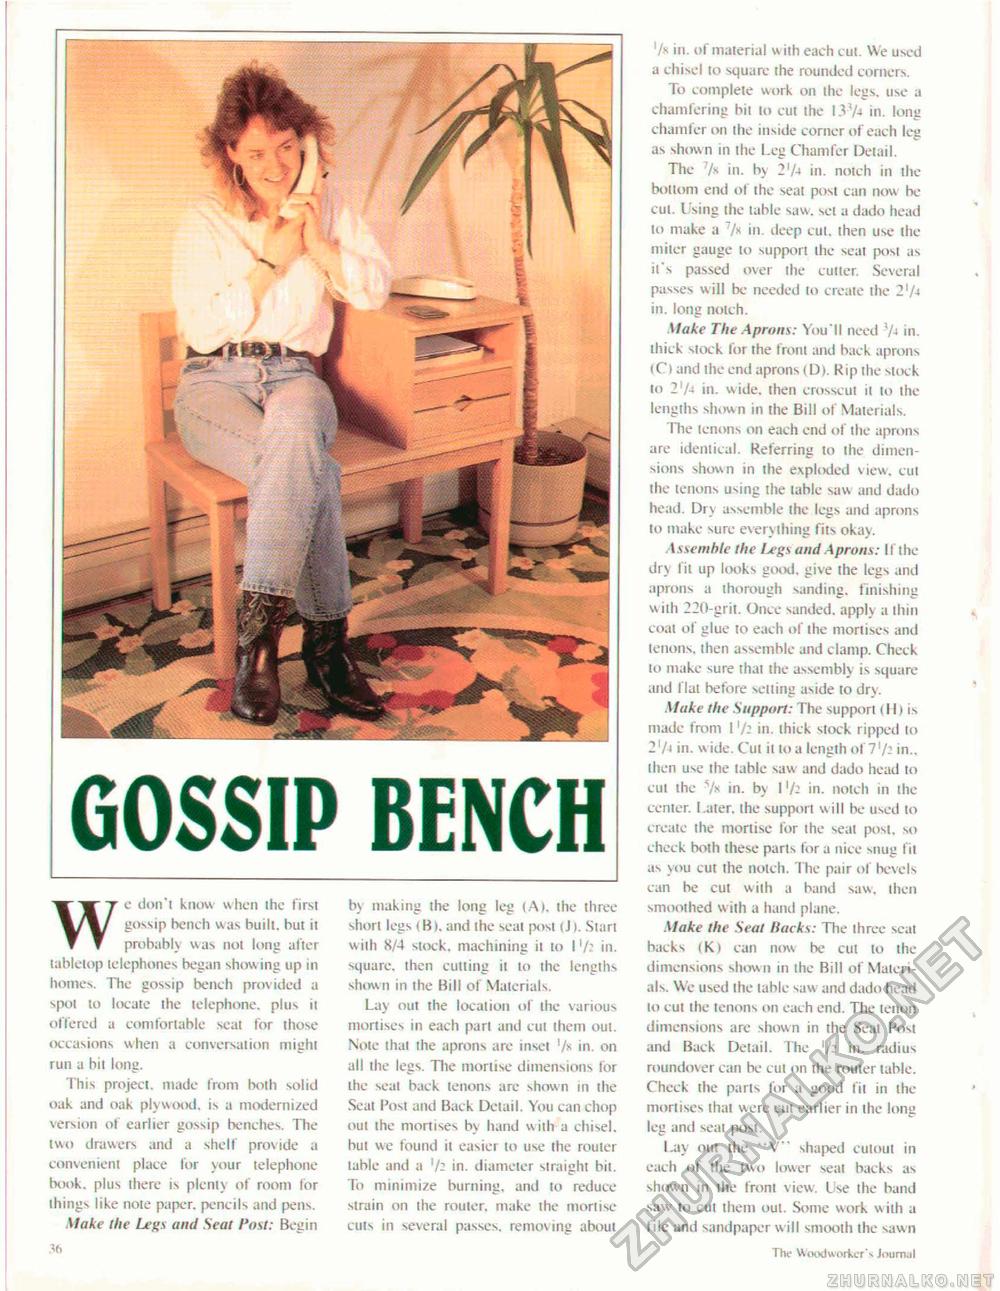
GOSSIP BENCHWe don't know when ihc first gossip bench was built, but it probably was not long after tabletop telephones began showing up in homes. The gossip bench provided a •>pot to locate the telephone, plus it offered a comfortable seat for those occasions when a conversation might run a bit long. This project, made from both solid oak and oak plywood, is a modernized version of earlier gossip benches. The two drawers and a shelf provide a convenient place for your telephone book, plus there is plenty of room for things like note paper, pencils and pens. Make ilie Legs and Seat Post; Begin t(l by making the long leg (A), the three short legs t B). and the seat post (J). Siari with 8/4 stock, machining it to I1/: in. square, then cutting it to the lengths shown in the Bill of Materials. Lay out the location of the various mortises in each part and cut them out. Note that the aprons arc inset '/* in. on all the legs. Tlie mortise dimensions for the seal back tenons are shown in the Seal Post and Back Detail. You can chop out the mortises by hand with a chisel, but we found it easier to use the router lable and a '/2 in. diameter straight bit. To minimize burning, and to reduce strain on the router, make the mortise cuts in several passes, remov ing about '/« in, of material w iih each cut. We used a chisel to square the rounded corners. To complete work 011 ihe legs, use a chamfering bit to cut the 13V* in. long chamfer on the inside corner of each leg as shown in the Leg Chamfer Detail. The '/n in. by 2J/-» in. notch in the bottom end of the seat post can now be cut. I'sing the table saw. set a dado head lo make a 7/h in. deep cut. then use the miter gauge to support the seat post as it's passed over the culler. Several passes will be needed lo create the 2'U in. long notch. Make The Aprons: You'll need 7j in. thick slock for the front and back aprons (Ci and the end aprons (D). Kip the stock 10 2'/4 in. wide, then crosscut it to the lengths shown in the Bill of Materials. The tenons on each end of the aprons are identical. Referring to the dimensions shown in ihe exploded view, cut the tenons using the table saw and dado head. Dry assemble ihe legs and aprons to make sure everything fits okay. Assemble the Legs and Aprons: If ihe dry lit up looks good, give ihe legs and aprons a thorough sanding, finishing with 220-grii. Once sanded, apply a thin coat of glue to each of the mortises and tenons, then assemble and clamp. Check to make sure that the assembly is square and flat before selling aside to dry. Make the Support: The support (I! 1 is made from I [fc in. thick stock ripped to 2'/j in. wide. Cut it lo a length of7'/3 in., then use the table saw and dado head to cut the 7" iu- by IV2 in. notch in the center. Later, ihe support will be used 10 create the mortise for the seat post, so check both these parts for a nice snug fit as you cut the notch. The pair of bevels can be cut with a band saw. then smoothed with a hand plane. Make the Seat Hacks: The Ihree seal backs (K> can now be cut to ihe dimensions shown in the Bill of Materials. We used the table saw and dado head 10 cut the tenons 011 each end. The tenon dimensions are shown in the Seal Posi and Back Detail. The l/z in. radius roundover can be cut on ihe router table. Check the parts for a good fit in the mortises that were cut earlier in the long leg and seat post. Lay out the " V" shaped euloul 111 each of the two lower seat backs as show n in the front view. Use the band saw to cut lliein out. Some work with a file and sandpaper w ill smooth the saw n The Woodworker's Journal |


