Woodworker's Journal 1993-17-4, страница 59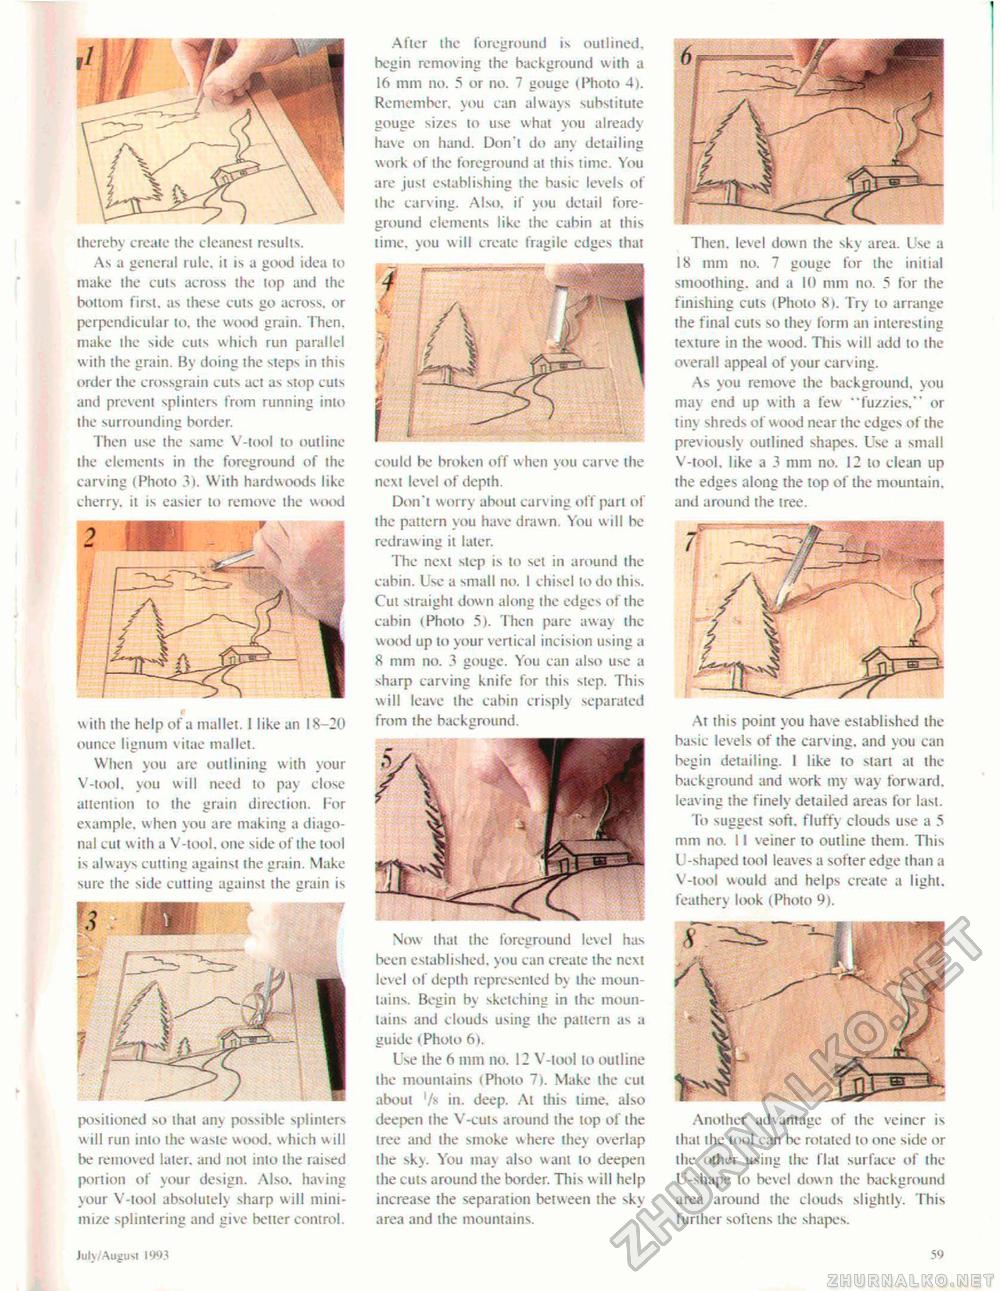
thereby create ihe cleanest results. As a general rule, il is a good idea lo make ihe cuis across the lop and the bottom first, as these cuts go across, or perpendicular to. the wood grain. Then, make the side cuts which run parallel with the grain. By doing the steps in this order the crossgram cuts act as stop cuts and prevent splinters from running into the surrounding border. Then use the same V-tool to outline the elements in the foreground of ihe carving (Photo 3). With hardwoods like cherry, it is easier to remove the wi>od with the help of a mallet. I like an 18-20 ounce lignum vitae mallet. When you are outlining with your V-too), you will need to pay close attention to the grain direction. Kor example, when you are making a diagonal cut w ith a V-tool. one side of the tool is always cutting against the grain. Make sure the side cutting against the grain is positioned so that any possible splinters will run into the w asie wood, which w ill be removed later, and not into the raised portion of your design. Also, having your V-tool absolutely sharp will minimize splintering and give better control. After the foreground is outlined, begin removing the background w ith a 16 mm no. 5 or no. 7 gouge t Photo 4). Remember, you can always substitute gouge sires to use what you already have on hand. Don't do any detailing work of the foreground at this time. You are just establishing ihe basic levels of ihe carving. Also, if you detail foreground elements like the cabin at this time, you will create fragile edges that 4 A / LA could be broken off when you carve the next level of depth. Don't worry about carv ing off part of the pattern you have drawn. You w ill he redrawing it later. The next step is lo set in around the cabin. Use a small no. I chisel to do this. Cut straight dow n along the edges of the cabin (Photo 5). Then pare away the wood up to your vertical incision using a 8 mm no. 3 gouge. You can also use a sharp carving knife for this step. This will leave the cabin crisply separated from the background. Now that the foreground lev ol has been established, you can create the next level of depth represented by the mountains. Begin by sketching in ihe mountains and clouds using the pattern as a guide (Photo 6). Use the 6 mm no. 12 V-tool to outline the mounlains (Pholo 7). Make the cut aboul '/k in. deep. At this time, also deepen ihe V-cuts around the top of the tree and the smoke where they overlap the sky. You may also wain to deepen the cuts around the border. This w ill help increase the separation between the sky area and the mountains. Then, level down the sky area. Use a 18 mm no. 7 gouge for the initial smoothing, and a 10 mm no. 5 for the finishing cuts (Photo 8). fry lo arrange the final cuts so they form an interesting texture in the wood. This will add to ihe overall appeal of your carving. As you remove the background, you may end up with a few "fuzzies." or tiny shreds of wood near the edges of the previously outlined shapes. Use a small V-tool. like a 3 mm no. 12 to clean up the edges along the top of the mountain, and around the tree. At this point you have established the basic levels of the carving, and you can begin detailing. 1 like to start at the background and work my way forward, leaving the finely detailed areas for last. To suggest soft, fluffy clouds use a 5 mm no. 11 veiner to outline them. This I -shaped tool leaves a softer edge than a V-tool would and helps creale a light, feathery look (Photo 91. Another advantage of the veiner is lhai the toot can be rotated to one side or the other using ihe flat surface of ihc U-shape lo bevel down the background area around ihe clouds slightly. This further softens ihe shapes. July/August IW1 11 |


