Woodworker's Journal 1993-17-4, страница 57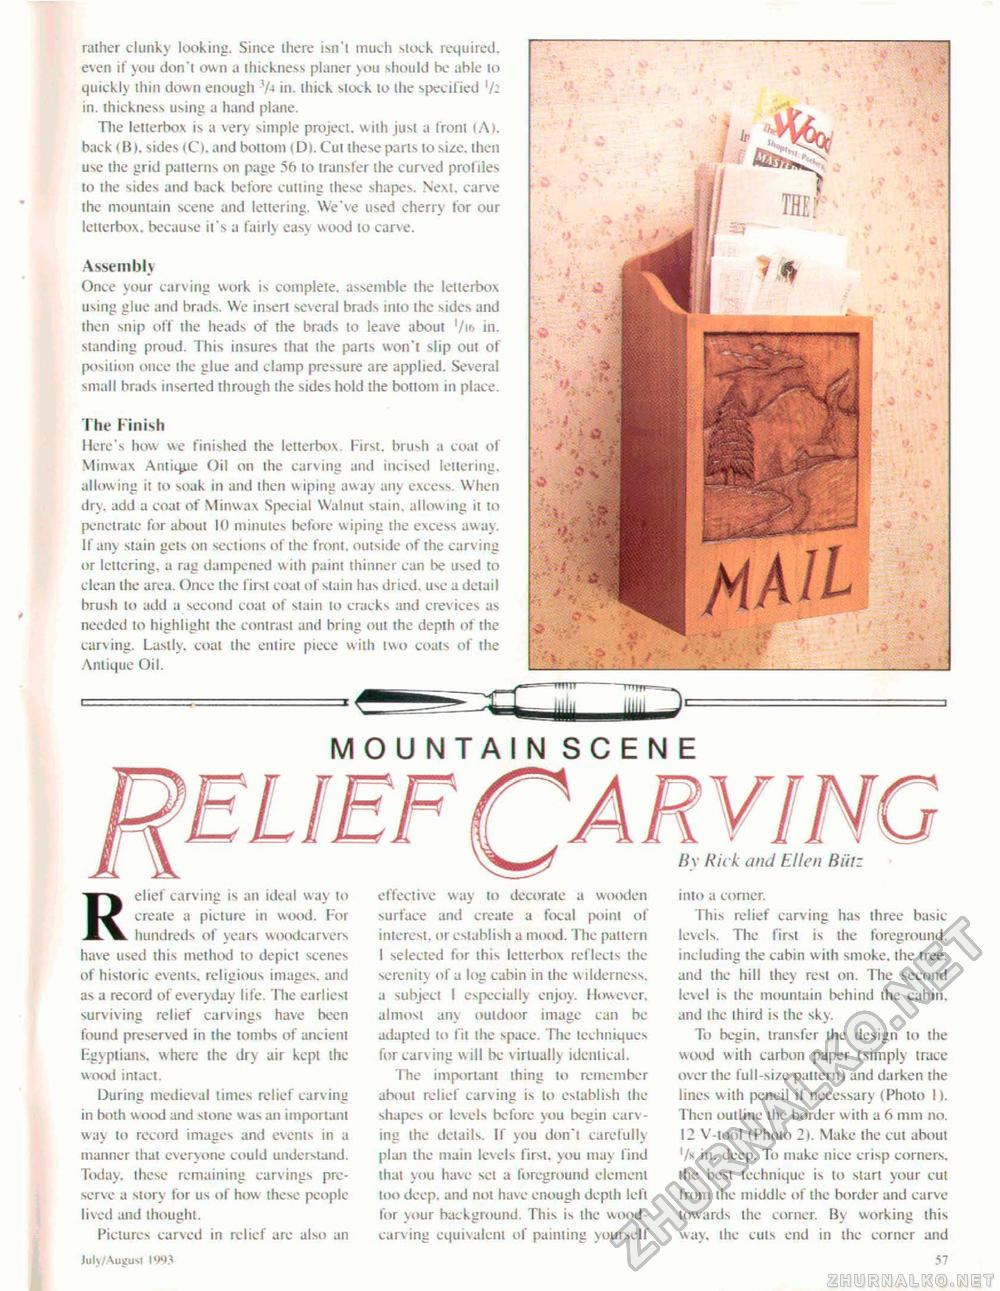
raiher clunky looking. Since there isn't much slock required, even if you don't own a thickness planer you should he able (o quickly thin down enough 7* in. thick stock to the specified 7-in. ihiekness using a hand plane. The letterbox is a very simple project, with just a front (A), back (B>, sides (C). and bottom (D), Cut these parts lo size, then use the grid paiierns on page 56 lo transfer the curved profiles to ihe sides and back before cutting these shapes. Next, carve ihe mountain scene and lettering. We've used cherry for our letterbox, because it's a fairly easy wood to carve. Assembly Once your carving work is complete, assemble the letterbox using glue and brads. We insert several brads into the sides and then snip off the heads of the brads lo leave about '/» in. standing proud. This insures thai ihe pans won't slip out of position once ihe glue and clamp pressure are applied. Several small brads inserted through the sides hold the botlom in place. I he Finish Here's how we finished the letterbox. First, brush a coal of Minwax Antique Oil on the carving and incised lettering, allowing it to soak in and then w iping away any excess. When dry. add a coat of Minwax Special Walnut stain, allowing it to penetrate for about 10 minutes before w iping the excess away. If any stain gets on sections of the from, outside of the carving or lettering, a rag dampened w ith paini thinner can be used to clean the area. Once the first coat of stain has dried, use a detail brush to add a second coat of stain to cracks and crevices as needed lo highlight the contrast and bring out the depth of the carving. Lastly, coal the entire piece with two coats of the Antique Oil. MOUNTAIN SCENE Relief carving is an ideal way to create a picture in wood. For I hundreds of years woodcarvers have used this method to depict scenes of historic events, religious images, and as a record of everyday life. The earliest surviving relief carvings have been found preserved in the tombs of ancient Egyptians, where the dry air kept the wood intact. During medieval times relief carving in both wood and stone was an important way to record images and events in a manner that everyone could understand. Today, these remaining carvings preserve a siory for us of how these people lived and ihought. Pictures carved in relief are also an effective way to decorate a wooden surface and create a focal point of interest, or establish a mood. The pattern I selected for this letterbox reflects the serenity of a log cabin in the wilderness, a subject I especially enjoy. However, almost any outdoor image can be adapted lo fit the space. The techniques for carving w ill be virtually identical. The importani thing lo remember about relief carving is to establish the shapes or levels before you begin carving ihe details. If you don'i carefully plan the main levels first, you may find that you have set a foreground element too deep, and not have enough dcplh left for your background. This is the wood-carving equivalent of painting yourself r v By Rick and Ellen Biiir into a corner. This relief carving has three basic levels. The fir>t is the foreground, including the cabin with smoke, the tree, and the hill they rest on. The second level is the mountain behind the cabin, and the third is the sky. To begin, transfer ihe design lo ihe wood with carbon paper (simply trace over the full-size pattern) and darken the lines with pencil if necessary (Photo I). Then outline the border with a 6 mm no. 12 V-lool (Photo 21. Make the cut about 7k in. deep. To make nice crisp corners, the best technique is to start your cut from the middle of the border and carve towards the corner. By working this way. the cuts end in ihe corner and Juty/AuguM IW 57 |


