Woodworker's Journal 1993-17-5, страница 36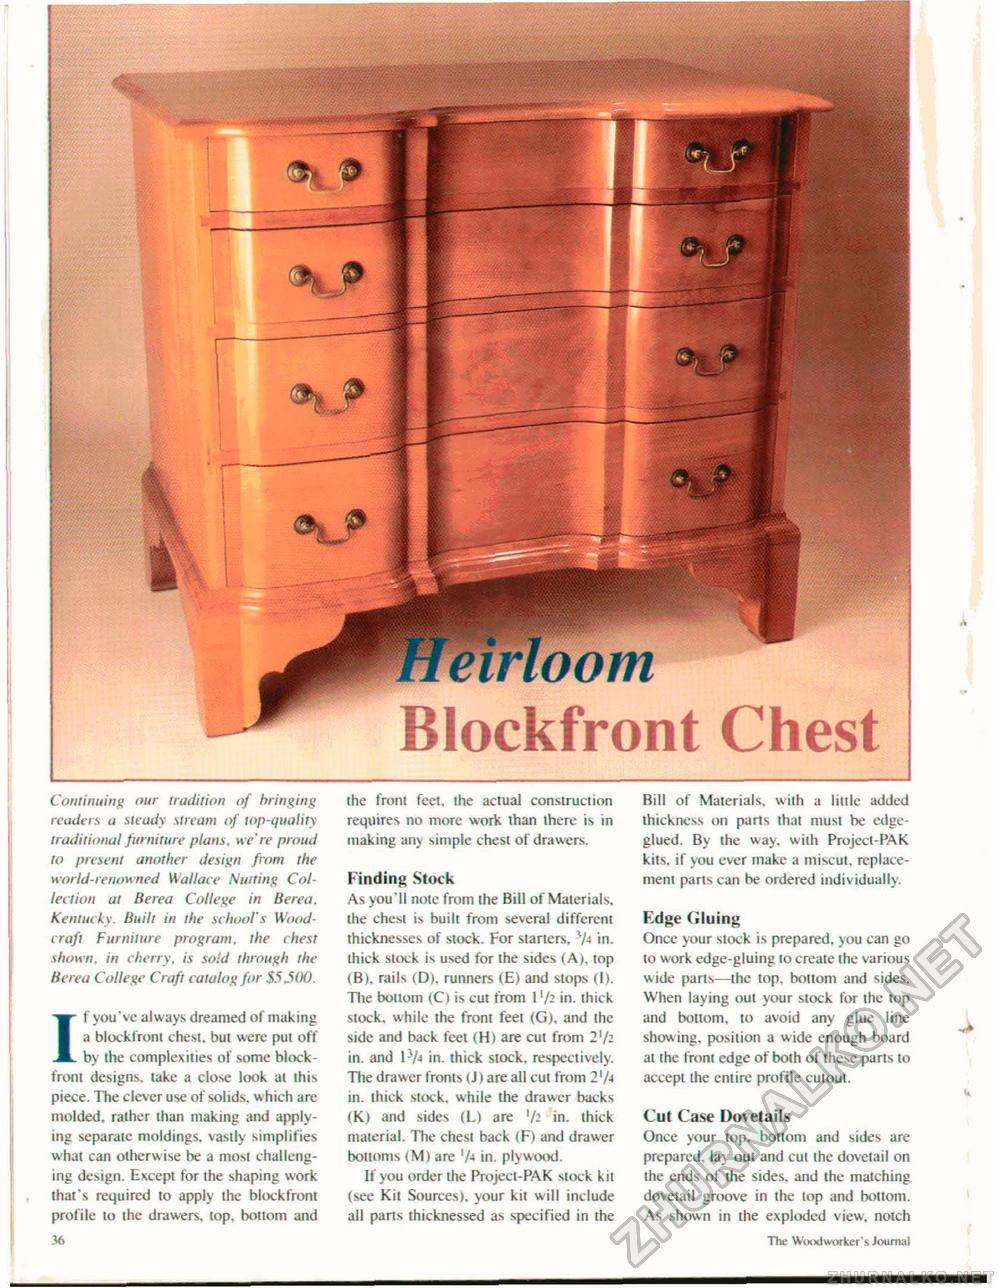
oom Blockfront ChestA Continuing our tradition of bringing readers a steady stream of top-quality traditional furniture plans, we're proud to present another design from the world-renowned Wallace Nutting Collection at Berea College in Berea. Kentucky. Built in the school's Woodcraft Fur nil me program, the chest shown, in cherry, is sold through the Berea College Craft catalog for S5J00. If you've always dreamed of making a blockfront chest, but were put off by the complexities of some block-front designs, take a close look at this piece. The clever use of solids, which are molded, rather than making and applying separate moldings, vastly simplifies what can otherwise be a most challenging design. Except for the shaping work that's required to apply the blockfront profile to the drawers, top. bottom and 36 the front feet, the actual construction requires no more work than there is in making any simple chest of drawers. Finding Stock As you'll note from the Bill of Materials, the chest is built from several different thicknesses of stock. For starters, 74 in. thick stock is used for the sides (A), top <B). rails (D), runners (E) and stops (I). The bottom (C) is cut from 11/2 in. thick stock, while the front feet (G), and the side and back feet (H) are cut from 2l/2 in. and l7<t in. thick stock, respectively. The drawer fronts (J) are all cut from 2 'A in. thick stock, while the drawer backs (K.) and sides (L) are xh in. thick material. The chest back (F) and drawer bottoms (M) are 'A in. plywood. If you order the Project-PAK stock kit (see Kit Sources), your kit will include all parts thicknessed as specified in the Bill of Materials, with a little added thickness on parts that must be edge-glued. By the way. with Project-PAK kits, if you ever make a miscut. replacement parts can be ordered individually. Edge Gluing Once your stock is prepared, you can go to work edge-gluing to create the various wide parts—the top. bottom and sides. When laying out your slock for the top and bottom, to avoid any glue line showing, position a wide enough board at the front edge of both of these parts to accept the entire profile cutout. Cut Case Dovetails Once your top. bottom and sides are prepared, lay out and cut the dovetail on the ends of the sides, and the matching dovetail groove in the top and bottom. As shown in the exploded view, notch 36 The Woodw orker'5 Journal |


