Woodworker's Journal 1993-17-6, страница 53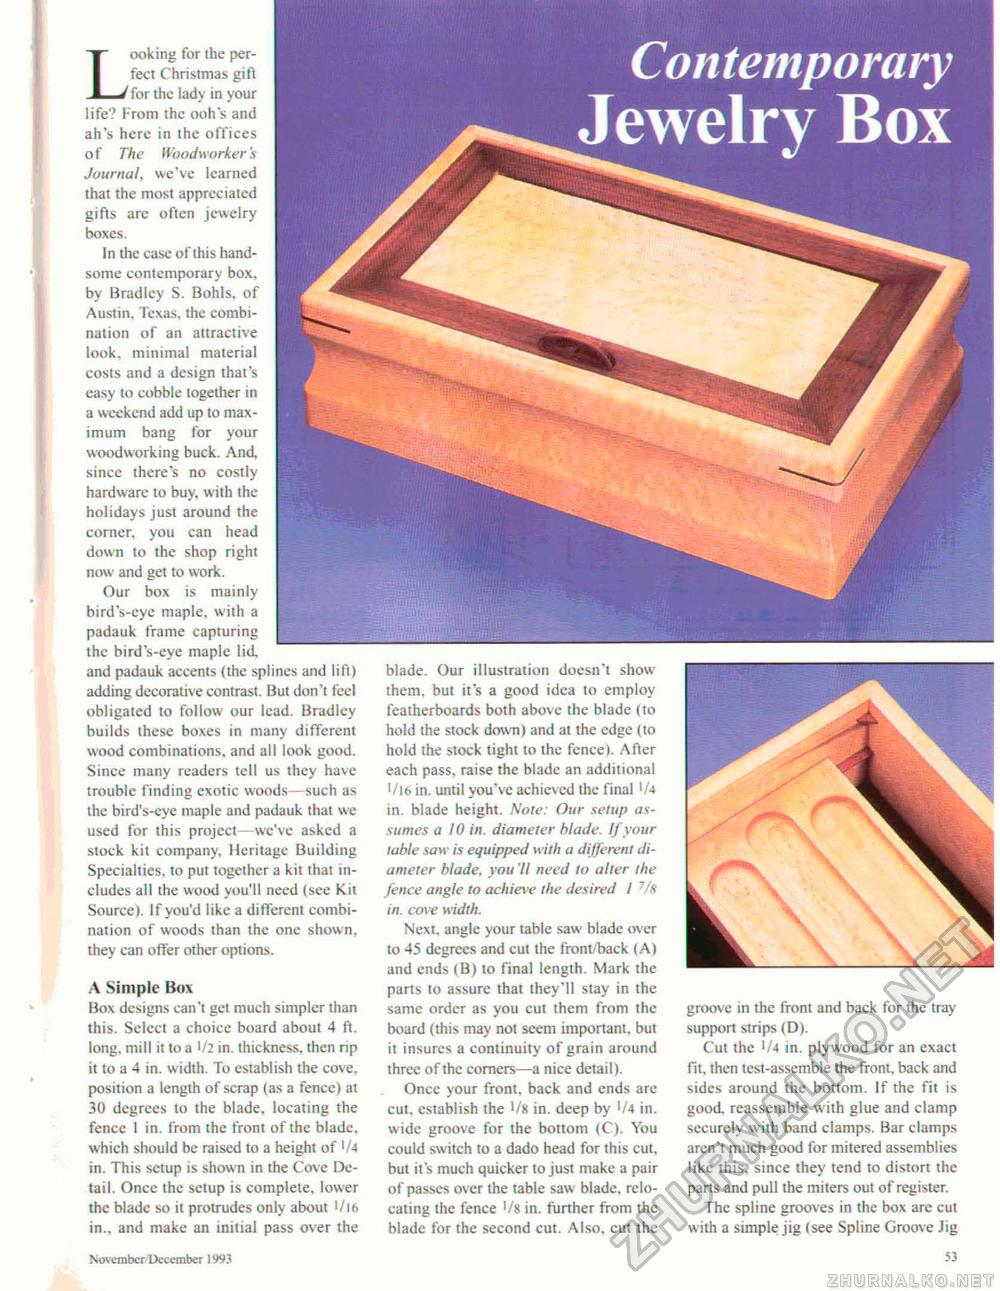
blade. Our illustration doesn't show them, but it's a good idea to employ featherboards both above the blade (to hold the stock down) and at the edge (to hold the stock tight to the fence). After each pass, raise the blade an additional 1/16 in. until you've achieved the final '/4 in. blade height. Note: Our setup assumes a 10 in. diameter hlade. If your table saw is equipped with a different diameter blade, you 'II need to alter the fence angle to achieve the desired / 7/s in. cove width. Next, angle your table saw blade over to 45 degrees and cut the front/back (Al and ends (B) to final length. Mark the parts to assure that they'll stay in the same order as you cut them from the board (this may not seem important, but it insures a continuity of grain around three of the corners—a nice detail). Once your front, back and ends are cut, establish the l/n in. deep by '/4 in. wide groove for the bottom (C). You could switch to a dado head for this cut, but it's much quicker to just make a pair of passes over the table saw blade, relocating the fence Vs in. further from the blade for the second cut. Also, cut the groove in the front and back for the tray support strips (D). Cut the 1/4 in. plywood for an exact fit, then test-assemble the front, back and sides around the bottom. If the fit is good reassemble w ith glue and clamp securely with band clamps. Bar clamps aren't much good for mitered assemblies like this, since they tend to distort the parts and pull the miters out of register. The spline grooves in the box arc cut with a simple jig (see Spline Groove jig Looking for the perfect Christmas gift for the lady in your life? From the ooh's and ah's here in the offices of The Woodworker's Journal, we've learned that the most appreciated gifts are often jewelry boxes. In the case of this handsome contemporary box. by Bradley S. Bohls, of Austin, Texas, the combination of an attractive look, minimal material costs and a design that's easy to cobble together in a weekend add up to maximum bang for your woodworking buck. And since there's no costly hardware to buy, with the holidays just around the corner, you can head down to the shop right now and get to work. Our box is mainly bird's-eye maple, with a padauk frame capturing the bird's-eye maple lid, and padauk accents (the splines and lift) adding decorative contrast. But don't feel obligated to follow our lead. Bradley builds these boxes in many different wood combinations, and all look good. Since many readers tell us they have trouble finding exotic woods—such as the bird's-eye maple and padauk that we used for this project—we've asked a stock kit company. Heritage Building Specialties, to put together a kit that includes all the wood you'll need (see Kit Source). If you'd like a different combination of woods than the one shown, they can offer other options. A Simple Box Box designs can't get much simpler than this. Select a choice board about 4 ft. long, mill it to a in. thickness, then rip it to a 4 in. w idth. To establish the cove, position a length of scrap (as a fence) at 30 degrees to the blade, locating the fence 1 in. from the front of the blade, which should be raised to a height of '/a in. This setup is shown in the Cove Detail. Once the setup is complete, lower the blade so it protrudes only about 1/16 in., and make an initial pass over the November/December 1993 53 |


